

How to Brief a Custom Clothing Order: 8 Must-Knows
Most custom clothing orders that go wrong do so before a single garment is printed. The brief was vague, the artwork file was the wrong format, or the business assumed the printer could read their mind. If you are searching for how to brief a custom clothing order UK, you are already ahead of the companies that skip this step entirely. A properly structured brief eliminates reprints, delays, and the frustration of receiving 50 hoodies in the wrong shade of navy. This guide breaks down the eight things every business must specify, in plain terms, before submitting any order.
Table of Contents
- Quick Takeaways
- Why Your Brief Determines Your Result
- 1. Garment Type and Brand
- 2. Sizes and Quantities Per Size
- 3. Print Placement and Dimensions
- 4. Artwork File Format and Colour Mode
- 5. Colour Specification and Matching
- 6. Print Method Preferences
- 7. Garment Colour and Fabric Composition
- 8. Delivery Deadline and Dispatch Requirements
- Comparison of Brief Quality Levels
- Frequently Asked Questions
- References
Quick Takeaways
| Key Insight | Explanation |
|---|---|
| Garment brand matters as much as garment type | Different brands carry different fabric weights, fits, and print-readiness. Specifying brand prevents substitutions that change how your print looks. |
| Artwork must be supplied at 300 DPI minimum | Low-resolution files produce blurry prints at real garment scale. Always supply vector or high-resolution raster files saved at print size. |
| Pantone references remove colour ambiguity | Screen colours and printed colours differ significantly. A Pantone code gives your printer a fixed, physical reference point regardless of monitor calibration. |
| Print placement must include exact measurements | Saying "left chest" is not a placement. Specify the distance from the collar seam and the garment edge to eliminate guesswork. |
| DTF printing suits complex, full-colour artwork | Direct to Film transfers handle gradients and photographic detail that screen printing cannot economically achieve at low quantities. |
| Size breakdowns should reflect your actual workforce or audience | A common mistake is ordering equal quantities per size. Real-world size distributions are weighted toward M, L, and XL in most UK workwear contexts. |
| Delivery deadlines must include buffer time | Event dates and site start dates are fixed. Always brief your printer with the date you need garments in hand, not the event date itself. |
Why Your Brief Determines Your Result
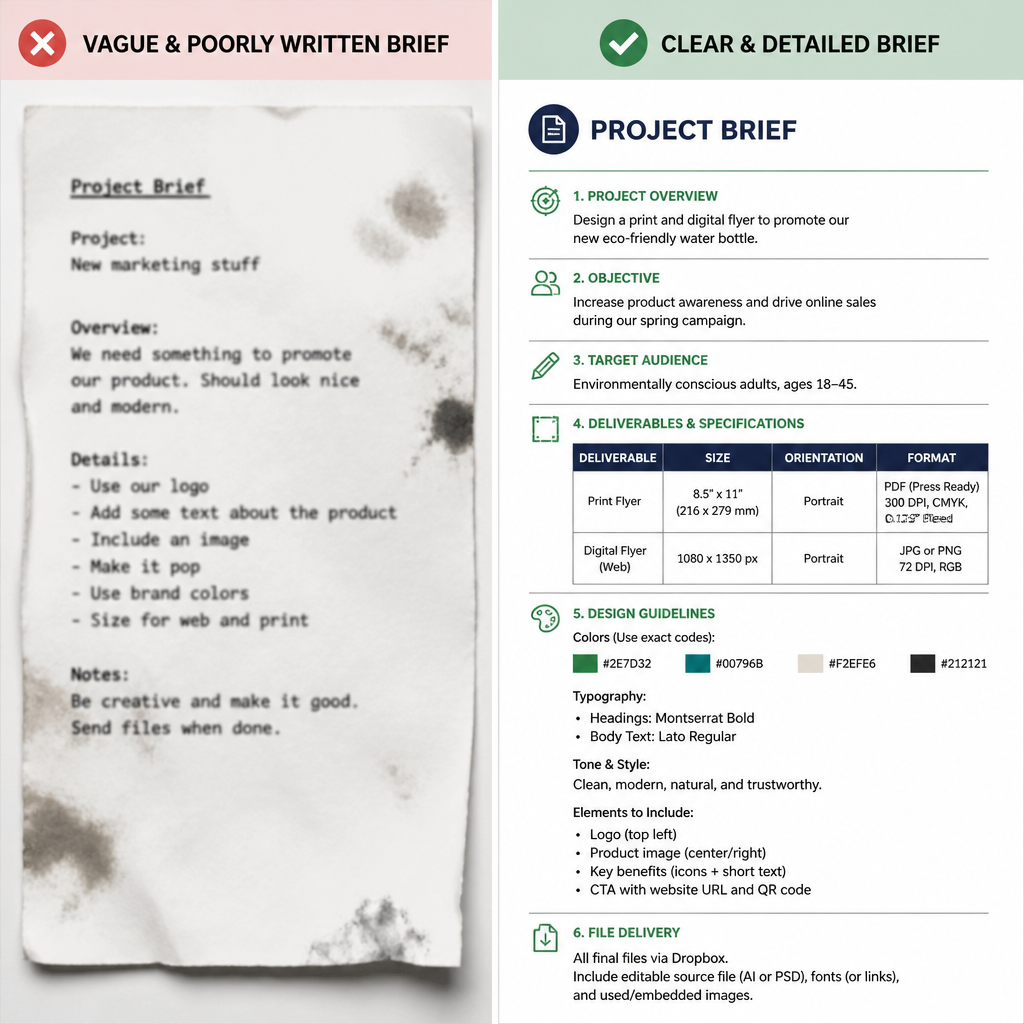
A custom clothing brief is not a courtesy document. It is the only protection you have against receiving something you did not order. Printers work from what is written, not what you imagined. The more specific your brief, the fewer interpretation decisions the printer has to make on your behalf.
In practice, the businesses that receive exactly what they wanted are the ones that submitted a complete brief upfront. They did not rely on back-and-forth emails to fill in gaps. They treated the brief as the single source of truth for the entire order.
This is especially relevant for UK businesses ordering branded workwear or event apparel, where the stakes of a wrong order include delayed site starts, embarrassing event uniforms, or wasted budget on stock that cannot be used. Getting the brief right is not bureaucracy. It is basic risk management.
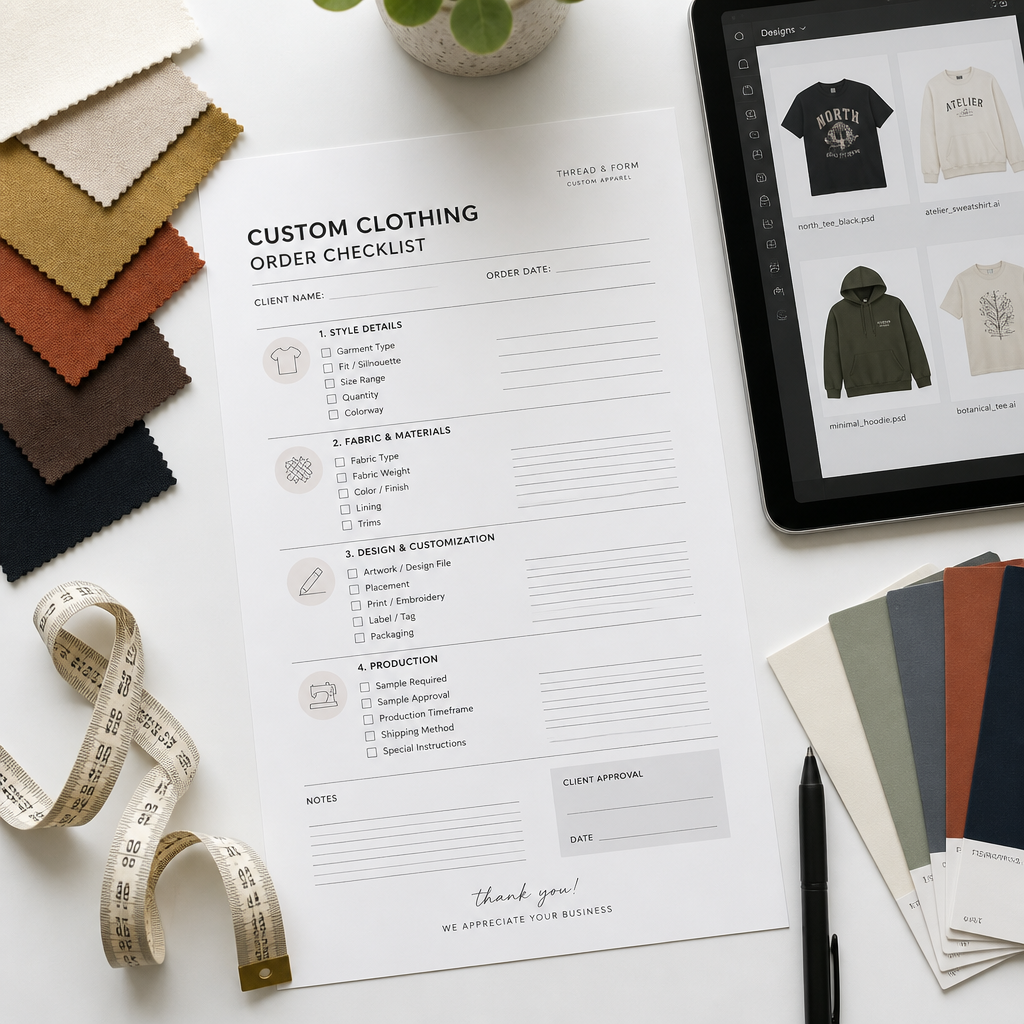
1. Garment Type and Brand
The first thing to specify is exactly what you are ordering. Not just "a hoodie" but the specific garment category, the preferred brand, and the product code if you know it. This matters because two hoodies from two different brands can differ in weight, collar construction, pocket style, and print surface texture.
Why Brand Specification Prevents Substitutions
Many print suppliers will substitute a garment if your preferred choice is out of stock, unless you explicitly state no substitutions without approval. Garment brand is not a minor detail. A customer ordering a 350gsm heavyweight hoodie for a construction crew does not want to receive a thin 280gsm alternative because it was available in their size run.
If you are ordering through a supplier like Psyque's hoodies and sweatshirts range, browse the specific product pages and note the product name and weight before briefing. Do not assume your supplier will pick the right one.
What to Include in This Section of Your Brief
List the garment category (t-shirt, polo, hoodie, sweatshirt), the preferred brand, the product code or name, and a fallback option if that specific garment is unavailable. A brief that says "Stanley Stella STTU755 organic cotton t-shirt, white, and if unavailable please contact before substituting" is a complete garment specification.
2. Sizes and Quantities Per Size
Size breakdowns are where businesses lose money. Ordering 10 of every size from XS to 3XL sounds fair, but it rarely reflects the people actually wearing the garments. In UK workwear contexts, the realistic distribution for a mixed adult workforce typically skews toward medium, large, and extra-large.
Practical Size Distribution for UK Workwear Orders
For a 50-piece workwear order, a realistic starting distribution would be: S x4, M x12, L x16, XL x12, 2XL x6. This is not a universal rule, but it is a far more useful starting point than equal quantities. Always cross-reference against your actual team data before finalising.
For event apparel where you do not know your audience precisely, err toward more medium and large. Leftover smalls are harder to redistribute than leftover larges in most business contexts.
Specify Adult and Children Sizing Separately
If your order includes both adult and children sizes, list them as two separate lines in your brief. Mixing them in a single quantity column creates errors at the packing stage. Also confirm whether you need fitted or unisex sizing, since the same nominal size differs between the two.
3. Print Placement and Dimensions
Print placement is the most consistently under-specified part of any custom clothing brief. "Left chest" is not a placement. It is a region. Proper placement specification includes the exact position measured from a fixed reference point on the garment.
We would love your feedback and any insights you would share with others. What perspective would you add?
Standard Reference Points for Garment Measurements
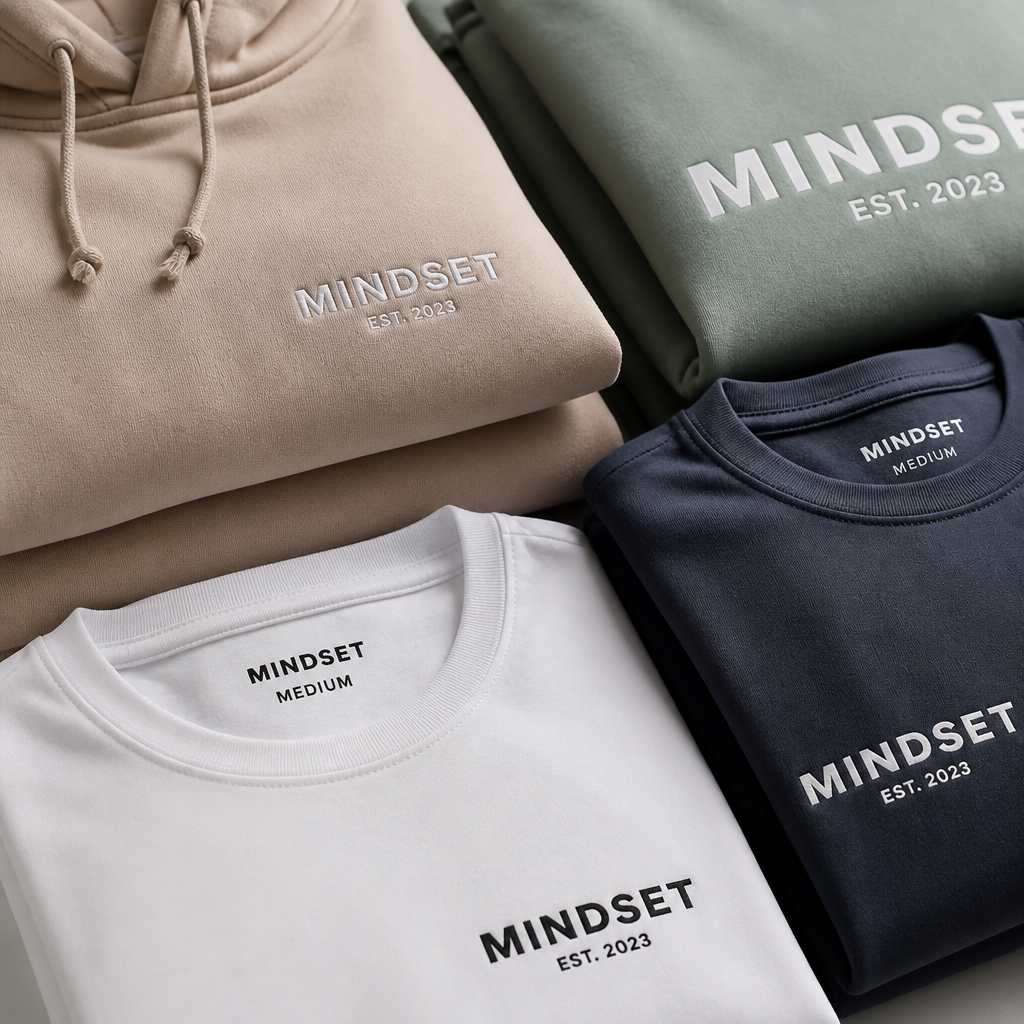
The industry standard is to measure from the collar seam downward for vertical positioning, and from the closest side seam inward for horizontal centering on chest prints. A left chest logo brief should read: "Centre of print 8cm from collar seam, 10cm from left armhole seam. Print width 8cm." That is a placement specification.
Back prints require the same precision. Specify the distance from the collar seam to the top of the print, the width of the print, and whether it should be centred horizontally across the back.
Multiple Print Positions on a Single Garment
If you need both a chest logo and a back print on the same garment, list each as a separate placement specification. Include the artwork reference for each position so there is no ambiguity about which design element goes where.
Pro tip: Request a digital mock-up from your supplier before production begins. A mock-up showing exact placement on a garment flat avoids the most common sizing and positioning errors, and most reputable UK print suppliers will provide this as standard.
4. Artwork File Format and Colour Mode
The artwork section of your brief is where technically unprepared businesses cause the most delays. Supplying a logo screenshot from a website or a JPEG exported from a PowerPoint presentation is not usable artwork for garment printing.
Acceptable File Formats for DTF and Heat-Press Printing
For DTF printing, the preferred formats are vector files (AI, EPS, PDF with embedded fonts and outlines) or high-resolution raster files (PNG with transparent background, minimum 300 DPI at the intended print size). A file that looks sharp on screen at thumbnail size will not print clearly at A4 scale.
Always supply your artwork at the actual print dimensions, not at a reduced size to be scaled up later. Scaling up a raster file destroys resolution. If your designer created the logo in Illustrator, request the original AI file, not a web export.
Colour Mode for Print Production
Artwork for garment printing should be supplied in either RGB or CMYK colour mode depending on the print method. For DTF specifically, RGB files are generally preferred because the printing process converts to its own colour profile. Confirm this with your supplier. Do not assume. A brief that specifies colour mode removes one more variable.
"Artwork quality is the single most common reason for print delays in custom apparel production. Businesses that supply print-ready files on day one consistently receive orders faster and with fewer revisions." - Garment Decoration Industry Best Practice Guidance, British Promotional Merchandise Association
5. Colour Specification and Matching
Colour is subjective until you give it a reference number. What looks like royal blue on your screen may look like navy or cobalt in print, depending on the printer's colour profile and the substrate. The fix is simple: use Pantone references.
How Pantone References Work in Practice
The Pantone Matching System (PMS) assigns a unique code to each colour. If your brief says "brand blue: Pantone 286 C", your printer has a physical swatch reference that is independent of screen calibration or file settings. This is the professional standard for branded workwear where colour consistency matters across multiple print runs.
If you do not have Pantone references for your brand colours, ask your designer. They should have this information in your brand guidelines. If no brand guidelines exist, this is a good moment to create them, since consistent colour across print runs, digital materials, and signage is a direct business asset.
Garment Colour and Print Colour Interaction
Dark garments require a white underbase layer when printing light colours with DTF. This affects the final appearance of the print. Always specify your garment colour in your brief so your supplier can adjust the print file accordingly. A yellow logo on a black hoodie needs different file preparation than the same logo on a white t-shirt.
6. Print Method Preferences
You may not always have a strong preference for print method, and that is fine. But you should at least understand the options so you can brief intelligently when your artwork or use case makes one method clearly more appropriate than another.
DTF Versus Screen Print Versus Embroidery
DTF (Direct to Film) printing excels with full-colour artwork, small order quantities, complex gradients, and photographic detail. It is the method used by Psyque and is well-suited to businesses ordering branded workwear in short runs without setup costs per colour. Screen printing becomes economically competitive at higher quantities (typically 50 or more pieces) with simple, flat-colour designs. Embroidery suits premium workwear such as polo shirts and corporate fleeces where a raised, textured finish adds perceived value.
In your brief, state whether you have a method preference and the reason. If your artwork includes a photographic element or more than three colours, note that DTF is preferable. If you specifically need embroidery, state it. If you have no preference, say so and let your supplier recommend based on the artwork and quantity.
Wash and Durability Requirements
Workwear goes through more wash cycles than promotional t-shirts. If your garments need to withstand daily washing in commercial or domestic laundry conditions, specify this in your brief. It affects both the print method recommendation and the finishing process. A print that looks sharp after five washes but fades after twenty is not fit for purpose in a workwear context.
Pro tip: Ask your supplier for a wash durability rating or test specification before committing to a large workwear order. Suppliers offering DTF with quality heat-press application, such as Psyque's printed t-shirt range, should be able to confirm their garments hold print integrity through standard UK domestic wash cycles.
7. Garment Colour and Fabric Composition
Fabric composition directly affects how a print adheres, how colours appear after washing, and whether the garment is suitable for your end use. Cotton holds DTF prints well. Polyester-heavy blends can cause colour shifting or reduced adhesion depending on the heat-press settings used.
Specifying Fabric Weight and Composition
State the minimum fabric weight you require. For workwear, 180gsm and above is standard for t-shirts. For hoodies used outdoors or in cold environments, 280gsm or heavier is appropriate. Lightweight promotional t-shirts at 140gsm look cheap and feel cheap; if your brand represents quality, the garment weight matters.
Also specify fabric composition. A 100% organic cotton brief is a different product to a 65% polyester, 35% cotton brief, and both will print differently. If your company has a sustainability policy, this is where you document it in the order brief.
Garment Colour Options and Limitations
Not every garment style is available in every colour. When you specify a garment colour, also provide a secondary colour preference in case your first choice is out of stock. Specify colours using both a descriptive name and a colour code where possible. "Bottle green" means different shades to different people. "Bottle green (similar to Forest Green 567 C)" is more useful.
8. Delivery Deadline and Dispatch Requirements
Deadline management is the final piece of a solid custom clothing brief, and it is where businesses most often create problems for themselves by providing too little lead time or confusing their event date with their required delivery date.
The Difference Between Needed-By Date and Event Date
Always brief your printer with the date the garments must be in your hands, not the date of the event or site start. For a company that needs branded polo shirts ready for a trade show on a Monday, the needed-by date is the Friday before at the latest, to allow for any courier delays or final checks. That Friday date is what goes in the brief.
What to Include in the Delivery Section of Your Brief
Specify the required dispatch date, the delivery address in full including postcode, any access restrictions (such as a site address that requires pre-notification), and whether the delivery must be signed for. For orders over multiple locations, list each delivery address separately with the quantity to be sent to each. A split-delivery brief that is vague about which sizes go to which site is a packing error waiting to happen.
Psyque offers free UK shipping on orders over £45, which means specifying your full delivery address correctly in the brief also ensures you hit the right threshold and avoid unnecessary shipping costs. You can review their current dispatch details on the Psyque homepage.
Comparison of Brief Quality Levels
To make the difference between a weak and a strong brief concrete, the table below compares three real-world brief quality levels across the key dimensions covered in this article.
| Brief Element | Weak Brief | Adequate Brief | Production-Ready Brief |
|---|---|---|---|
| Garment specification | "50 hoodies, black" | "50 black pullover hoodies, medium weight" | "50 x Stanley Stella STSU812, Black, 350gsm, no substitution without approval" |
| Sizes and quantities | "Various sizes" | "S x5, M x15, L x20, XL x10" | "S x5, M x15, L x20, XL x8, 2XL x2. Unisex sizing. No children sizes required." |
| Print placement | "Logo on front" | "Left chest logo, small" | "Left chest. Centre of print 8cm from collar, 10cm from left seam. Print width 9cm." |
| Artwork file | JPEG screenshot from website | PNG at 150 DPI, no background | AI vector file with outlined fonts, plus PNG at 300 DPI at actual print size, transparent background |
| Colour specification | "Match our website blue" | "Dark blue, similar to navy" | "Pantone 2767 C for all print elements. No substitution." |
| Deadline | "ASAP" | "Need them by end of next week" | "Required in hand by 12 March 2025. Delivery address: [full address with postcode]. Signed for delivery required." |
Frequently Asked Questions
What is the minimum information needed to place a custom clothing order in the UK?
At a bare minimum, you need to specify garment type and brand, total quantity with size breakdown, print placement with measurements, print-ready artwork file, and your required delivery date. Missing any of these will result in your supplier needing to chase clarification, which delays production. Complete briefs get processed faster at every reputable UK print supplier.
Do I need a Pantone colour reference for every custom order?
Not always, but you should use one wherever brand colour accuracy matters. For promotional give-aways where a shade variation of 5-10% is acceptable, a descriptive colour name may be sufficient. For branded workwear that must match your company's existing printed materials, signage, or brand guidelines, a Pantone reference is not optional. It is the only way to ensure consistency across print runs and suppliers.
What file format should I send my logo in for DTF printing?
A vector file (AI, EPS, or PDF with outlined fonts) is the preferred format for any garment print method including DTF. If a vector file is not available, supply a PNG with a transparent background at a minimum of 300 DPI measured at the actual print dimensions. A JPEG at any resolution is not suitable because it includes a white background that will print as a white box around your logo.
How far in advance should I place a custom clothing order in the UK?
For most UK-based DTF printers, the standard production time once artwork is approved is between 3 and 7 working days, with dispatch on top of that. If you have a fixed event or project deadline, work backwards from your needed-by date and add at least 3 working days buffer for courier delays. Placing your order at least two weeks before your event date is a realistic minimum for small to mid-sized orders.
Can I order different designs on different garment colours in the same batch?
Yes, but you must treat each design and colour combination as a separate line in your brief. List them individually with their own size breakdowns, placement specifications, and artwork references. Mixing multiple designs in a single brief entry is a reliable way to introduce packing errors. Structured briefs with one line per unique specification are easier for suppliers to process and less likely to result in fulfilment mistakes.
What is the ordering custom apparel checklist that professional buyers use?
Professional buyers working in procurement or brand management typically follow a checklist that covers: garment type and brand, sizes and quantities per size, artwork files at print resolution, Pantone colour references, print placement with measurements, print method specification, wash durability requirements, and delivery address with deadline. This matches the eight categories covered in this guide. Formalising this into a reusable template document will save significant time and reduce errors on every future order.
Does garment colour affect how a DTF print looks?
Yes, significantly. DTF printing on dark garments requires a white underbase layer to ensure light-coloured elements in your design are visible. Without this, yellow or white text on a black garment will either be invisible or appear muted. Always specify your garment colour in your brief and confirm with your supplier that the artwork has been prepared accordingly. This is particularly relevant for businesses ordering multiple colourways of the same branded design.
If you have recently gone through a custom clothing brief process, good or bad, we would genuinely like to hear what you found most useful or most frustrating about it.
References
- Forbes business and branding insights covering operational best practices for small business owners
- Statista data on the UK promotional products and branded merchandise market
- HubSpot marketing statistics relevant to branded merchandise and business identity
- UK Government guidance on textile product marking and labelling requirements
- Ahrefs blog covering content and search behaviour data relevant to B2B buying decisions