T Shirt Printing Personalised Guide for UK Creators
Let's be real—a personalised t-shirt isn't just a piece of clothing. It's a statement. It’s taking a blank canvas and turning it into something that’s yours and yours alone, whether that’s with a custom design, a photo, or some text that means something to you. Thanks to modern tech like Direct-to-Film (DTF), doing this yourself has never been easier or more affordable. This guide is your walkthrough for creating pro-level apparel right from your own space.
Why Personalised T-Shirt Printing Is Taking Over
The days of being happy with generic, off-the-rack gear are long gone. People are hungry for unique ways to show who they are, and t shirt printing personalised has become a massive outlet for that. It’s way more than a novelty; it's a full-blown movement towards self-expression and building communities. You see it everywhere—from small brands creating merch to local footy teams rocking kits that build genuine team spirit.
For one person, a custom tee can mark a milestone, show off a piece of art, or just share a stupid inside joke with mates. For businesses and groups, it’s a physical way to carve out a memorable identity. Event organisers use them to build a sense of community, while brands turn their biggest fans into walking billboards. This explosion in demand is sending the market into overdrive.
The UK Market for Custom Apparel
This isn't just a vibe—it's backed by some serious numbers. The custom t-shirt printing market here in the UK is growing at a wild pace, proving just how much consumer tastes have shifted. In 2023, the market was valued at a cool USD 200.1 million, and it's on track to more than double, hitting around USD 419.6 million by 2030. That kind of growth shows just how deep the roots of personalisation have grown in the UK apparel scene. You can dive into the full market analysis over at Grand View Research.
This chart lays out the projected growth of the UK's custom t-shirt printing market loud and clear.
You don't need to be a market analyst to see that powerful upward trend. The demand for personalised gear is on a serious climb, and it’s not slowing down.
At its core, this whole thing is about connection. A personalised t-shirt connects you to a memory, a crew, or a cause. It takes an everyday item and makes it mean something.
In this guide, we're zeroing in on Direct-to-Film (DTF) printing. This is the method that has blown the doors wide open for creators at every skill level. DTF tech lets you produce incredibly vibrant, detailed, and durable prints without the headache and messy setup of old-school methods. It’s all about empowering you to take your digital designs and bring them to life on fabric—turning a creative idea into something real you can actually wear. We’ll show you exactly how it’s done.
Preparing Your Design for Flawless Printing
The magic of t-shirt printing personalised happens long before any ink hits the film. A killer, vibrant print is born from a technically perfect design file. Trust me, skipping these prep steps is the fastest way to get a blurry, disappointing result that does zero justice to your idea.
Your design's quality starts with its resolution. Think of it like the building blocks of your image; the more blocks you have, the sharper the final picture will be. For printing, the non-negotiable industry standard is 300 Dots Per Inch (DPI). A low-res file, like a 72 DPI image you snagged from the web, might look fine on your screen but will turn into a pixelated, fuzzy mess when printed on a shirt.

File Format and Colour Mode
Once you've got the resolution sorted, it's time to pick the right file format and colour mode. Your screen shows colours in RGB (Red, Green, Blue), but printers think in CMYK (Cyan, Magenta, Yellow, Black). If you save your design in CMYK from the start, you’ll get a much closer match between what you see on screen and the final printed tee.
For DTF printing, the absolute best format is a PNG (Portable Network Graphic) with a transparent background. This is non-negotiable. Unlike a JPEG, which fills any empty space with white, a PNG preserves that transparency. This means only your actual design gets printed—not a clunky white box around it.
One of the most common rookie mistakes I see is overlooking stray pixels. Zoom right in and meticulously check the edges of your design for tiny, almost invisible dots. Those strays will get printed and can completely ruin an otherwise perfect transfer.
To make this dead simple, here’s a quick-reference guide to get your files print-ready every single time.
Essential Design File Specifications
| Specification | Recommendation | Why It Matters |
|---|---|---|
| Resolution | 300 DPI | Ensures your print is sharp and clear, not pixelated or blurry. |
| File Format | PNG | Preserves transparency, so only your design gets printed, not a background box. |
| Colour Mode | CMYK | Provides a more accurate colour match between your screen and the final print. |
| Background | Transparent | Absolutely crucial for DTF to avoid printing an unwanted solid background. |
Stick to these specs, and you're already 90% of the way to a professional-looking print.
Practical Design Considerations
Beyond the technical stuff, a few practical design choices can make or break your final product. For instance, ultra-thin lines and tiny, intricate text can be a real headache. DTF technology is incredibly detailed, but lines that are too fine might not hold enough ink and adhesive powder to transfer properly. The result? A broken or incomplete look.
Here are a few essential checks before you call it done:
- Vector vs. Raster: If you can, create your design in a vector program like Adobe Illustrator. Vector files can be scaled up or down to any size without losing a drop of quality. Raster files (like JPEGs or PNGs) are made of pixels and will get blocky if you try to enlarge them.
- Check for Transparency: Double-check that your background is actually transparent. A quick way to test this is by dropping a brightly coloured layer behind your design in your software. If you see a white box, it’s not transparent.
- Simplify Complex Colours: While DTF is great with gradients, sometimes simplifying overly complex colour blends can lead to a cleaner, more solid print.
To streamline the creation of unique designs, it's worth exploring some of the top image personalization software out there. Getting the design file right is a huge piece of the puzzle; for more on the whole process, check out our guide on the fundamentals of custom t-shirt printing.
Putting in that little bit of extra time on the prep work ensures your creative vision translates perfectly onto the fabric. You'll end up with a professional-quality personalised t-shirt you can actually be proud of.
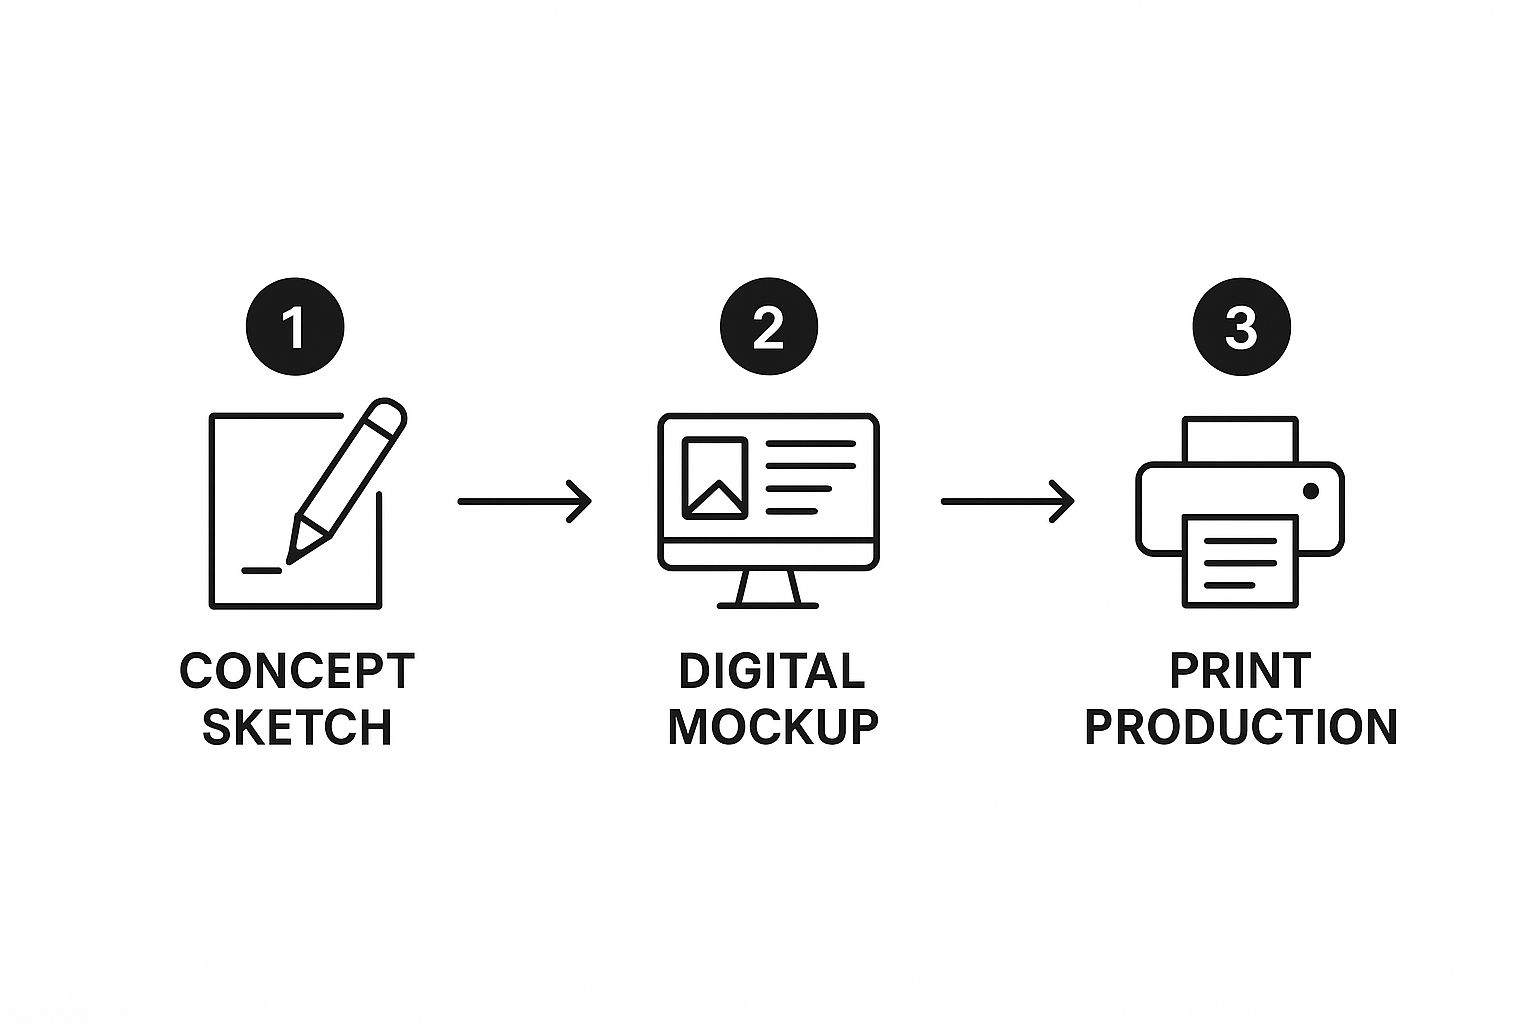
Your Guide to the DTF Printing Process
Right, your design file is prepped and looking sharp. Now for the fun part: bringing it to life with the Direct-to-Film (DTF) process. This is where your digital artwork gets physical, and getting each step right is the key to creating t shirt printing personalised gear that looks professional, not homemade.
It all starts by feeding a sheet of special DTF film into your printer. Forget paper—this film has a unique coating that grips the ink just right, holding it in place until you’re ready to press. Once the film is loaded, the printer lays down your design. But there's a specific order to this madness: the vibrant CMYK colours go down first, followed by a solid, bright layer of white ink right on top.
That white layer is non-negotiable. It’s the foundation of your entire print. It’s what makes your colours scream with intensity, especially on dark or black garments. Without a proper white underbase, your design will look weak and washed out on anything but a plain white tee.
Applying and Curing the Adhesive Powder
With the ink still wet on the film, it’s time to introduce the magic ingredient: the DTF adhesive powder. This stuff is a fine, granulated polymer that will physically bond your design to the t-shirt fibres. The aim here is a perfectly even coat across every part of your inked design.
My method is pretty straightforward. I hold the film by the edges, dip it into a tray of powder, and gently rock it back and forth to get full coverage. A quick, firm shake gets rid of any excess. You only want the powder sticking to the wet ink—any stray bits on the clear parts of the film will make for a messy, amateur-looking transfer.
Once powdered, you have to cure it. This just means melting the powder until it forms a smooth, glue-like layer over the ink. You can do this with a heat press (hover it just above the film, don't touch!) or a proper curing oven. You’re aiming for around 120-150°C for about 2-3 minutes, but always double-check the instructions for your specific powder. What you're looking for is a glossy, slightly bumpy texture, a bit like orange peel. Watch it carefully, though. Scorching the film will kill the transfer instantly.
Creating the Right Workspace Environment
Your setup is just as critical as the printing itself. Let’s be clear: the DTF curing process releases fumes, so proper ventilation is an absolute must. Work in a room with good airflow or, even better, use an air filtration system. It’s not just about protecting your health; it also stops dust and other junk from landing on your wet transfers and ruining them.
A few more tips for a solid workspace:
- Keep It Clean: Dust is the enemy of a good print. Wipe your surfaces down constantly and keep things tidy.
- Watch the Humidity: If it’s too humid, it can mess with how the ink dries and how the powder sticks. Try to keep the room stable, somewhere between 40-60% relative humidity is ideal.
- Get Organised: Have your film, powder, and tools ready to go before you start. A chaotic workflow leads to stupid mistakes and wastes time. If you're curious about different printing setups, it's worth seeing what various custom t-shirt printers are using.
Think of the DTF process like baking a cake. Each ingredient and step—the ink, the powder, the curing time—has to be just right. Rushing one part or using the wrong temperature will leave you with a disappointing result, no matter how good the recipe was.
Nailing these steps gives you total control over the finished product, ensuring every t-shirt you make is vibrant, tough, and flawlessly executed.
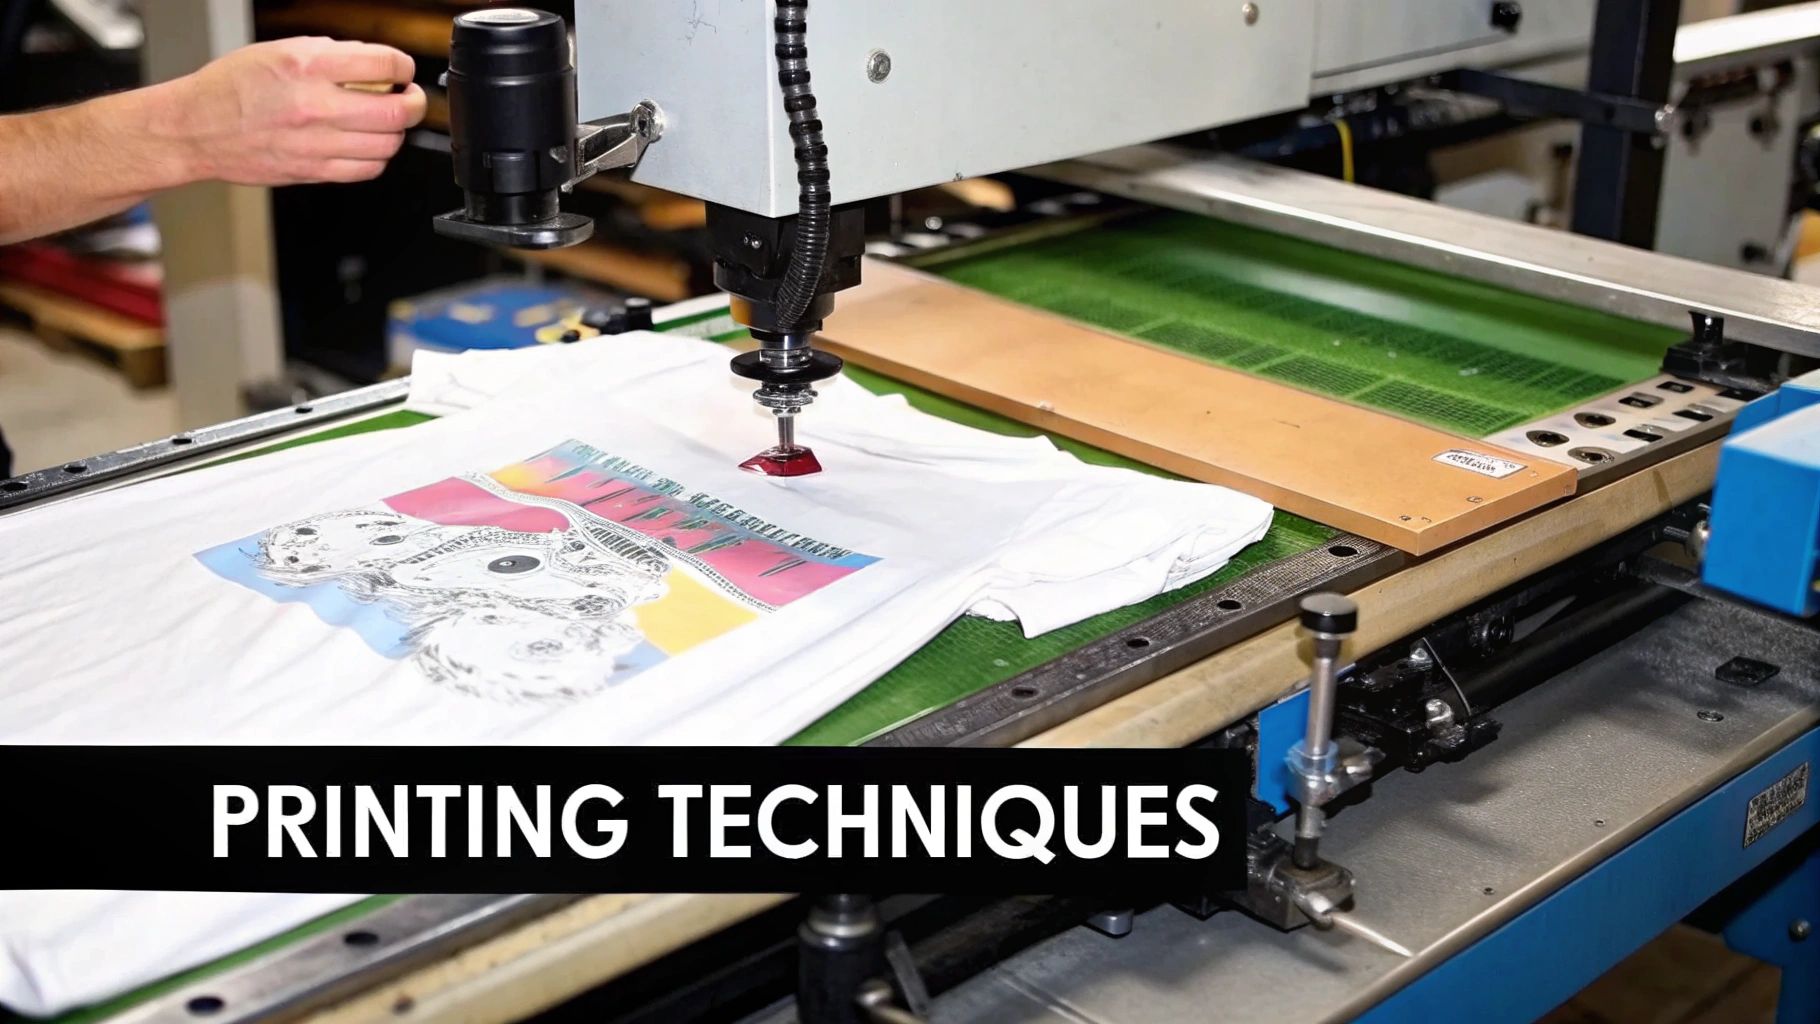
Using a Heat Press to Apply Your DTF Transfer
With your printed and cured transfer ready to go, you’ve made it to the most satisfying part of t-shirt printing personalised. This is where your digital design finally becomes one with the fabric. Nailing this step all comes down to mastering three critical things: temperature, pressure, and time.
Think of it as a precise recipe. Get the balance wrong, and you'll end up with a print that peels, cracks, or feels stiff and plasticky. For a standard cotton t-shirt, a solid starting point is usually around 150-160°C for 10-15 seconds with medium pressure. But these settings are definitely not universal—different fabrics demand different treatment.
Adjusting for Different Fabrics
Synthetics like polyester are super sensitive to high heat and can scorch in a heartbeat. For these, I always drop the temperature to around 130-140°C and shorten the press time a little. Blended fabrics, like a poly-cotton mix, fall somewhere in the middle. My best advice? Always start with a lower temperature and do a quick test press on a hidden part of the garment. It's a smart move that can save you a shirt.
Before you even think about placing your design, you must pre-press the garment. Just lay your t-shirt flat on the heat press and give it a quick press for about 5-7 seconds. This simple step is a game-changer. It smooths out any wrinkles, but more importantly, it zaps any hidden moisture lurking in the fibres. Trapped moisture is the number one enemy of a good transfer; it turns to steam and stops the adhesive from bonding properly.
Once it's pre-pressed, carefully position your DTF transfer on the t-shirt. I recommend using a measuring tape or a T-square ruler to make sure it's perfectly centred and straight. A wonky design can kill the whole vibe of an otherwise flawless print.
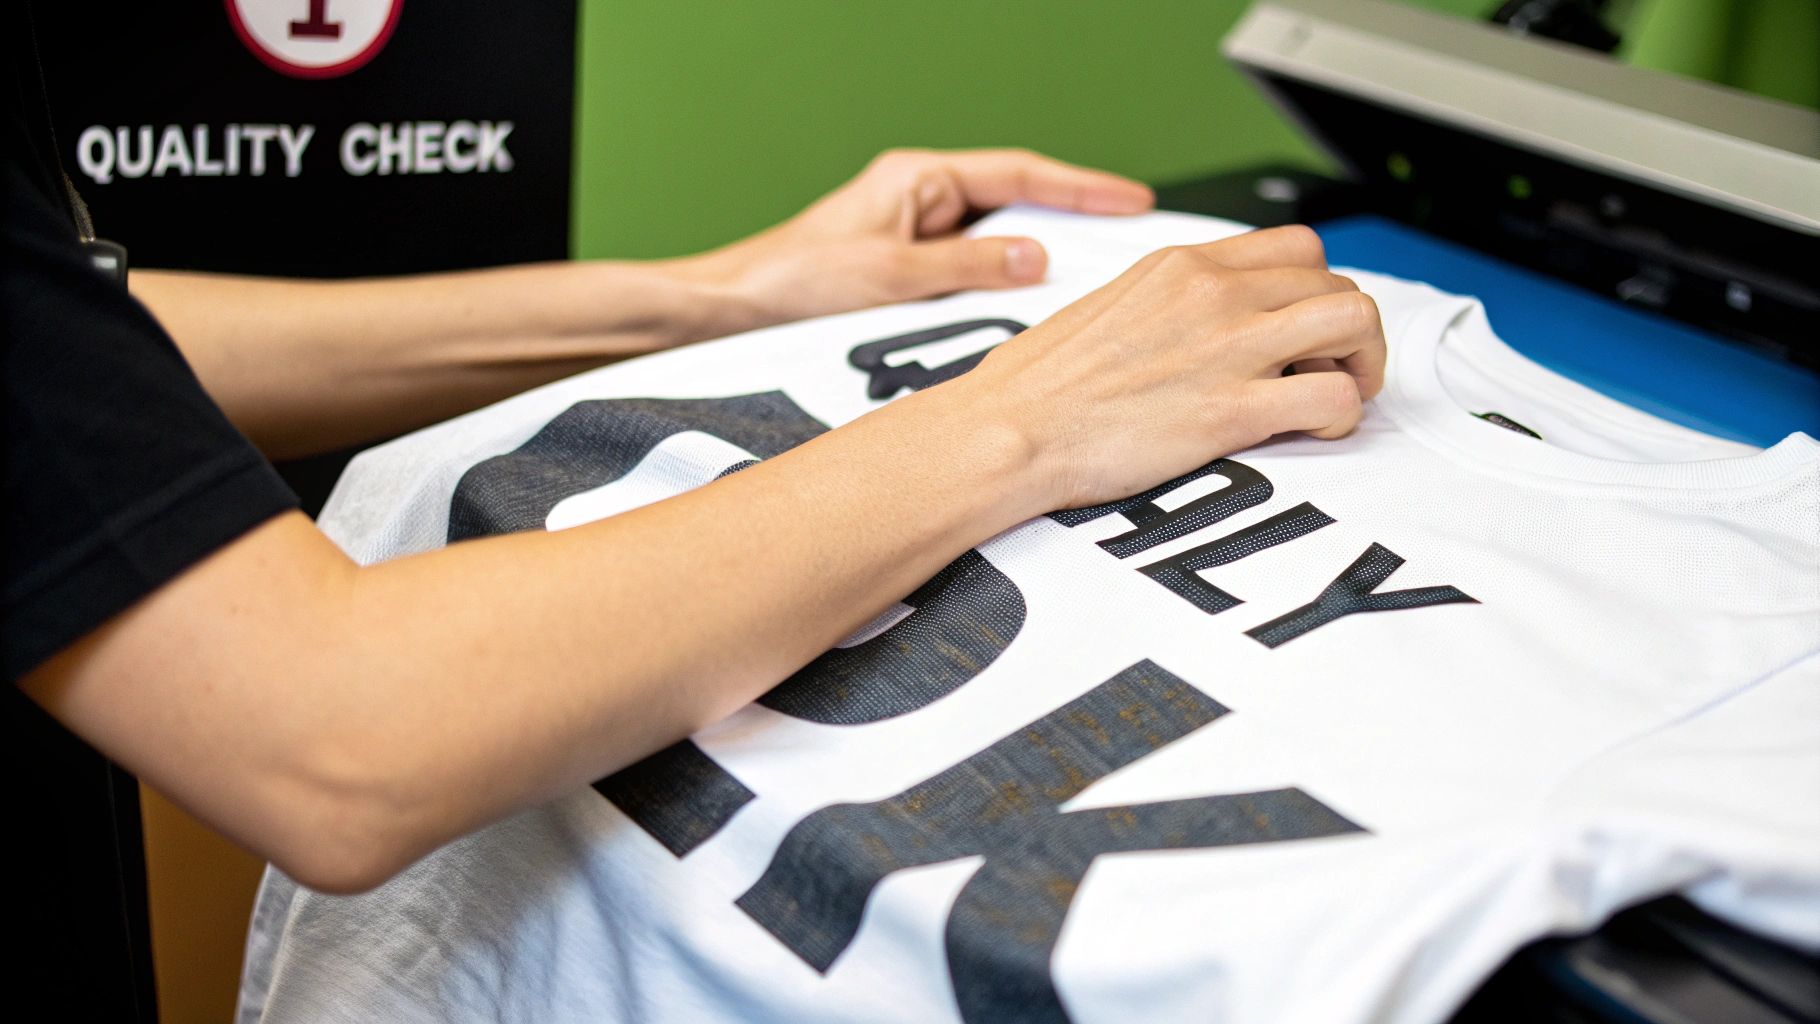
The First Press and The Peel
With your design perfectly aligned, cover it with a Teflon sheet or a piece of parchment paper. This protects both the print and your heat press platen from any mishaps. Now, close the press and hit that timer. As soon as it beeps, open the press and move the garment to a cool, flat surface to chill out.
Now for the moment of truth—the peel. DTF transfers are either a hot peel or a cold peel, and you need to know which one you have. Always check what your film manufacturer recommends.
- Hot Peel: You peel the film away almost immediately while the transfer is still piping hot.
- Cold Peel: You have to wait until the transfer has completely cooled down to room temperature before even thinking about peeling.
Peeling at the wrong temperature can literally pull the design right off the shirt. From my experience, cold peel films are generally more forgiving for beginners and deliver a fantastic, smooth matte finish. If you're curious how this whole process stacks up against old-school methods, you can dive into the differences between DTF vs screen printing for graphic tees.
Don't skip the second press! After you've peeled the film off, cover the design again with parchment paper and press it for another 5-7 seconds. This final press is what locks the design deep into the fabric fibres. It dramatically improves durability and gives it a much softer, more integrated feel.
This finishing touch is what transforms the print from something sitting on the shirt to something that feels like it’s part of the material itself. It’s a small step that makes a huge difference.
Getting a Feel for What’s Driving Custom Apparel
Before you fire up the printer, it pays to zoom out and look at the bigger picture. Creating custom gear that actually sells means tapping into what people genuinely want. The custom apparel industry is massive, and understanding the forces shaping it helps you connect your creative projects to real-world demand.
The explosion in t shirt printing personalised isn't just a fleeting fad; it’s plugged into some deep cultural shifts. Think about grassroots sports clubs, passionate fan communities, or even local businesses. For them, custom gear is a badge of identity. It’s a powerful, wearable way to say, "we belong together."
The Power of Niche Communities
One of the biggest drivers we're seeing, especially here in the UK, is the surge in community-based groups and sports. Government-backed programmes are pouring fuel on this fire.
Take the Rugby Football Union’s 'Impact '25' initiative. It’s a huge push to get more women into rugby, backed by over £12 million in government funding. The goal? To grow the number of female players to 100,000 by 2027. Just imagine the demand that creates for custom team kits, supporter merch, and tour shirts.
This isn’t just about sports, though. The same dynamic is playing out everywhere:
- Local businesses are using branded tees to unify their teams and act as walking adverts.
- Charity events rely on custom shirts to build camaraderie and raise awareness.
- Online creators and streamers build loyal followings with unique merch that fans feel connected to.
Sustainability Isn't a Buzzword Anymore
Another massive shift is the demand for sustainability. Let's be honest, people are getting smarter about where their stuff comes from. They aren’t just looking at a cool design anymore; they’re flipping the label and asking how it was made.
Today's buyer is more informed than ever. They want to know the t-shirt they're wearing was made ethically, with materials and inks that aren't wrecking the planet. This has gone from a niche concern to a mainstream expectation.
This means customers are now actively hunting for brands that offer eco-friendly choices. They want organic cotton, recycled polyester blends, and prints made with water-based, non-toxic inks.
Leaning into these values doesn't just satisfy market demand; it builds trust and adds a layer of authenticity to your brand. Getting the finer details right, from the fabric to the finish, is crucial. If you want to dig deeper into how quality printing affects branding, this guide on mastering clothing labels printing for your brand is a great read.
By understanding these trends, you can create personalised apparel that doesn't just look good, but feels right to wear and support.
Your Top Questions About Personalised T-Shirt Printing
When you're jumping into the world of t shirt printing personalised, a few questions always pop up. Getting straight answers is the difference between a project you can't wait to show off and one that's a total headache. Let's get into the stuff I hear creators asking all the time.
One of the first things people want to know is, "Will it last?" A properly made DTF print is incredibly tough. I’m talking easily 50+ washes without the design fading away or cracking into a million pieces. The real secret sauce is in the heat-press application and how you look after it later.
To keep your new favourite tee looking sharp, washing it right is non-negotiable. The best method is simple: turn the shirt inside out before it goes in the machine, wash it on a cool cycle, and stay away from harsh detergents or bleach. That little bit of care protects the print from getting roughed up.
How Long Will It Last and What Can I Print On?
If you want to absolutely maximise the life of your design, air drying is your best friend. Seriously. If you’re in a rush and have to use a tumble dryer, make sure it’s on the lowest heat setting you’ve got. High heat is the sworn enemy of any printed tee—it messes with the adhesive and makes the ink brittle.
Another big question is about fabrics. What actually works? This is where DTF really shines because it’s not picky at all. It works brilliantly on a huge range of materials.
- 100% Cotton: The classic choice. It feels great and makes colours pop like nothing else.
- Polyester: DTF sticks to polyester perfectly, making it a go-to for sportswear or anything that needs to perform.
- Poly-Cotton Blends: You get the best of both worlds here—the soft feel of cotton and the tough-as-nails durability of polyester. DTF handles these blends without breaking a sweat.
The real beauty of DTF is its flexibility. Some print methods are fussy about fabrics, but DTF gives you the freedom to print on cotton, synthetics, and blends with killer results every single time. It just opens up so many more creative doors.
Finally, how does DTF stack up against the old-school methods? Screen printing is awesome for churning out huge batches of a simple design, but it gets expensive fast when you start adding colours or printing smaller runs. Heat Transfer Vinyl (HTV) is solid for bold, blocky graphics but can feel thick and plastic-y, and you lose all the fine detail.
DTF printing really hits that sweet spot. You get photorealistic detail, an unlimited colour palette, and a soft finish that feels great to wear, making it the perfect weapon of choice for most personalised projects.
And if you're looking to turn that creative spark into a business, checking out an ecommerce platform comparison is a crucial next step to figure out the best place to sell your creations.
Ready to bring your own designs to life? At Psyque, we specialise in high-quality DTF printing to create custom apparel that stands out. Explore our collections or get in touch for your own bespoke project at https://psyque.co.uk.