
A Guide to Buy DTF Transfers Online
You can't help but notice the buzz around Direct-to-Film (DTF) printing. It's quickly become the go-to method for UK creators and small businesses, and for good reason. If you're looking to buy DTF transfers, you're jumping into a technology loved for its incredibly vibrant full-colour results on almost any fabric, all without the high setup costs you’d get with traditional screen printing.
Why Everyone Is Talking About DTF Transfers
The explosion in DTF's popularity isn't just another fleeting trend—it's solving a real problem in the market. Small businesses and independent designers needed a way to produce complex, multi-coloured designs on small batches of clothing without breaking the bank. DTF fills that gap perfectly, offering a solid alternative to screen printing, which usually requires huge minimum orders to be cost-effective.
This isn't just a hunch, either. The UK's direct-to-film printing market is growing fast, marking a major shift in how custom apparel gets made.
The Driving Forces Behind DTF's Popularity
So, what’s making this method so compelling? There are a few key factors behind its rise, especially for anyone running a clothing brand or a custom merch business.
- No Minimum Orders: You can order just one transfer or a hundred. This makes it perfect for testing out new designs or handling those one-off custom requests from customers.
- Fabric Versatility: DTF is incredibly flexible. It works brilliantly on cotton, polyester, blends, and even on tricky materials that other printing methods struggle with.
- Full-Colour Vibrancy: Unlike some techniques that can’t handle complex graphics, DTF nails detailed, photorealistic images. You get bright whites and colours that truly pop.
The real game-changer is its accessibility. All of a sudden, anyone with a simple heat press can create professional-quality custom garments, opening up entirely new ways for small-scale entrepreneurs to make money.
With DTF, businesses can launch new product lines faster than ever. Instead of sinking cash into bulky screen printing gear, you can just buy the transfers from a supplier like Psyque and press them onto your blank garments as orders roll in. It’s an on-demand model that keeps waste and upfront costs to a minimum.
The market data absolutely backs up this explosive growth. Let's look at the numbers.
UK DTF Market Revenue Projections
The UK's direct-to-film printing market saw substantial revenue in 2025 and is on a strong upward trajectory, highlighting the industry's health and potential.
| Year | Revenue (USD Million) | Projected CAGR |
|---|---|---|
| 2025 | $192.2 | - |
| 2030 | $249.0 | 5.3% |
These figures clearly show a steady demand and a promising future for DTF technology in the UK. This growth reflects the increasing adoption by businesses of all sizes who are capitalising on the flexibility and quality DTF offers.
Understanding the benefits of using DTF prints is your first step towards making a smart purchase. You can read more about what makes DTF prints a great choice on our blog to get the full picture.
Before you dive in and buy DTF transfers, it’s worth taking a moment to see where this method really shines, especially when compared to the old guards of garment printing: screen printing and Direct-to-Garment (DTG). Each technique has its place, and picking the right one boils down to what your specific project needs.
Let's imagine you're a startup clothing brand about to launch a limited-edition drop. The design is complex, packed with vibrant colours. For a small run of 50-100 tees, DTF is going to be your best mate. Why? The setup costs are virtually zero compared to screen printing, which demands a separate screen for every single colour. That gets expensive, fast, on small batches.
Now, flip the scenario. You're organising a big charity run and need 500 t-shirts printed with a simple, one-colour logo. This is where screen printing often becomes the more economical choice. Once the screens are made, the cost per shirt plummets, making it perfect for bulk orders with simple artwork.
Practical Scenarios: DTF vs. Screen Printing
Let's get practical and break down the decision with a few real-world examples.
-
Vibrancy on Small Runs: A streetwear brand wants a photorealistic graphic printed on 30 hoodies. DTF will deliver stunning, high-fidelity quality without the hefty setup price tag that would come with screen printing.
-
Bulk, Simple Graphics: A local construction company needs 300 hi-vis vests printed with their white logo. Screen printing is the clear winner here, offering a much lower price per item for that kind of volume.
When trying to choose a printing method, it's helpful to see the key differences laid out side-by-side.
Comparison of Printing Methods
| Method | Best for Colour | Ideal Batch Size | Typical Turnaround |
|---|---|---|---|
| DTF | Full-colour, photorealistic designs | 1-500+ | Fast (1-3 days) |
| Screen Printing | Simple, spot colours (1-4 colours) | 50-10,000+ | Medium (5-10 days) |
| DTG | Full-colour, gradients | 1-50 | Very Fast (Same day) |
This table gives a quick snapshot, but the choice always comes back to your specific needs for colour complexity, order volume, and how quickly you need the finished garments.
The key takeaway? DTF offers incredible versatility. It’s a powerhouse for detailed, full-colour designs on all sorts of fabrics, and it doesn’t lock you into a large order. This flexibility is a huge reason why it’s being adopted so quickly across the UK.
This isn't just a local trend. The UK's direct-to-film printing market is part of a wider European movement, which was the largest revenue-generating region globally in 2023. This growth is fuelled by advanced infrastructure and a culture of fashion innovation that influences what we see on our high streets.
For an even deeper dive, you might find our guide comparing DTF vs. screen printing for graphic tees useful. It's a great resource for seeing how the two methods really stack up on things like durability and the feel of the final print.
Preparing Your Designs for Flawless Prints
Let's be honest, the quality of your final print comes down to one thing: the design file you give us. It's the most common hurdle people face when they first buy dtf transfers, and getting it wrong can lead to pixelated images, washed-out colours, and a lot of frustration.
Think of it this way: a poor-quality file will always produce a poor-quality print. No amount of high-tech printing magic can fix a blurry, low-resolution design. So, let's walk through the key checks to make sure your artwork is primed for production. Getting this right from the start saves everyone time and ensures you get the crisp, professional results you're after.
File Format and Resolution Essentials
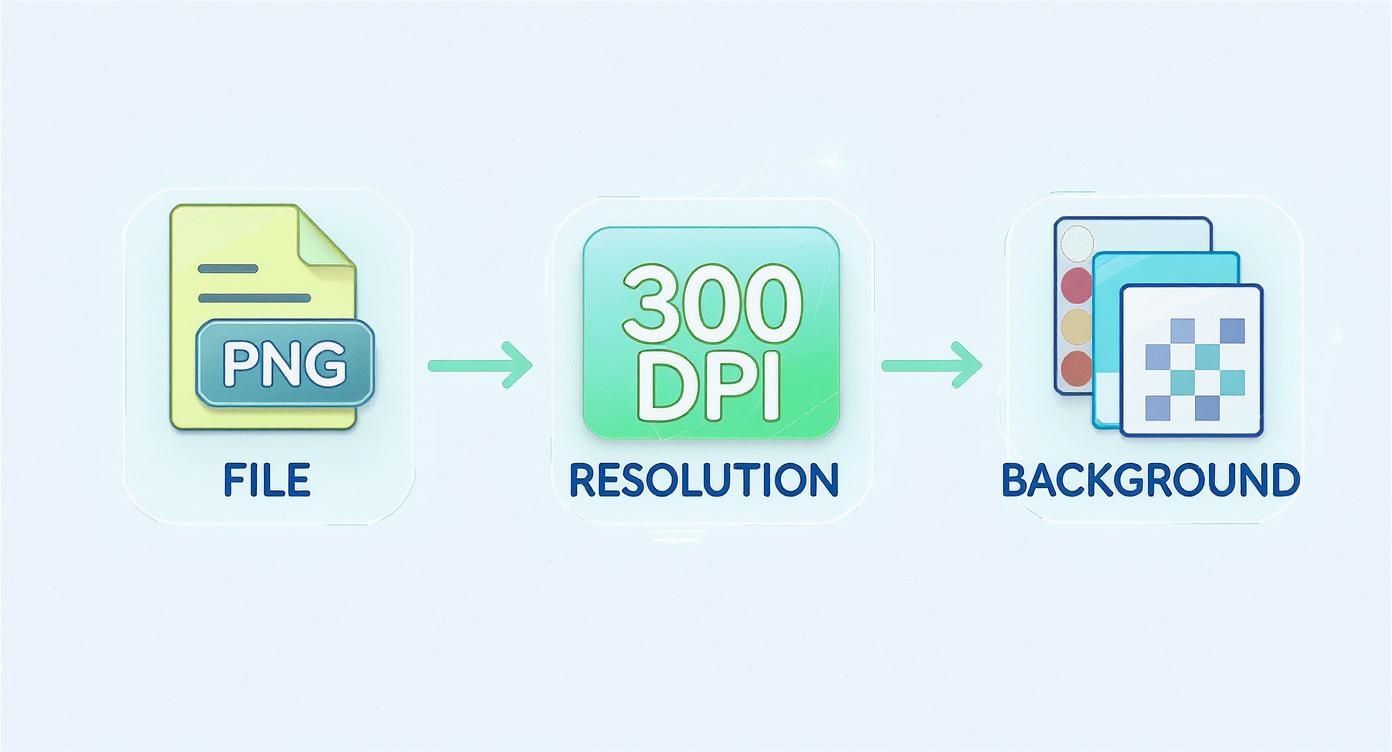
First up, let's talk file types. For DTF, you'll get the best results with raster files that have a transparent background. A PNG is perfect for this. Vector files like AI (Adobe Illustrator) or EPS are also fantastic because you can scale them up or down without losing a shred of quality. One format to steer clear of is JPEG. They don't support transparency, and their compression often strips out vital detail.
Now for the most important rule: your design must have a resolution of at least 300 DPI (dots per inch). This is non-negotiable. Web images are typically 72 DPI, which looks fine on a screen but will come out looking blurry and blocky when printed on fabric.
Key Takeaway: Always export your designs as a 300 DPI PNG file with a transparent background. If you only remember one thing from this guide, make it this. It's the single biggest factor in achieving a high-quality print that looks truly professional.
Here’s a quick example of what a print-ready file looks like. Notice the transparent background, which is key.
That checkered pattern you see isn't part of the design; it's how design software shows transparency. This ensures only your artwork gets printed, not a big white box around it.
Handling Transparency and Colour
Getting transparency right is crucial. If your design has a background—even if it's white to match a white t-shirt—that background will be printed. You need to make sure it's completely removed, leaving only the artwork you want to be transferred. Most design software has a simple "export with transparent background" option.
When it comes to colour, things are pretty straightforward. DTF printers operate on a CMYK (Cyan, Magenta, Yellow, Black) colour model, but you should still design and save your files in RGB (Red, Green, Blue). Don't worry about the conversion; our professional RIP software handles that perfectly, making sure the final print is as vibrant and accurate as what you see on your screen.
For more deep-dive tips on creating stunning artwork, check out our guide to personalised t-shirt printing.
Navigating the Psyque Order Configurator
Right, you’ve got your design sorted and it’s looking sharp. Now for the fun part: bringing it to life. When you’re ready to buy dtf transfers, our order configurator is where you'll get all the specifics dialled in. Think of it as your command centre for making sure what you get is exactly what you pictured.
First up, you'll need to pick your transfer size and how many you need. It’s worth remembering that size has a direct knock-on effect on the cost. If you’re working to a tight budget, playing around with your design’s dimensions can make a real difference.
One of the best tricks of the trade for getting more bang for your buck is to create a gang sheet. This just means you arrange multiple designs onto a single sheet of film. You pay for the sheet, not each individual transfer, which makes it a brilliant way to handle small logos or test out a few different ideas at once.
Fine-Tuning Your Order Details
Next, it’s time to upload your artwork. As we’ve mentioned before, getting this bit right is crucial for a crisp, professional finish. You’ll want a print-ready PNG file with a transparent background, set at 300 DPI resolution.
This is the holy trinity for a flawless transfer.
Get the file type, resolution, and background right, and you're well on your way.
The configurator has a live preview tool, which is honestly your best mate for catching any silly mistakes before they become costly ones. This is your chance to spot any issues with alignment, colour, or transparency before you commit. Double-check everything here, especially the dimensions and the layout of your gang sheet.
Take your time at this stage. Seriously. A few extra moments spent giving the preview a proper look-over can save you from a massive headache down the line. It’s far easier to tweak an error here than to deal with a misprinted batch arriving at your door.
Got a big, complex project on your hands? Or maybe you just need a bit of help getting a particularly large order configured. No problem, our team is on standby to help. You can get personalised support by requesting a custom apparel quote directly through our site.
Finalizing Your Purchase and What Comes Next
Alright, you've dialled in your designs, checked the preview, and you're ready to make it official. Getting your order over the line is a breeze.
Psyque keeps things simple and secure, accepting all major payment methods like Visa, Mastercard, Apple Pay, and Google Pay. If you've got a discount code, now's the time to pop it in before you hit confirm.
The moment you click that 'buy' button, our workshop springs into action. You'll get a confirmation email straight away, laying out your order details and giving you an estimated dispatch date. Think of it as our promise to get your transfers printed and out the door.
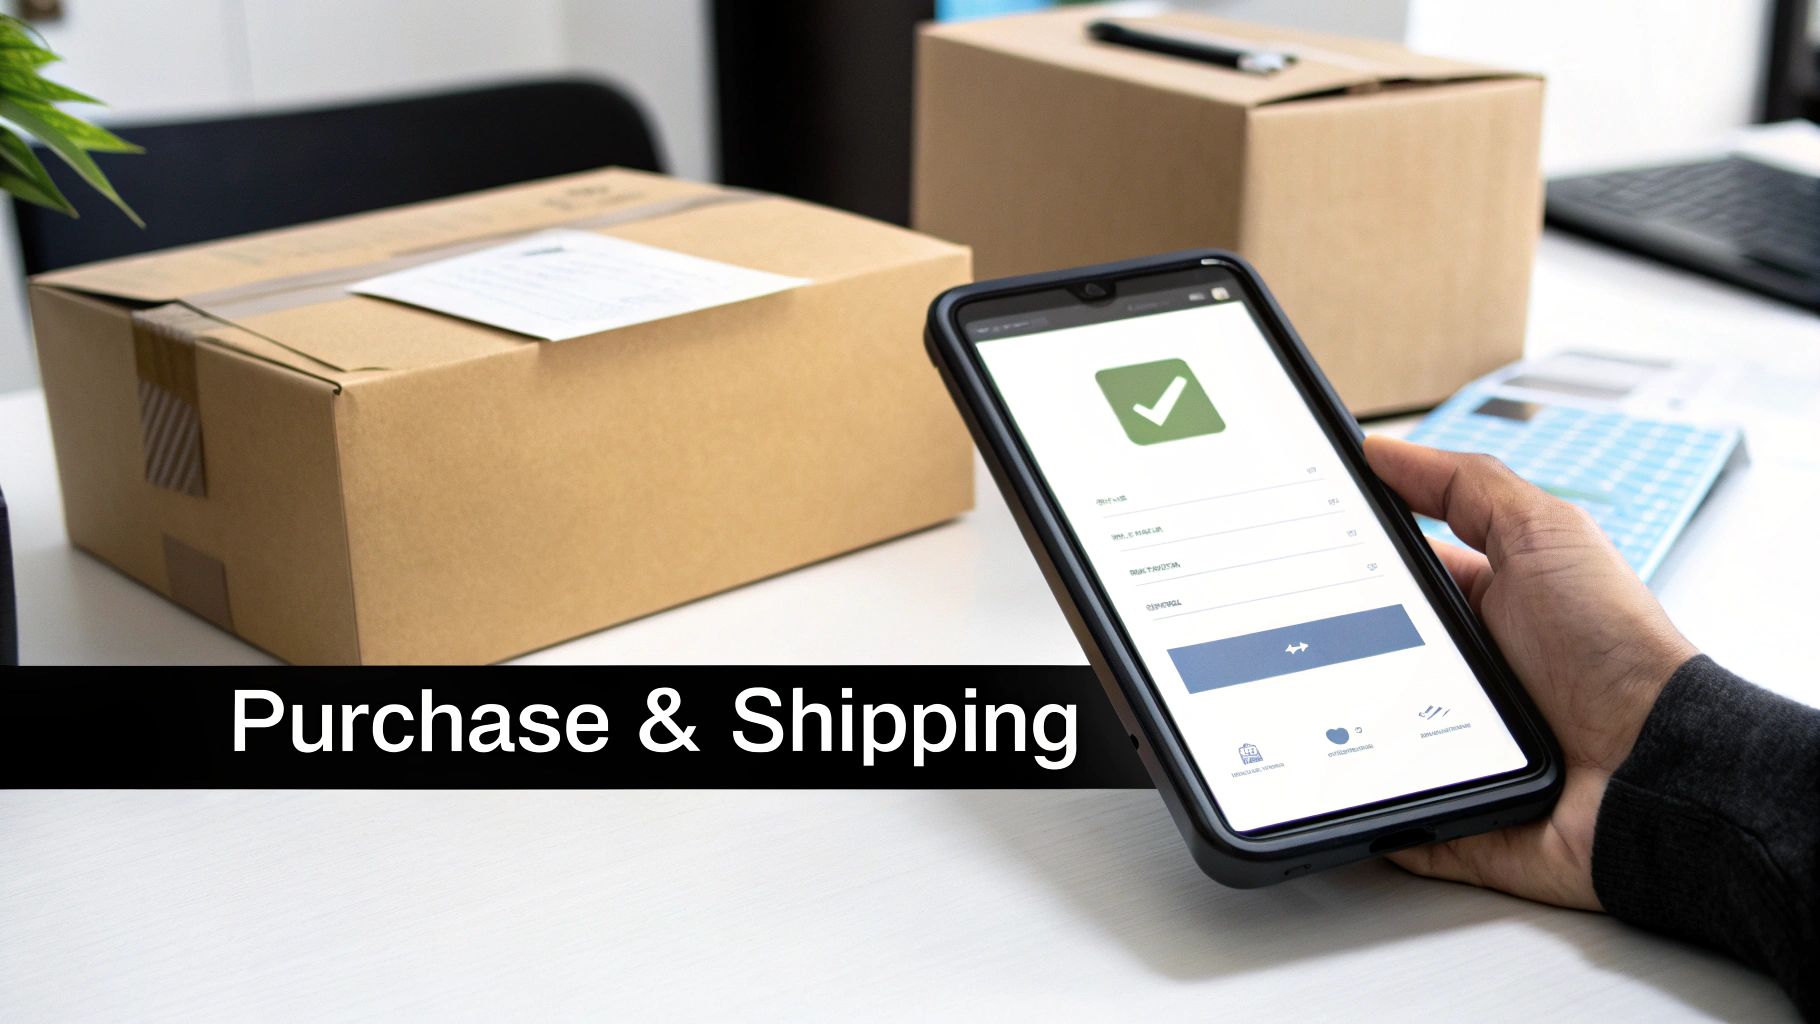
Understanding Shipping and Delivery
We get it—waiting for your gear to arrive can feel like the longest part of the process. That's why we’re upfront about our shipping options for all UK orders, which are sent using Royal Mail's tracked service.
- Standard Delivery: Your package should be with you within 2-4 working days after it's dispatched.
- Express Delivery: Need them in a hurry? This option usually gets your transfers to you in 1-2 working days.
You'll receive a tracking number the second your order is on its way. This lets you follow its journey from our press to your doorstep, so you’re never left wondering.
When you're looking to buy dtf transfers, it’s not just about the product; it’s about the partner. Choosing the right supplier is a massive part of your success. It's always a good idea to consult a guide to vendor selection criteria to make sure you're teaming up with a company that delivers on its promises of quality and transparency.
Pro Tip: As soon as your package lands, give it a once-over. Unroll the transfers and check for any print defects or damage from its journey. It's always best to catch any potential issues straight out of the box.
This quick inspection means you can be confident your transfers are ready to go before you even think about firing up the heat press. By knowing what to expect after you place an order, you can map out your production schedule without any guesswork, ready for when your delivery arrives.
What to Do About Shipping, Returns, and Support
Even with the most careful planning, sometimes an order just doesn't go as expected. Knowing what to do if an issue pops up with your DTF transfers gives you that crucial peace of mind when you’re running a business.
At Psyque, we really stand by the quality of our prints. If you ever receive a transfer with a clear defect—think smudged ink, completely wrong colours, or damage that happened in transit—we want to make it right. Our policy is straightforward: we'll cover replacements or refunds for any issue that's on us.
Kicking Off a Return or Support Request
First things first, you’ll need to show us what’s wrong. A quick photo from your phone is usually perfect. For example, if a transfer shows up with a big crease right through the middle of the design, just lay it flat, find some good light, and snap a picture that clearly shows the damage.
Once you have your photos ready, getting in touch with our team is the fastest way to get it sorted.
Key Takeaway: To get a claim started, just document the issue with a couple of clear photos and have your order number handy. This one simple step helps us see exactly what the problem is and get your request sorted much, much faster.
You can send over your photos and order details by reaching out through our official contact page. We’ll take a look at everything right away and let you know the next steps, whether that’s getting a replacement in the post or processing a refund for you.
And if you're curious about the nuts and bolts of how shipping costs are calculated, there are some great guides out there on understanding Shopify's shipping rates.
Your Top DTF Transfer Questions, Answered
Getting started with DTF transfers is exciting, but it's natural to have a few questions before you dive in. If you're new to buying DTF transfers, you're not alone! We've put together some quick answers to the questions we hear most often from creators just like you.
What’s the Best File Format for My Designs?
For the crispest, cleanest prints, you absolutely want to use a PNG file with a transparent background. This is non-negotiable if you want to avoid that dreaded white box appearing around your artwork. It tells our printers to only print your design and nothing else.
While vector files like AI or EPS are also great, please steer clear of JPEGs. They don't support transparency, which can ruin the final look. And make sure your resolution is locked in at a solid 300 DPI—anything less will result in a blurry, pixelated finish nobody wants.
How Should I Press My DTF Transfers?
The right settings can change depending on your fabric, but here's a solid starting point that works for most cotton or polycotton blends: press at 150-160°C for 10-15 seconds using firm, even pressure.
Working with polyester? You'll want to dial back the heat to avoid scorching the material. Aim for around 130°C for 8-10 seconds. It's always a good idea to give the garment a quick pre-press for a few seconds to zap any moisture and smooth out wrinkles.
A quick but crucial tip: DTF is a cold peel process. You must let the transfer cool down completely before you even think about peeling the film off. Once it's cool to the touch, peel it back slowly and gently. For a pro-level, durable matte finish, give it one final press for 10 seconds with a sheet of parchment paper over the top. Always test on a scrap piece first!
Ready to bring your designs to life with vibrant, durable prints that feel as good as they look? Start creating with Psyque and see what a difference quality makes. Explore our custom DTF transfer options today!