
Finding Custom Printed Shirts Near Me
Finding the perfect place for custom printed shirts near me is usually a lot easier than you’d think. The real trick is knowing how to cut through the noise online to find genuine local businesses. When you find a good one, you're not just getting quality gear and quick turnarounds; you're putting money back into your own community.
How to Find the Best Local Shirt Printers
Your hunt for a local printer will almost certainly start online, but you need to be smart about it. The goal is to filter out the massive national chains that just buy their way to the top of Google.
Instead of a generic search, get specific. Think like someone who actually needs shirts for a reason. This simple change in how you search can make a world of difference.
For instance, searching "DTG printing Manchester" or "screen printer for bands Bristol" will connect you with specialists who actually operate in your area. This targeted approach bypasses the faceless online giants and puts you in touch with workshops that get the local scene. It helps to have a basic grasp of the critical local SEO ranking factors Google uses, as this will help you understand why some businesses show up and others don't.
Refining Your Search with Local Tools
Once you've got a few names, Google Maps and local directories are your new best friends. These tools are built to highlight businesses with an actual, physical presence. Look for shops with clear addresses, customer photos showing off their work, and a decent stream of recent, positive reviews. This is where you verify they’re actually local and get a first impression of their reputation.
A solid online portfolio is also a must-see. Check out their website or Instagram for examples of their work that line up with the style you're going for. Are their prints sharp? Do the colours pop? This quick visual check can save you a ton of time before you even bother sending an email.
Building Your Shortlist
The idea is to narrow it down to a shortlist of three to five promising local printers. This gives you enough options to compare quotes and styles without getting bogged down.
The UK's custom apparel market is absolutely booming. In fact, the t-shirt segment alone is projected to rake in US$2.42 billion in revenue by 2025. This growth means there are more high-quality local printers out there than ever before.
Trust the community feedback. A printer with consistently high ratings and detailed positive reviews from other locals is almost always a safe bet. Keep an eye out for comments that mention print quality, customer service, and how fast they got the job done.
By zeroing in on specific search terms and vetting each printer through local-focused platforms, you’re setting yourself up for success. This initial legwork ensures you’re dealing with professional, reliable businesses that are genuinely part of your community. For more tips, check out our complete guide on choosing the best custom T-shirt printers for any project.
Choosing the Right Printing Technique
Alright, you've got a shortlist of local printers. The next big question is: which printing method is the right weapon for your project? This decision is huge—it dictates the look, the feel, and the final price tag of your shirts. It’s not about finding the single “best” method, but the one that makes the most sense for your specific job.
Let's be real: ordering 20 shirts with a full-colour photo for a hen do is a totally different beast than printing 200 one-colour tees for a charity run. Each one needs a different approach to nail the quality without burning through your budget. You’ll mainly hear about three techniques: screen printing, direct-to-garment (DTG), and heat transfer.
Screen Printing for Bulk Orders
Screen printing is the OG, the absolute workhorse of the T-shirt world. The process involves pushing ink through a stencilled mesh screen directly onto the fabric, laying down one colour at a time. This method creates incredibly vibrant, durable prints that have a slightly raised feel and can handle a serious amount of washing.
Because of the labour involved in creating the screens, it only really becomes cost-effective for larger batches—think 20 shirts or more. This makes it the go-to for that charity run, your local team's uniforms, or a batch of band merch where you need a lot of identical prints. For designs with just a few solid colours, screen printing delivers unbeatable value when you order in bulk.
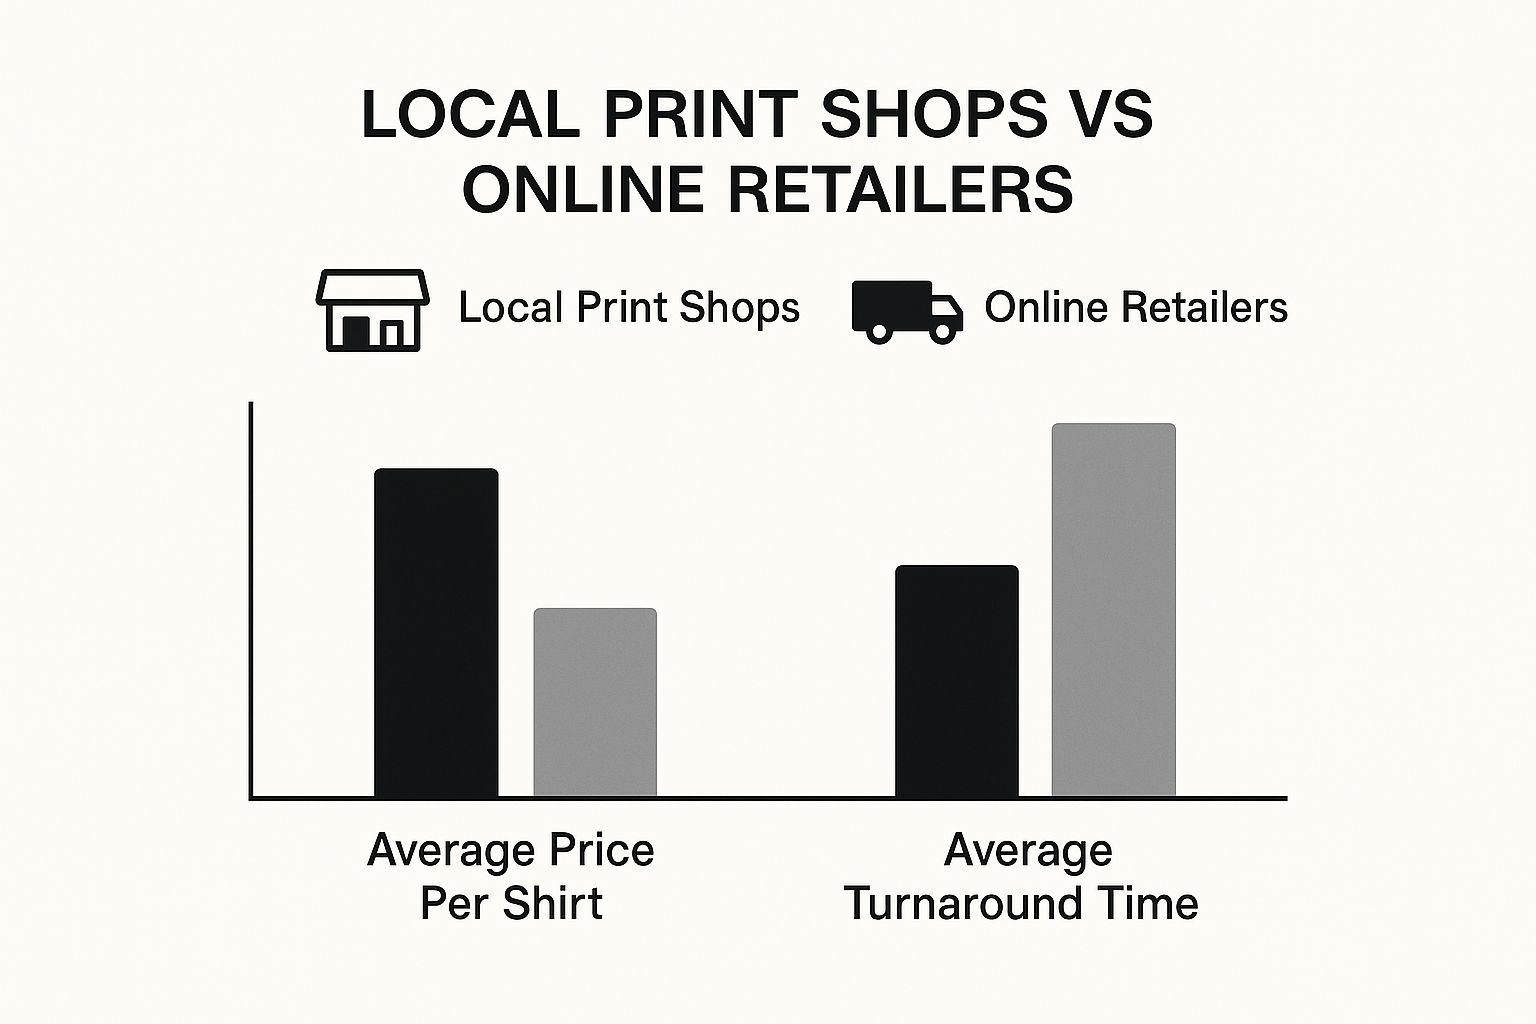
As you can see, local shops often smash online giants on turnaround times, which is a massive plus when you’ve got a deadline breathing down your neck.
DTG for Detailed Small Batches
Think of Direct-to-Garment (DTG) printing like a high-spec inkjet printer, but for clothes. It sprays specialised water-based inks straight onto the shirt, where they soak into the cotton fibres. The end result? A super soft-to-the-touch print that can handle insane, photographic-level detail and a limitless range of colours.
This is exactly what you need for that hen do shirt with the complex photo. DTG is king for small orders or even one-off custom pieces because there are zero setup fees for each colour. If your design has gradients, fine lines, or a whole rainbow of colours, DTG is almost always the best call for cotton shirts.
To help you decide, here’s a quick rundown of the most common methods you'll encounter.
Comparing Common T-Shirt Printing Methods
This table breaks down the three most popular printing techniques to help you choose the best option for your project's specific needs.
| Printing Method | Best For | Durability | Cost-Effectiveness |
|---|---|---|---|
| Screen Printing | Simple, bold graphics on large orders (20+) | Excellent, very long-lasting | Highly cost-effective for bulk |
| DTG (Direct-to-Garment) | Complex, multi-colour designs on small orders | Good, feels soft and part of the fabric | Best for one-offs or small batches |
| Heat Transfer Vinyl (HTV) | Names, numbers, simple logos on any quantity | Good, but can crack over time | Varies; good for individual customisation |
Ultimately, the best method comes down to your design's complexity, how many shirts you need, and your budget.
When you get a sample, actually feel the print. A quality DTG print should be soft and feel like it’s part of the fabric, not a stiff plastic sticker. For screen prints, look for crisp, sharp edges and solid, even colour coverage.
The UK's appetite for custom gear is growing, with a projected growth of 11.5% between 2025 and 2030. While old-school screen printing still holds the crown with a 54.13% market share thanks to its efficiency with big orders, digital printing like DTG is catching up fast, offering incredible detail and speed for more personal projects.
Getting your head around these differences is key. If you want to dig deeper into how modern methods stack up, check out our guide on DTF vs. screen printing for graphic tees. It’ll arm you with the right questions to ask when you call up a local printer.
Understanding Costs and Getting Quotes
The final price on your quote for custom printed shirts isn't just a number pulled from thin air. It’s a carefully calculated figure based on several key variables, and understanding them is your best tool for getting a fair price and comparing quotes like a pro.
The biggest cost driver, almost every time, is the T-shirt itself. A basic, budget-friendly cotton tee will cost far less than a premium, ringspun organic cotton or a technical performance garment. Your choice of shirt sets the baseline price before a single drop of ink even touches it.
Decoding the Price Per Shirt
Next up is the complexity of your design. A simple, one-colour logo printed on the chest is straightforward stuff. But a design with five different colours? For screen printing, that means five separate screens, which bumps up both the labour and material costs significantly.
Print locations also play a massive role. A small left-chest print is standard, but if you want to add a huge graphic on the back or a custom print on the sleeve, the price will increase for each extra spot. On the flip side, quantity is your friend here. The price per shirt almost always drops as your order size increases, thanks to economies of scale.
Your goal isn't just to find the cheapest quote, but the one that offers the best value. A slightly more expensive printer using higher-quality inks and superior garments will deliver a product that lasts longer and looks far more professional.
To get quotes you can actually compare, you need to give every printer the exact same information. A vague email will get you a vague, unhelpful price range. Get specific. Be consistent.
How to Request a Quote That Gets Results
Want to streamline the process? Use a clear, concise template when you email your shortlisted printers. This is the only way you’ll get back quotes that are easy to compare side-by-side.
Here’s exactly what to include in your request:
- Garment Type: Specify the style (e.g., "unisex crew neck") and, if you know it, the material you prefer (e.g., "100% cotton").
- Quantity: Give them a clear number, including a size breakdown if you have it.
- Design Details: State the number of colours in your artwork and list all print locations (e.g., "one-colour print on the front, two-colour print on the back").
- Attach Your Artwork: Always, always include your design file. This lets them see its complexity firsthand and avoids any nasty surprises later.
Providing this level of detail helps the printer give you an accurate price from the get-go. It also helps you spot any hidden costs, like setup fees or artwork charges, which should always be clearly itemised on a professional quote.
For a deeper dive into what's possible with personalised apparel, learn more about custom T-shirt printing and get inspired for your next project.
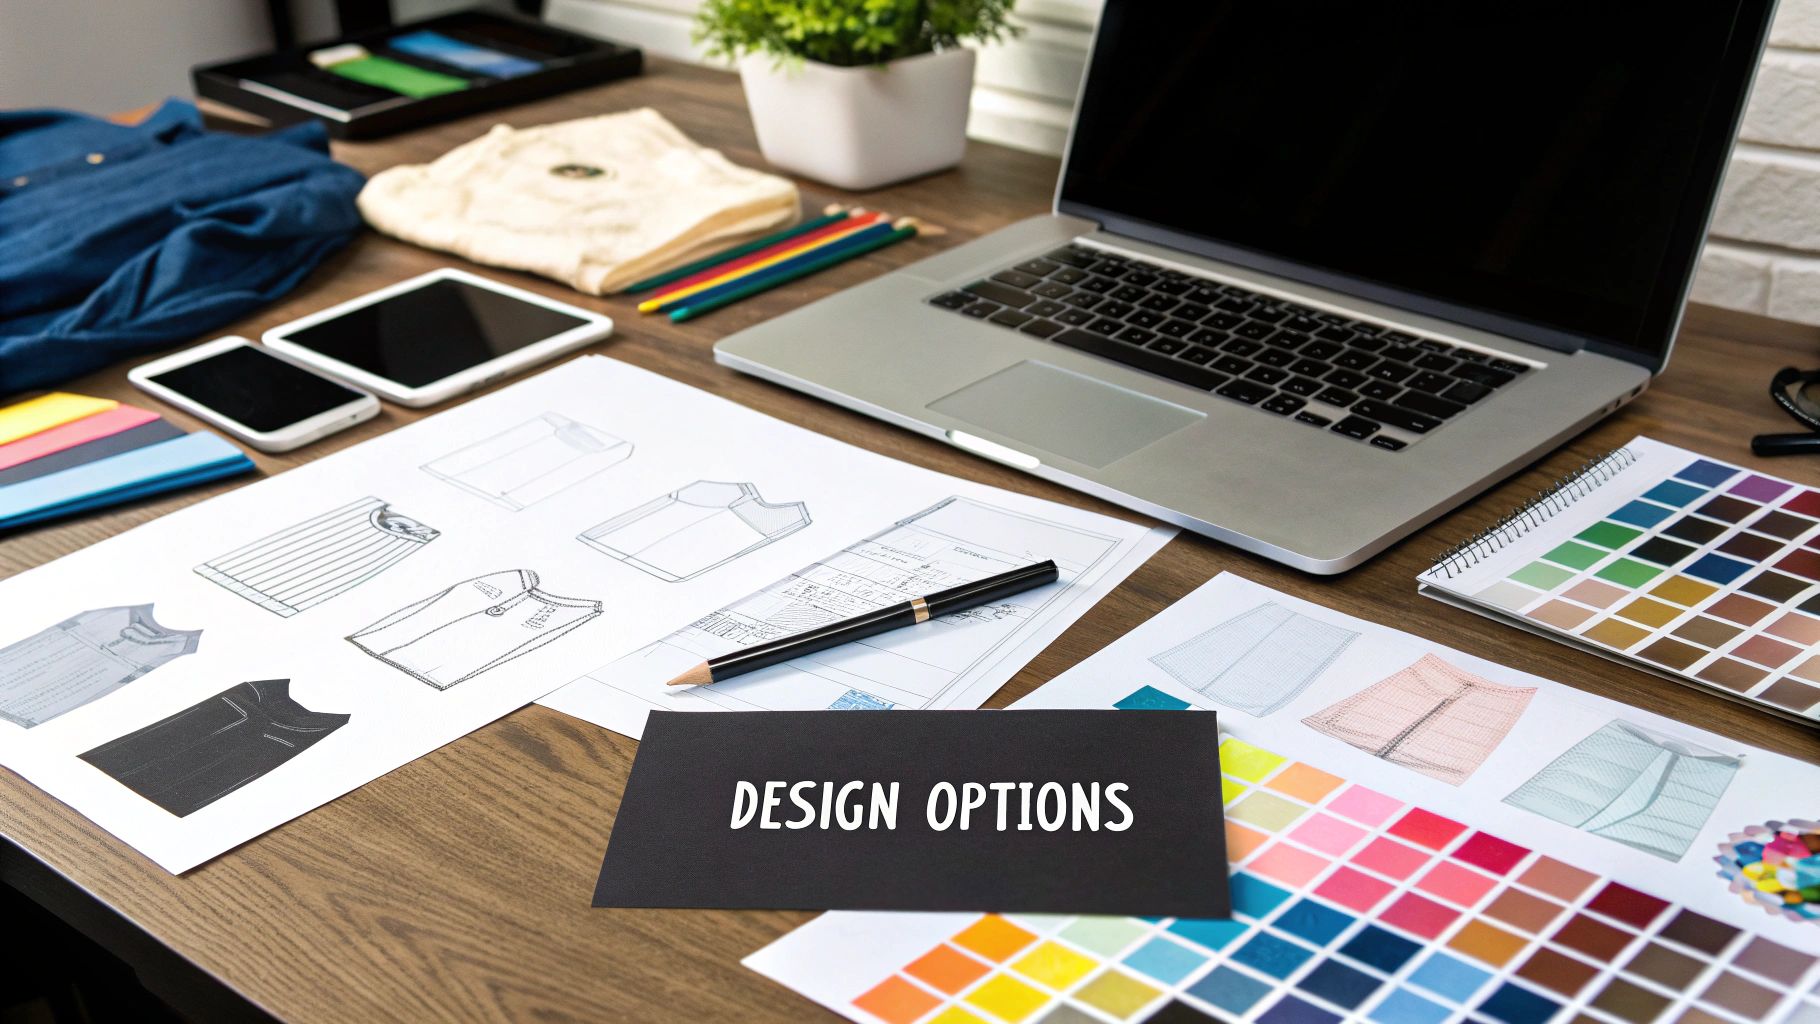
Preparing Your Artwork for a Perfect Print
Your idea for a custom shirt is brilliant. But even the best idea can end up as a blurry, pixelated mess without the right digital file. Getting your artwork print-ready is single-handedly the most important thing you can do to avoid delays and make sure the finished tee looks as sharp in real life as it does in your head.
A top-tier print is literally impossible without a high-quality design file. This isn’t about the printer being picky; it’s just the physics of turning digital pixels into physical ink on fabric. The file you send is the blueprint for the final product. Garbage in, garbage out.
Vector vs Raster: The Only Two File Types You Need to Know
When it comes to artwork files, you’re dealing with two main camps: vector and raster. Understanding the difference is mission-critical if you want a professional-looking shirt.
A vector file (usually ending in .AI, .EPS, or .SVG) is the absolute gold standard for most print jobs. It's built from mathematical equations that form lines and curves. In plain English, this means you can stretch a vector logo from the size of a postage stamp to the side of a building, and it will stay perfectly crisp. No blurriness, ever.
Then you have raster images (like a .JPG, .PNG, or .GIF). These are made from a fixed grid of tiny squares called pixels. When you try to make a raster image bigger, the software has to guess how to fill in the extra space, which is why that small logo you saved from a website looks like a blocky mess when you blow it up.
Quick tip: If you're ever in doubt, just ask the printer what file format they prefer. Firing off a quick email before you start can save you a world of pain and potential redesign fees down the line. Any decent shop will be happy to point you in the right direction.
For most logos, text-based designs, and anything with clean, sharp lines, a vector file is non-negotiable. But raster files have their place. If your design is a detailed photograph, a high-resolution raster file is exactly what you need.
Nailing the Technical Details
Beyond the file type, a few other specs will make or break your design. Getting these right makes your local printer’s job a hell of a lot easier and your final shirt infinitely better.
- Resolution (DPI): If you must use a raster file, it needs to be high resolution. The industry standard for printing is 300 DPI (dots per inch) at the final print size. That 72 DPI image you grabbed from Google Images? It’s going to look fuzzy and amateurish.
- Colour Mode: Your screen shows colours in RGB (Red, Green, Blue). Printers, however, use a different language: CMYK (Cyan, Magenta, Yellow, Black). Sending an RGB file can cause weird colour shifts when it hits the press. Converting to CMYK beforehand gives you a much more accurate idea of the final look.
- Outlined Fonts: This one trips up a lot of people. If your design has text, you have to convert the fonts to outlines (or "curves"). If you don't, and the printer doesn’t have the exact same font installed on their system, their computer will just swap it for a default font—completely wrecking your design.
Preparing your artwork correctly isn’t just about sending a file; it’s about providing a professional blueprint. A little prep work here guarantees a smooth process and a final shirt that actually brings your vision to life.
Placing Your Order With Confidence
You’ve picked your printer, your artwork is locked and loaded, and you’re on the home stretch. Awesome. Now it's time to nail down the final details to make sure everything goes off without a hitch. This last part is all about crystal-clear communication and double-checking everything before the presses start rolling.
First things first, get everything confirmed in writing. This means the final count of shirt sizes, the exact garment model and colour you’ve chosen, and the agreed price per piece. Any misunderstandings now can be a real headache later, and a clear invoice or order summary prevents all of that.
Always, Always Approve the Digital Proof
Before a single drop of ink hits a shirt, your printer should send over a digital proof or mockup. This is your final chance to spot any mistakes. Don't just give it a quick glance—inspect it like you’re searching for treasure.
Here’s your checklist for the proof:
- Spelling and Grammar: Read every single word. Then read it again, backwards. Typos can kill a great design.
- Placement and Sizing: Does the design look right? Is it centred? Is it the right size relative to the shirt?
- Colour Accuracy: Bear in mind that screen colours can be a bit off from the real thing, but you're looking for any glaring errors. Is that fire-engine red looking a bit pink?
- Print Details: Make sure all the print locations you wanted—front, back, sleeve—are actually on the proof.
Approving the proof is you giving the final green light. Once you sign off, any mistakes shown on that proof become your responsibility. Take your time. Get it right.
This single step is what separates a smooth run from a costly disaster. It guarantees you get the exact T-shirt you had in your head. The custom apparel scene is a massive slice of the UK's economy, and it's all built on getting these details perfect. Globally, this market is on track to hit around USD 9 billion by 2025, with the UK's demand for fast, quality customisation playing a big part.
Clarify Turnaround Times and Final Policies
Last but not least, get a firm completion date. This is non-negotiable if you’ve got a hard deadline for an event or launch.
Ask the printer what their policy is on reprints or refunds if something goes wrong that wasn't on the proof. A proper, professional shop will have a clear process for handling misprints or quality control issues. If you’re really up against the clock, it’s worth asking about options for next day delivery on custom t-shirts.
Nailing these final checks means you can relax knowing you’ve done everything to ensure a smooth process and a final product you’ll be proud of.
Your Burning Questions About Custom Shirts, Answered
Thinking about getting some custom shirts printed? Smart move. But before you dive in, you probably have a few questions rattling around. Getting these sorted upfront is the difference between a smooth run and a headache-inducing nightmare.
Let's cut through the noise and tackle the questions we hear all the time.
How Many Shirts Do I Have to Order?
This is usually the first thing people ask, and the answer is: it depends entirely on the printing tech.
If a local shop is using old-school screen printing, you're looking at a minimum order of around 20 to 50 shirts. That's because creating a separate screen for every single colour in your design takes time and materials. It's just not cost-effective for a one-off.
But what if you only need one or two? Modern methods like Direct-to-Garment (DTG) or heat transfer have changed the game. Many printers using this tech can happily print a single shirt for you. This is perfect for a unique gift, a prototype to test your design, or a super-personalised piece just for you.
How Long Will It Take? And Can I Bring My Own T-Shirts?
Time is always a factor. For most local printers, a standard turnaround is about 5 to 10 working days from the moment you sign off on the final design proof. Keep in mind this can change depending on how swamped they are, the size of your order, and how complex your artwork is. If you've got a hard deadline for an event, tell them right away.
As for supplying your own tees, it's a common thought, but most printers prefer not to. While some might allow it, the pros stick to their own trusted stock for a good reason. They've tested those specific garments and know exactly how their inks will react, guaranteeing the print won't crack, fade, or peel after one wash.
Think of it this way: a printer’s reputation is on the line with every shirt they produce. Using garments they know and trust is their quality control, and it also protects you. If a misprint happens on their shirt, they'll replace it. On yours? You're out of luck.
What Kind of Artwork File Do You Need?
This is the big one. Your final print will only ever be as good as the file you provide. For the absolute best, crispest result, you need a vector file. These are typically files ending in .AI, .EPS, or .SVG. Because they're made from mathematical formulas, not pixels, you can scale them up to the size of a bus and they won't lose an ounce of sharpness.
No vector file? A high-resolution raster file (PNG or JPEG) can work in a pinch, but "high-resolution" is the key. Your file needs to be at least 300 DPI (dots per inch) at the final print size. Anything less, and you risk a blurry, pixelated mess.
Getting your artwork right from the start saves everyone a ton of time and ensures your vision comes to life exactly how you imagined it. To really get into the weeds, check out our guide on creating killer personalised T-shirt printing designs from the ground up.
Ready to bring your unique design to life with vibrant, durable prints? At Psyque, we specialise in high-quality DTF printing for any project, big or small. Start creating your custom apparel today!