Making Your Own Hoodie From Scratch
So, you want to make your own hoodie? Not just any hoodie, but one that actually fits you perfectly and has your unique stamp all over it. Good news: it’s way more doable than you might think. This isn’t about just following a pattern; it’s about taking control and creating a high-quality piece you’ll actually want to live in.
Forget fast fashion and awkward fits. We're talking about crafting something from scratch that's 100% yours.
Your Guide to Crafting the Perfect Hoodie
The whole DIY fashion movement is exploding for a reason. People are tired of generic, off-the-rack clothes and want something with a bit more soul. When you make your own gear, you're not just a customer—you're the creator. You get to ditch standard sizing, pick your own materials, and build a garment that works for your body and your style. It’s a powerful feeling.
This guide is designed to walk you through the entire process, no fluff. We're breaking it all down into simple, actionable chunks.
What This Guide Covers
We’ll demystify the whole journey, from a roll of fabric to a finished, wearable piece of art. Here's what we'll get into:
- Picking the Right Materials: We’ll explore the difference between cosy fleece-back jersey and a lighter French terry. You'll learn what fabric weight means for the final fit and which material is best for the hoodie you have in your head.
- Creating a Custom Pattern: No more guessing games. We'll show you how to draft a pattern based on your own measurements. The result? A hoodie that fits you better than anything you could buy in a shop.
- Mastering the Sewing Process: We’ll give you clear, step-by-step instructions for putting it all together. This includes pro tips for handling stretchy fabrics and getting those cuffs and waistbands looking sharp, not sloppy.
- Adding a Personalised Finish: This is the fun part. We'll show you how to use modern tech like DTF (Direct to Film) printing to slap your own custom designs on your hoodie, turning it into a true one-of-a-kind statement piece.
There's a special kind of satisfaction that comes from wearing something you made with your own two hands. It's a mix of pride, creative expression, and a middle finger to throwaway culture.
Think of this as an investment in your skills and your wardrobe. You’re about to turn a few metres of fabric into your new favourite hoodie. It's about building something that lasts—both in quality and in personal meaning. Let's get started.
Choosing the Right Fabric and Tools
Let's get one thing straight: the difference between a hoodie that screams "I made this on my mum's old Singer" and one that looks like it came from a proper streetwear brand is all in the materials. Get the fabric and tools right, and you’re already halfway to creating something you'll actually want to wear.
It's a path more and more people are taking. The UK now makes up a hefty 12.33% of the entire European hoodies market, and a big part of that is the boom in DIY fashion. People want clothes that actually reflect their style, not just what's on the rack.
So, let's dive into the fabrics that will make or break your project.
Understanding Hoodie Fabrics
Walking into a fabric shop can be overwhelming. Rows upon rows of cosy-looking materials, but not all of them are cut out for a hoodie. Each one has a different weight, stretch, and feel that will completely define your finished garment.
Here are the main players:
- Fleece-Back Jersey: This is your classic, go-to hoodie fabric for a reason. It’s got that soft, fluffy inside and a smooth outer face that’s perfect for adding graphics later. It’s stable and forgiving, which makes it a great choice if you're just starting out.
- French Terry: Think of this as the slightly cooler cousin to fleece. Instead of a fluffy interior, it has soft loops that make it more breathable. It’s perfect for a lighter, more athletic-style hoodie you can wear year-round.
- Scuba Fabric: If you're going for a modern, structured look, scuba is your best bet. It’s a double-knit that gives a clean, sharp silhouette with a springy feel. It doesn't drape much, which is exactly what you want for a contemporary, minimalist vibe.
- Sustainable Choices: Want to create something that feels good and does good? Look for organic cotton fleece or blends made with recycled polyester. The quality is fantastic, and you’re minimising your environmental footprint.
Deciding on the right material is the first crucial step. To help you weigh your options, here’s a quick comparison of the most common hoodie fabrics.
Hoodie Fabric Comparison
| Fabric Type | Key Characteristics | Best For | Sewing Difficulty |
|---|---|---|---|
| Fleece-Back Jersey | Soft brushed inside, smooth outside, warm, minimal stretch. | Classic, cosy hoodies for cold weather. | Beginner-Friendly |
| French Terry | Looped interior, breathable, moderate stretch, drapes well. | All-season hoodies, athletic wear, layered looks. | Beginner-Friendly |
| Scuba Fabric | Smooth, springy texture, structured, holds its shape. | Modern, fashion-forward silhouettes. | Intermediate |
| Organic Cotton Fleece | Eco-friendly, soft, breathable, similar to standard fleece. | Anyone wanting a sustainable and high-quality garment. | Beginner-Friendly |
Ultimately, the best fabric is the one that matches the style and function you're aiming for. Don't be afraid to order samples to get a real feel for the weight and texture before committing.
Here's a pro tip that makes a huge difference: pay attention to your ribbing. The secret to cuffs and waistbands that don't sag after a few wears is high-quality knit ribbing with excellent 'recovery'—its ability to snap back into shape. This is what separates a sharp hoodie from a sloppy one.
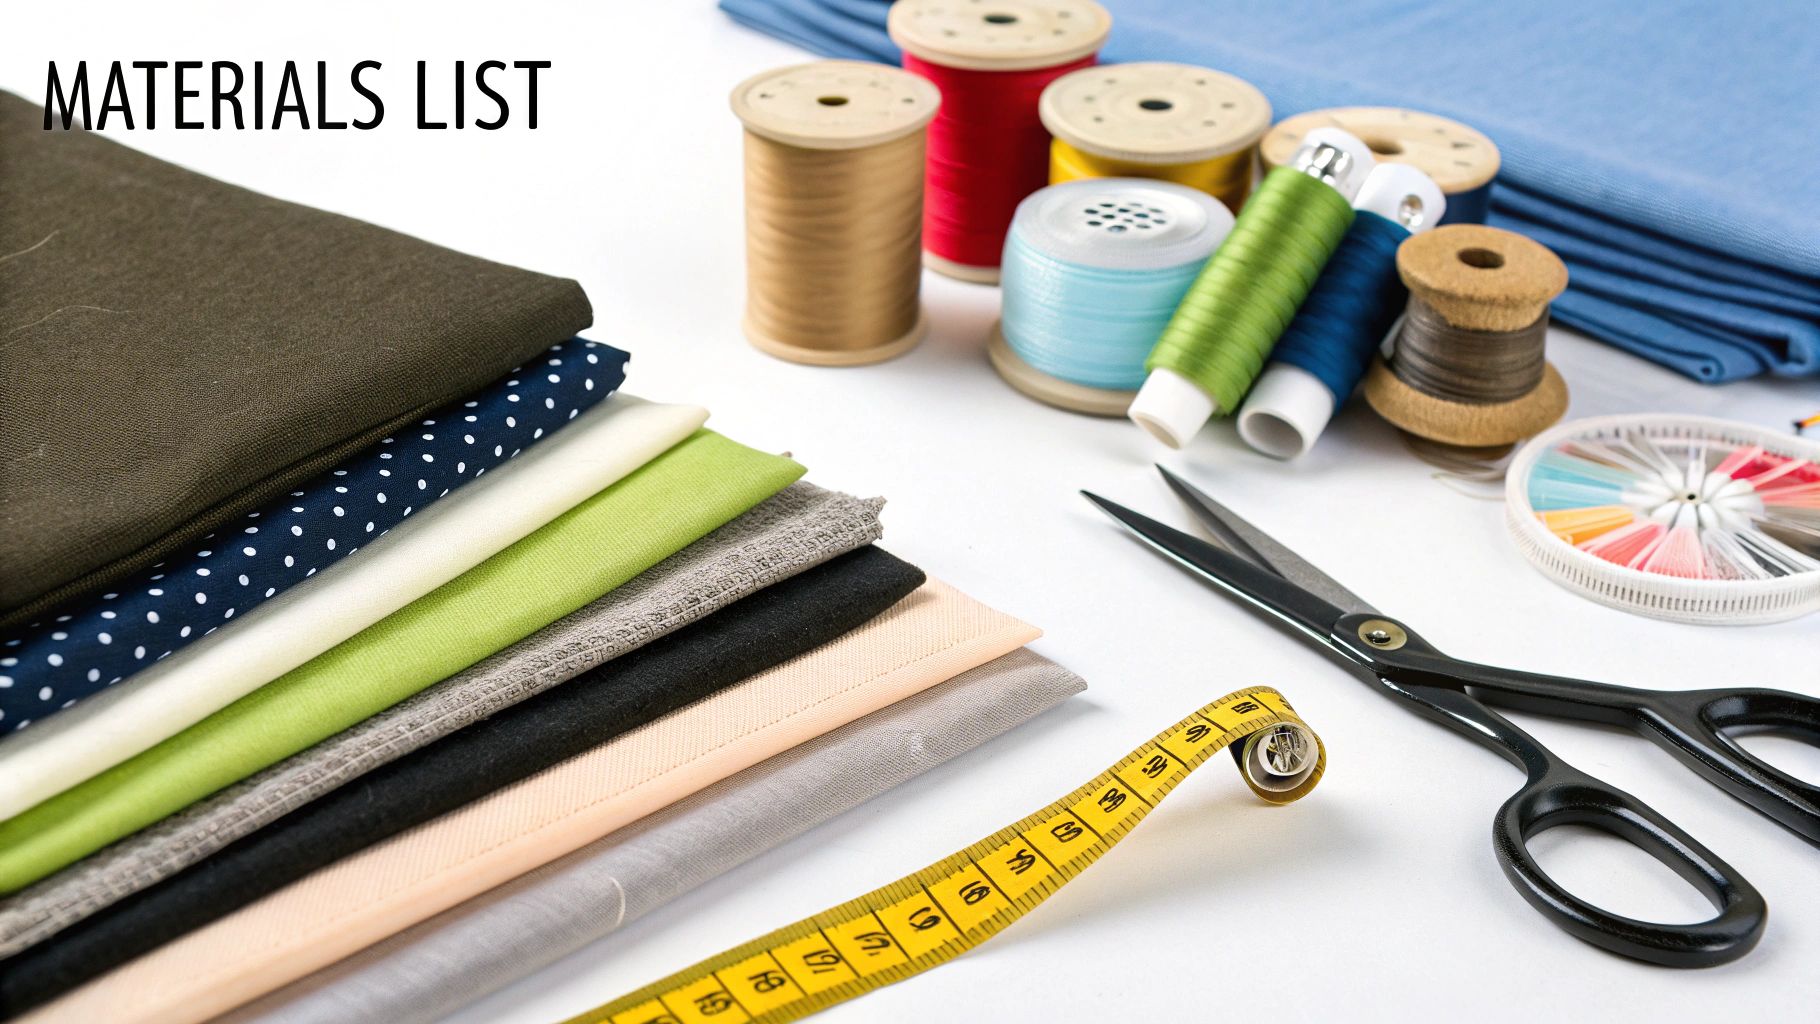
Gathering Your Essential Tools
Once your fabric is sorted, it's time to arm yourself with the right kit. Using the proper tools isn't just about making life easier; it's about getting clean, durable seams that won't pop the first time you stretch.
You probably have some sewing basics, but hoodies—especially with their stretchy knit fabrics—demand a few specific items.
Your Sewing Toolkit Checklist:
- Sewing Machine: Any standard machine with a zig-zag stitch will get the job done. If you have an overlocker (or serger), even better—it creates that pro-level stretchy seam you see on store-bought clothes, but it's definitely not a must-have.
- Needles: This is non-negotiable. You absolutely need ballpoint or stretch needles. They have a rounded tip designed to slide between the fabric fibres instead of piercing them. This prevents holes and those annoying skipped stitches that plague beginners.
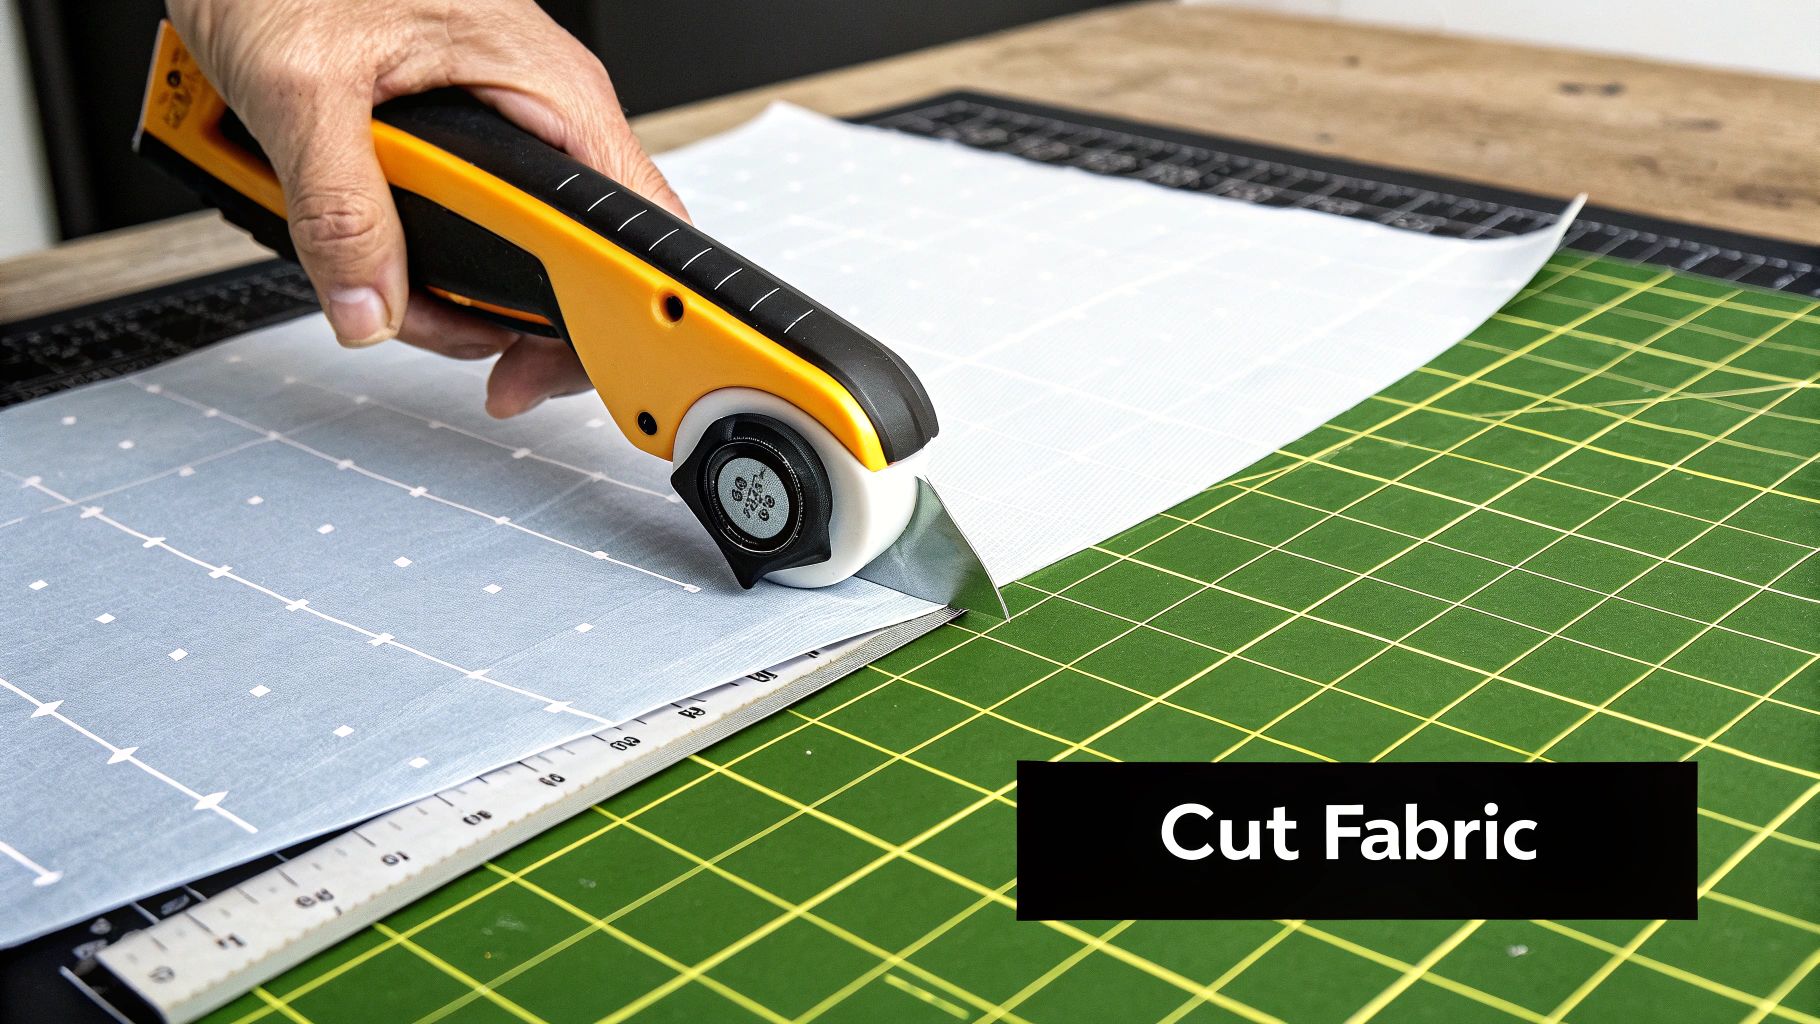
- Cutting Tools: A pair of sharp fabric shears is essential. For even cleaner, faster cuts (especially on curves), a rotary cutter and a self-healing mat are a game-changer.
- Thread: Stick with a good quality, all-purpose polyester thread. It has just enough give to move with the fabric, preventing your seams from snapping under pressure.
- Marking Tools: You'll need fabric chalk or a disappearing ink pen to transfer your pattern markings accurately. Don't skip this—it's key to getting everything to line up perfectly.
If you want a deeper dive into all the gear, check out this ultimate guide to quilting and sewing products. It’s a great resource for building a solid toolkit that’ll serve you well for this and any other sewing projects you tackle.
The skills you'll pick up making a hoodie, from fabric selection to construction, are foundational. They transfer directly to other custom apparel projects, like figuring out the best approach for custom T-shirt printing or designing other unique pieces.
Creating Your Custom Hoodie Pattern
A perfect-fitting hoodie all comes down to one thing: a great pattern. Forget complicated design software or years of training; you already have what you need to create a pattern that’s made just for you. Think of this as the blueprint for your hoodie—getting it right is the secret to a professional-looking final product.
We'll walk through two straightforward methods. The first is a super practical approach that uses a hoodie you already love as a template. The second demystifies commercial patterns, showing you how to pick the right size and tweak it with confidence.
The Tracing Method: Your Favourite Hoodie as a Guide
The easiest way to guarantee a fit you'll love is to start with something you already own and wear constantly. Find your favourite hoodie—the one with the perfect sleeve length and comfortable body fit—and we’ll use it to create your pattern pieces. This method is incredibly intuitive because you’re working from a fit you already know is spot on.
You'll need some large paper (pattern paper, parchment paper, or even some A4 sheets taped together will do the trick), a pencil, and a ruler.
Drafting the Pattern Pieces
First, lay your hoodie flat on the paper, smoothing out any wrinkles. Fold it perfectly in half vertically, making sure the shoulder seams and side seams line up.
- Trace the Back Panel: Carefully trace around the back half of the hoodie, from the centre fold to the side seam, and from the shoulder right down to the hem. Don’t worry about the hood or sleeves just yet.
- Trace the Front Panel: Now, refold the hoodie so the front is facing out and do the same thing. Remember to trace the neckline, which will naturally be lower than the back.
- Trace the Sleeve: Lay one sleeve out completely flat on the paper and trace around its entire shape.
- Trace the Hood: Lay the hood flat and trace its outline. You'll only be tracing half of the hood, which you'll cut later on a folded piece of fabric.
Once you've got your basic shapes, you absolutely must add a seam allowance. This is the extra border of fabric you need for stitching. A standard seam allowance is 1.5 cm (about 5/8 inch). Use your ruler to draw this new line all the way around each and every pattern piece.
Don't skip this part! Forgetting the seam allowance is a classic beginner mistake that will leave you with a hoodie that's way too small.
Using Commercial Sewing Patterns
If you'd rather have a more structured approach or want to try a style you don't already own, commercial patterns are a fantastic option. They come with graded sizes and detailed instructions, taking a lot of the guesswork out of the process. The key is just learning how to read the packet and take accurate measurements.
Don't just grab your usual T-shirt size. Pattern sizing is a whole different world from high street retail sizing. You’ll need to measure three key areas with a flexible tape measure:
- Bust/Chest: Measure around the fullest part of your chest.
- Waist: Measure around your natural waistline (usually the narrowest part of your torso).
- Hips: Measure around the fullest part of your hips.
Compare these numbers to the size chart on the back of the pattern envelope. If you find your measurements fall between two sizes, always choose the larger one. It’s a million times easier to make a garment smaller than it is to add fabric that isn't there.
You’ll also see terms like "ease." This is simply the extra room built into the garment for comfort and movement. A pattern described as "close-fitting" will have very little ease, while one labelled "oversized" will have much more.
The visual below illustrates this kind of decision-making process, showing how factors like fabric choice connect to the final fit and function of a garment.
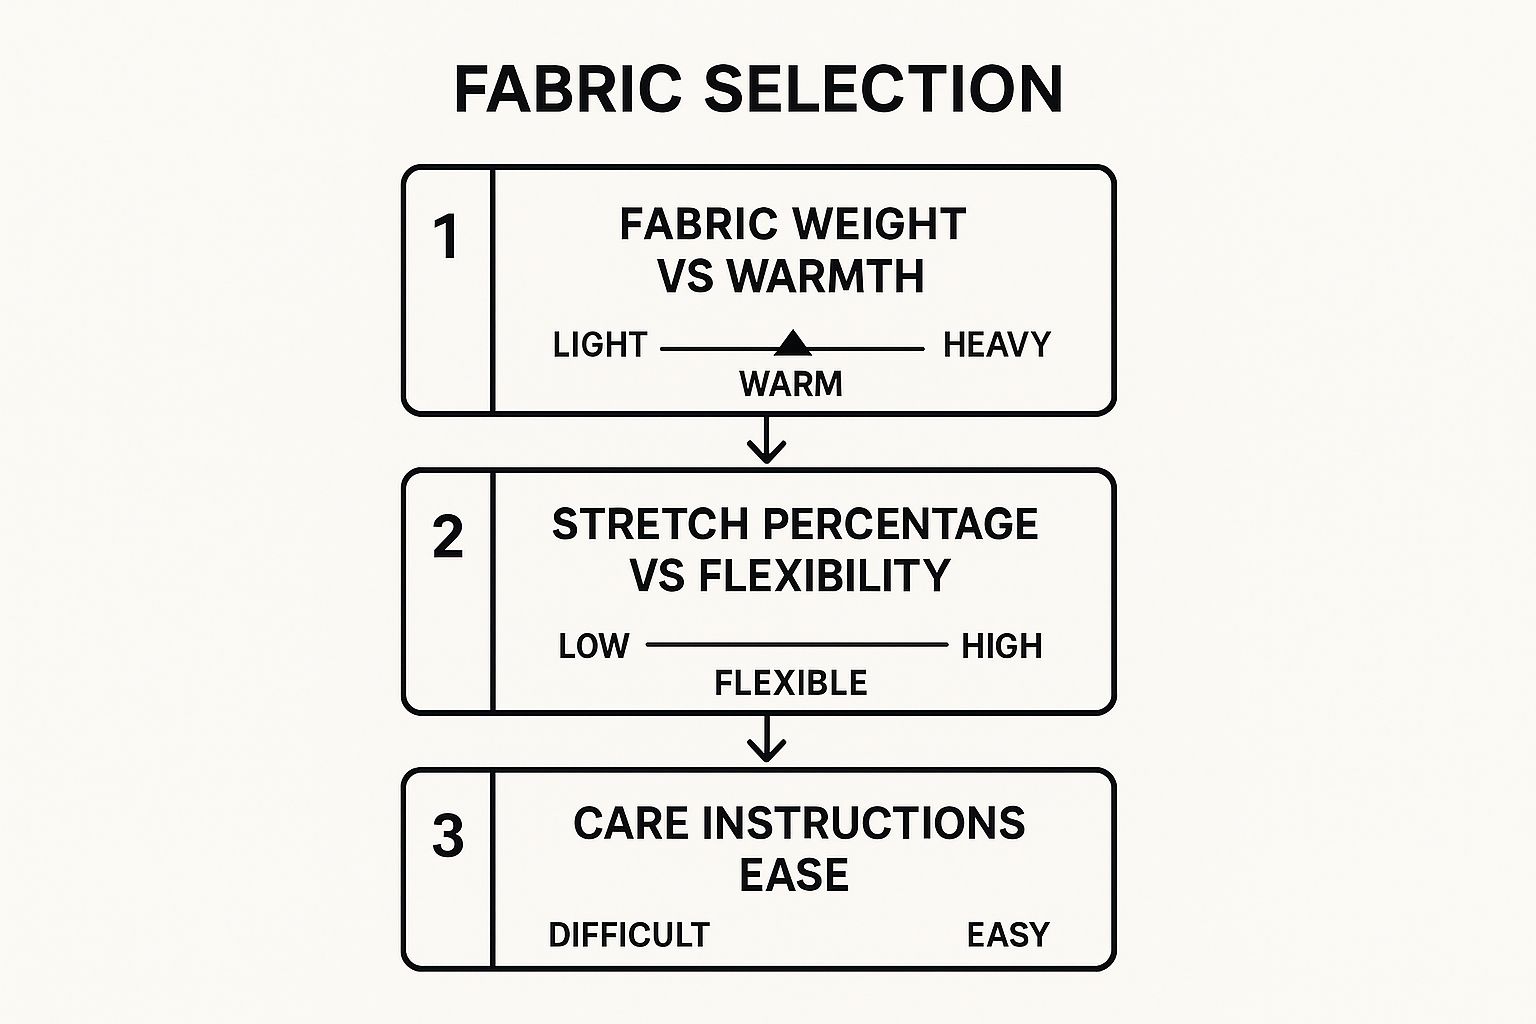
Just as fabric properties influence warmth and flexibility, your pattern choice and adjustments will dictate the final silhouette and comfort of your hoodie.
Customising Your Pattern for a Perfect Fit
Whether you’ve traced a favourite hoodie or are working from a commercial pattern, now is the time to make it truly yours. A few simple tweaks can elevate the fit from "good" to "absolutely perfect."
Here are a few common customisations you can make directly on your paper pattern before you even touch your fabric:
- Lengthen or Shorten the Body: To add length, just extend the straight side seams and hemline down. To make it shorter, draw a new, higher hemline parallel to the original one. Simple.
- Adjust Sleeve Length: This is just as easy. Extend or shorten the sleeve pattern piece from the cuff end to get your ideal length.
- Create a Deeper Hood: For that cosier, more modern oversized hood, add a few centimetres to the front edge of your hood pattern piece. This gives it more volume and a better drape when it's up.
- Add a Kangaroo Pocket: This is a classic hoodie feature. Sketch a pocket shape you like on a separate piece of paper, add your 1.5 cm seam allowance, and cut it out. You've just made a new pattern piece for your front panel.
By taking the time to create and refine a custom pattern, you're setting yourself up for a win. This foundational step ensures that all the time you spend sewing results in a hoodie you’ll actually be proud to wear.
Sewing and Assembling Your Hoodie
Alright, your pattern pieces are cut and the fabric is ready. Now for the magic trick: turning flat pieces of cloth into an actual, wearable hoodie. This is where your project comes to life. Don't rush it. Taking your time here is the difference between a hoodie that looks homemade and one that looks like it came straight off the rack.
We're going to tackle this in stages: building the main body, setting in the sleeves, constructing a proper hood, and nailing those finishing details like cuffs and eyelets. The focus will be on techniques that play nice with stretchy knit fabrics, which can be a bit rebellious if you let them.
Assembling the Main Body and Shoulders
First up, let's build the core of the hoodie by joining the front and back panels. Lay your back panel flat, right side facing up. Now, place the front panel on top of it, right side facing down.
If you're new to sewing, burn this phrase into your brain: "right sides together." This simple rule ensures all your seams end up neatly hidden on the inside of the garment once you flip it the right way out.
Line up the shoulder seams of both pieces perfectly. Pin them together so the fabric doesn't slide around while you’re sewing—this is non-negotiable with knits, as they love to stretch and misbehave.
With everything pinned, you're ready to stitch the shoulder seams. Here’s how to do it right with knits:
- Use a Stretch Stitch: A standard straight stitch has zero give. The second you stretch the hoodie, those stitches will pop. Avoid this disaster by using a narrow zig-zag stitch or a dedicated stretch stitch (it often looks like a little lightning bolt on your machine). This builds elasticity right into the seam.
- An Overlocker is Your Best Friend: If you have an overlocker (or serger), this is its moment to shine. It stitches, trims the excess fabric, and finishes the edge all in one pass, creating a tough, stretchy seam that’s identical to what you’d find in any high street shop.
Sew both shoulder seams using a 1.5 cm seam allowance (or whatever you marked on your pattern). Don't skip pressing the seams open with an iron afterwards. It sounds minor, but it makes a massive difference in getting a flat, clean finish.
Setting in the Sleeves
Attaching sleeves can feel like a boss battle, but it’s all about prep and patience. There are a couple of ways to do this, but we'll stick to the "flat" method because it’s way more straightforward for beginners.
Lay your joined front and back panels out flat with the right side facing up. Grab a sleeve piece. The key is to match the centre point of the sleeve head (the very top of the curve) with the shoulder seam you just sewed. Place the sleeve on top of the body, right sides together, and pin that centre point first.
Now, work your way out from the centre, pinning the rest of the sleeve head to the armhole curve. You might need to gently ease the fabric to make it fit smoothly without any puckers.
Don't try to force the sleeve to fit the armhole. That’s a classic rookie mistake. Use plenty of pins and gently stretch the armhole just a touch if needed. The sleeve head is designed with a little extra length to give you comfortable movement around the shoulder.
Stitch the sleeve to the body along the armhole curve. Do the exact same thing for the other sleeve. Once both are attached, you can sew the side and underarm seams in one long, continuous line—from the cuff, up to the armpit, and down to the hem.
Constructing a Professional Hood
A proper, double-layered hood is a signature feature of a quality hoodie. It gives it structure and warmth, and just looks worlds better than a flimsy single layer. You should have four identical hood pieces: two for the outside, two for the lining.
Start by taking the two outer hood pieces and placing them right sides together. Sew them along the long back curve. Now, do the exact same thing with the two lining pieces. You should now have two separate, identical hoods.
To join them, place the outer hood and the lining hood right sides together. Carefully line up the centre seams and the front edges. Pin them all the way around the front opening of the hood.
Sew along this front edge only. Leave the bottom neck edge completely open. Now for the satisfying part: turn the entire hood the right way out through that opening. You’ll have a beautifully finished hood with all the messy seams tucked away inside. Give that front edge a good press with the iron for a crisp finish.
Attaching the Finishing Touches
We're in the home stretch now. These final steps are what pull everything together and make it look like a real garment.
First, let's get the hood attached. With the hoodie body right side out, pin the raw neck edge of your finished hood to the neckline, making sure to align the centre seams. If your pattern has an overlapping front, double-check you've pinned it correctly. Sew the hood to the body.
Next, get your cuffs and waistband ready. Take your knit ribbing fabric and fold each cuff piece in half lengthwise (wrong sides together) to create a loop. Repeat for the bigger waistband piece.
To attach a cuff, slide the folded ribbing loop over the end of the sleeve, aligning all the raw edges. The ribbing is meant to be smaller than the sleeve opening—you'll need to stretch it gently and evenly as you sew. This tension is what creates that classic, snug fit. Sew the cuff on, and then repeat for the other sleeve and the waistband.
Finally, for a detail that screams "professional," install some metal eyelets for your drawstring. Mark where you want them on either side of the hood opening, use an awl or the tip of sharp scissors to make a small hole, and then set the eyelets with an eyelet tool. These little metal rings stop the fabric from fraying and seriously upgrade the look of your hoodie. It’s the small details that count, whether you’re making a hoodie from scratch or figuring out the best ways for printing on t-shirts in the UK.
Adding Graphics with DTF Transfers
You’ve sewn the seams, attached the hood, and nailed the fit. Your hoodie is officially built. Now for the fun part: giving it a personality. This is where you transform a well-made garment into something that's unapologetically yours.
We're talking about adding custom graphics with Direct to Film (DTF) transfers. This is the secret weapon for achieving a professional, vibrant finish without needing a massive workshop.
DTF is a modern printing method where your design gets printed onto a special film, then heat-pressed directly onto your hoodie. The beauty of it is that it works brilliantly on pretty much any fabric or colour you throw at it, from light cottons to dark poly-blends. The result is a sharp, full-colour graphic with a soft feel that won't crack or peel after a few washes.
Honestly, this is what closes the gap between a homemade project and a high-street grail. It’s a killer alternative to screen printing, which usually involves way more gear and faff. If you're curious about the nitty-gritty, we've broken down the differences in our guide to DTF vs screen printing for graphic tees.
Getting Your Digital Design Ready
Before you can bring your design to life, you need to prep the digital file. The quality of your artwork is everything here—a little time spent getting this right will pay off massively when you see the final print.
First, let's talk ideas. Personalisation is king right now. We're seeing huge trends emerge from unexpected places. For instance, searches for cartoon-themed hoodies recently shot up by 25%, and there's a serious revival of vintage athletic logos and gothic aesthetics. This isn't just a niche hobby; people are actively looking for unique, self-made gear.
To make sure your design prints perfectly, stick to these rules:
- Go High-Res: Your image file needs to be at least 300 DPI (dots per inch) at the final print size. Anything less and you risk a blurry, pixelated mess.
- Use a Transparent Background: This is non-negotiable. Save your file as a PNG with transparency enabled. This ensures only your design gets printed, not a clunky white or black box around it.
- Size It Right: Set your digital canvas to the exact dimensions you want the physical transfer to be. For a solid chest graphic, somewhere around 25-30 cm wide is a good starting point.
Sourcing and Applying the DTF Transfer
With your design file sorted, you'll need to find a supplier to print the transfer for you. A quick search for "custom DTF transfers UK" will give you plenty of options. Just upload your file, and they'll post the printed film straight to your door. My advice? Read a few reviews and double-check their file requirements before you hit 'order'.
Once the transfer arrives, it's time to press it. You can get fantastic results with either a proper heat press or just a standard household iron.
Using a Heat Press (The Pro Method)
A heat press is the best tool for the job because it delivers perfectly even heat and pressure. This is the key to a flawless, long-lasting application.
- First, pre-press the area on your hoodie for 5-10 seconds. This smooths out wrinkles and gets rid of any moisture hiding in the fabric.
- Carefully place the DTF transfer onto the fabric, with the design facing down.
- Press it at the recommended temperature (usually around 150-160°C) for 10-15 seconds.
- Now, wait. Let it cool down completely before you peel the film off. This is called a cold peel, and it's essential for getting a clean transfer without any lifted edges.
Using a Household Iron (The DIY Method)
No heat press? No problem. You can still get it done with a regular iron, you just need to be a bit more careful.
- Crank your iron up to a high heat setting (like the cotton setting) and make sure the steam is turned off.
- Lay a sheet of baking parchment over the transfer to protect it from the direct heat.
- Press down with firm, even pressure over the entire design for about 20-30 seconds. Don't slide the iron around like you're ironing a shirt; press one area at a time to ensure all the edges get enough heat.
- Let it cool all the way down before you even think about peeling the film.
Troubleshooting Tip: If a corner of your design starts to lift off with the film as you peel, don't panic. Just lay the film back down, cover it with the parchment, and give that spot another press with more heat and pressure.
Once the film is off, your graphic is officially part of the hoodie. For an extra layer of durability, I like to do one final press. Place the parchment paper back over the finished design and press for another 5 seconds. This helps lock the ink into the fabric fibres, making sure it stays looking sharp wash after wash.
Common Questions About Making a Hoodie
Even with the best guide in hand, you're bound to hit a snag or two when you're deep in the zone of creating a hoodie from scratch. It happens to everyone. Let's tackle some of the most common questions that pop up, so you can get back to your project without losing momentum.
A big one is fabric shrinkage. Yes, knit fabrics like the fleece and French terry you're likely using will absolutely shrink, especially after their first trip through the wash. This isn't a maybe; it's a guarantee.
That’s why you must pre-wash and dry your fabric exactly how you plan to wash the finished hoodie. Do this before you even think about laying out your pattern pieces. Trust me, it prevents the soul-crushing moment of pulling a perfect-fit hoodie out of the dryer, only to find it's shrunk to a size fit for a toddler.
What If My Seams Look Wavy?
Ah, the dreaded "lettuce edge." Wavy, stretched-out seams are a classic sign your fabric was pulled a bit too much while sewing. It’s incredibly common with knits, so don’t panic. Usually, it's because the feed dogs on your machine are pulling the bottom layer of fabric through faster than the top.
Here’s how to fight back:
- Reduce Presser Foot Pressure: If your machine has this setting, dial it back. Less pressure stops the fabric from getting squashed and stretched as it feeds through.
- Use a Walking Foot: This is the ultimate weapon for sewing knits. A walking foot has its own set of feed dogs on top, making sure both layers of fabric move through the machine at the exact same pace.
- Don't Pull the Fabric: Your only job is to guide the material gently. Let the machine do all the heavy lifting. Fighting it by pushing or pulling from behind is a one-way ticket to wavy seams.
Nailing this is the key to getting those clean, professional lines that make a homemade hoodie look like a high-end piece.
The single biggest game-changer when sewing knits is using the right needle. A standard needle literally stabs through the delicate fibres, causing skipped stitches and holes. A ballpoint or stretch needle is designed to slide between the fibres, which solves these problems instantly.
Can I Really Use a Regular Sewing Machine?
One hundred percent, yes. While an overlocker (or serger) is an amazing tool for banging out durable, stretchy seams in record time, it is absolutely not essential for making a hoodie.
Any standard sewing machine with a zig-zag stitch will get the job done perfectly. You can also use a dedicated stretch stitch if your machine has one. These stitches build elasticity right into the seam, letting it stretch with the fabric instead of snapping. Learning to master this on a regular machine is a core skill that unlocks the door to making all kinds of quality knitwear.
Ready to add that final, personal touch that makes it truly yours? At Psyque, we specialise in creating vibrant, tough-as-nails DTF transfers that bring your designs to life on any fabric. Turn your handmade hoodie into a masterpiece today.