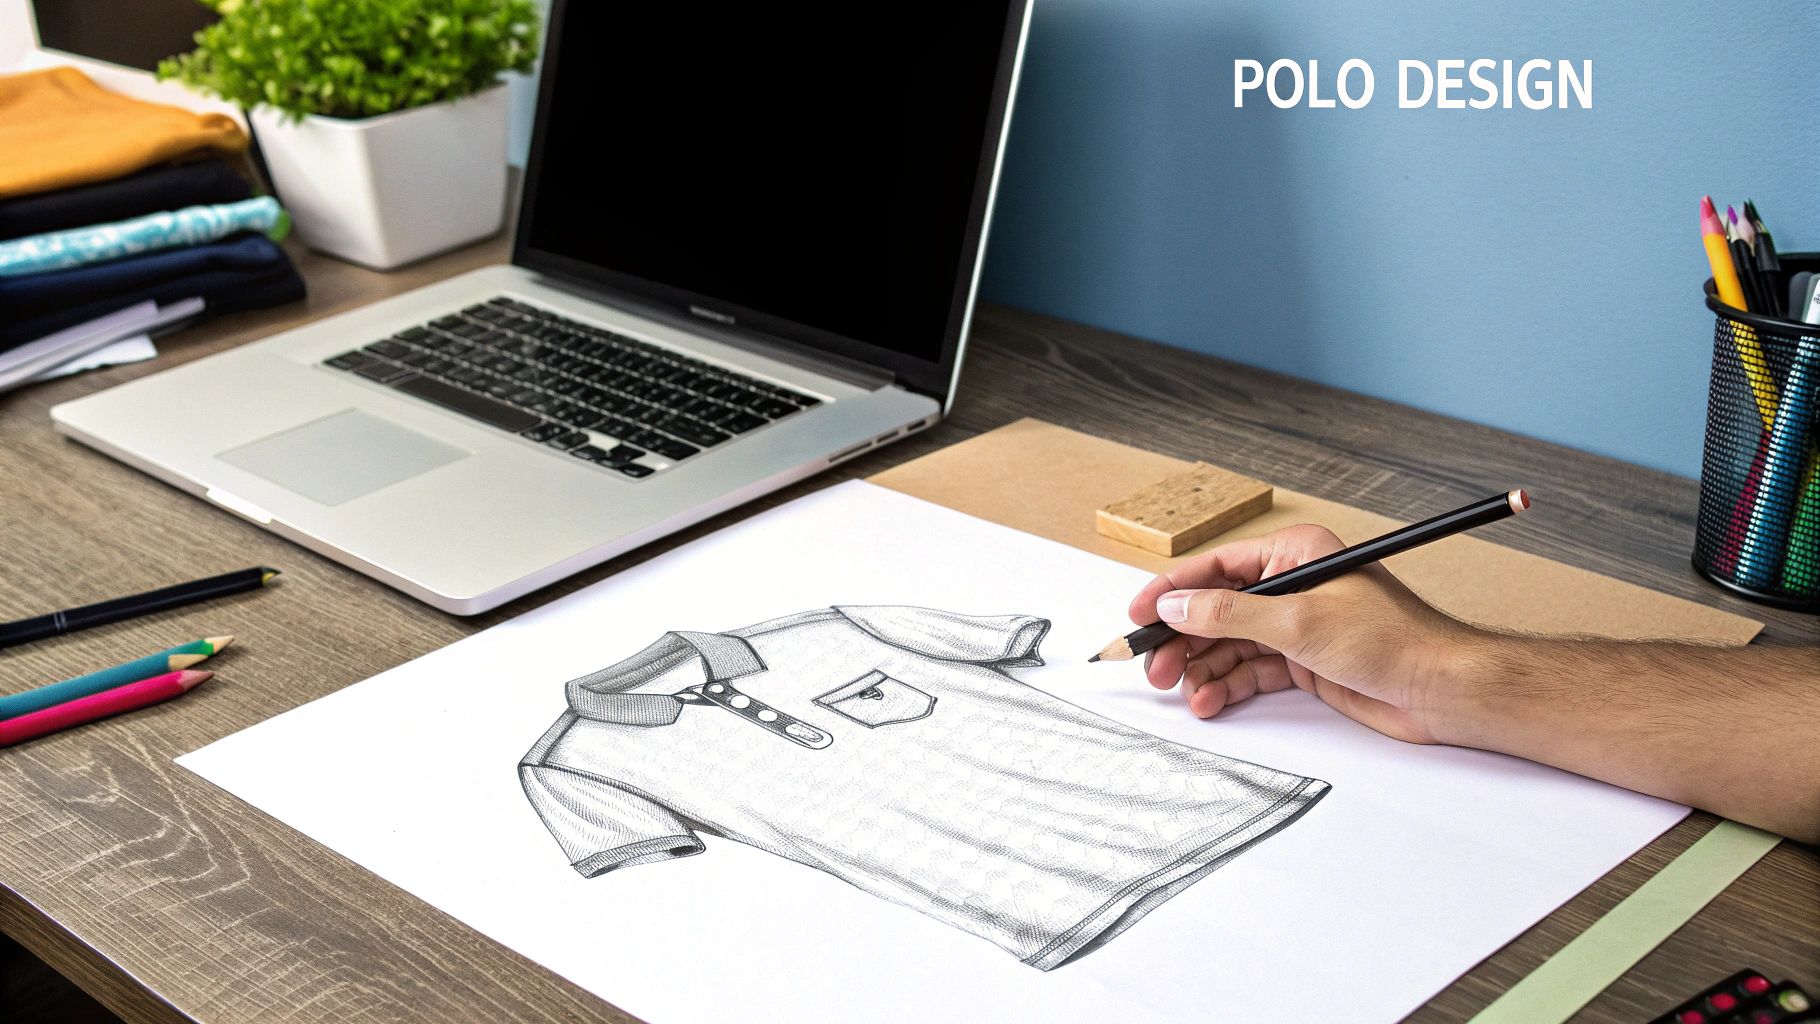
Mastering T Shirt Design Polo for Your Brand
Share
Before you even think about firing up the printer, the real work on a great polo shirt collection begins. It all comes down to the foundation. Get these first steps right, and you’re setting yourself up for a professional product that people will actually want to wear.
Building Your Polo Shirt Design Foundation

Trying to design a polo without nailing down the basics is like building a house with no blueprint. The end result is almost guaranteed to be a mess. The choices you make right now—on fabric, audience, and suppliers—will make or break the entire project.
Choosing the Right Polo Fabric
The material you choose is about way more than just comfort; it has a massive impact on how your final DTF print looks and feels. Different fabrics interact with ink in totally different ways.
- Piqué Knit Cotton: This is the classic polo fabric, the one with that textured, almost honeycomb-like weave. It’s tough and breathable, but that uneven surface can be a nightmare for super-detailed designs.
- Jersey Knit Cotton: Think of a standard, smooth t-shirt fabric. That’s jersey. Its flat surface is perfect for getting sharp, vibrant, and complex DTF prints. It also gives the polo a softer, more casual vibe.
- Performance Blends (Polyester/Spandex): If you're making sportswear or activewear, this is your go-to. These fabrics are built to wick moisture and stretch. DTF works great on them, but you have to be careful with your heat press settings or you risk melting the material.
Here’s the bottom line: the fabric completely dictates how the print will turn out. A detailed, photographic design will look crisp on a smooth jersey knit but can get lost and muddled on a heavy piqué texture.
Defining Your UK Audience
Seriously, who is this for? Answering that question will guide every single decision you make, from the colours you pick to where you place the logo. A polo designed for a corporate golf day needs something completely different from one made for a streetwear brand.
To really get the vibe, it’s worth digging into the enduring appeal of preppy fashion, since that’s where the polo’s DNA comes from. Are you making something for a local sports team that needs performance wear that can take a beating? Or is it for a high-end fashion label where a subtle, clean aesthetic is everything? You have to know your end-user. It's non-negotiable.
Sourcing and Software Setup
Okay, so you’ve picked your fabric and you know who you’re selling to. Now you need to find reliable UK suppliers for your blank polos. Hunt down companies with consistent stock and good reviews. Just as important is getting the fit right for your demographic—our own unisex size chart can give you a solid starting point.
Finally, get your digital workspace sorted. If you’re using something like Adobe Illustrator, set up your artboard with a polo shirt template. This is crucial: make sure your document’s colour profile is set to CMYK, not RGB. This one small step ensures the colours you see on your screen are a close match to what comes out of the printer, saving you from any nasty surprises later on.
Creating Designs That Actually Work on Polo Shirts
Once you've picked the perfect polo, it's time to bring your design to life. But here's the deal: a killer concept for a standard tee can completely fall flat on a polo if you don't adapt your thinking. It’s a totally different canvas that demands a focus on placement, texture, and technical precision.
The left chest is the classic spot for a reason. It’s clean, professional, and perfect for branding or a minimalist logo. As a rule of thumb, aim for a design between 3 to 4 inches wide. You’ll want it to align neatly with the bottom of the placket—that’s the key to making it look balanced, not just slapped on.
But don't feel boxed in by tradition. The sleeve is a great spot for a more modern, streetwear vibe. A small, subtle icon there adds a unique touch without screaming for attention. Another seriously underused area is the back yoke, just below the collar. It's the perfect home for a simple wordmark or brand emblem.
Mastering Different Fabric Textures
The fabric you’re printing on makes a massive difference. A smooth jersey polo is pretty forgiving; it behaves a lot like a standard T-shirt, so you can go wild with intricate, full-colour DTF prints.
The classic piqué knit, though? That’s another story. Its honeycomb-like, textured surface can be tricky.
Super fine lines or tiny text can easily get lost in the weave of a piqué polo. For these fabrics, you're much better off using bolder shapes and slightly thicker lines. This ensures the DTF transfer sticks properly and your design stays crisp and legible. Think of it like this: you wouldn't use a fine-tipped pen on a rough, textured canvas. Same principle applies here.
If you want to dive deeper into adapting graphics for specific garments, check out our guide on polo tee shirt design strategies.
Your Tech Specs: Non-Negotiable Rules for Flawless Prints
The technical quality of your artwork can make or break the final product. No matter how brilliant the idea, a low-quality file will give you a blurry, pixelated print every single time. This is where understanding vector versus raster graphics is absolutely critical.
- Vector Files (AI, EPS, SVG): These are the gold standard for logos and text. They’re built with maths, not pixels, so you can scale them up to the size of a bus without losing an ounce of quality. Always, always use vectors for your core branding.
- Raster Files (PNG, JPG): These are pixel-based, making them perfect for photos or detailed, painterly illustrations. If you’re using a raster file, it absolutely must be at least 300 DPI (dots per inch) at its final print size. Anything less will look amateur.
A classic rookie mistake is saving a low-res JPG as a PNG and assuming it's suddenly print-ready. It's not. The original file has to be high-resolution from the start. You can't magically invent detail that was never there.
Finally, think about your colour palette. Your design needs to work with the shirt colour, not fight against it. A black logo on a dark navy polo will be practically invisible. A bright yellow design on a muted olive green shirt might just look jarring. Use mockups to test out your colour combinations before you even think about printing a full run. When you're thinking about colour and message, you can find some great insights from articles on designing mental health awareness T-shirts, which often deal with creating impactful visuals on apparel.
A Practical Guide to DTF Printing on Polos
Right, your design is locked in. Now it's time to bring it off the screen and onto a real, wearable polo. This is where the magic of Direct-to-Film (DTF) printing comes in, a hands-on process that gives you incredible control over the final product. But getting it right isn't just about hitting 'print'—it's about precision at every single stage.
The first move is getting your digital file prepped specifically for the DTF printer. Make sure your artwork is saved as a high-resolution PNG file with a totally transparent background. Before you do anything else, double-check that your design software’s colour profile is set to CMYK. This one simple check can save you from a world of pain and unwelcome colour shifts when the ink finally hits the film.
From Digital File to Cured Transfer
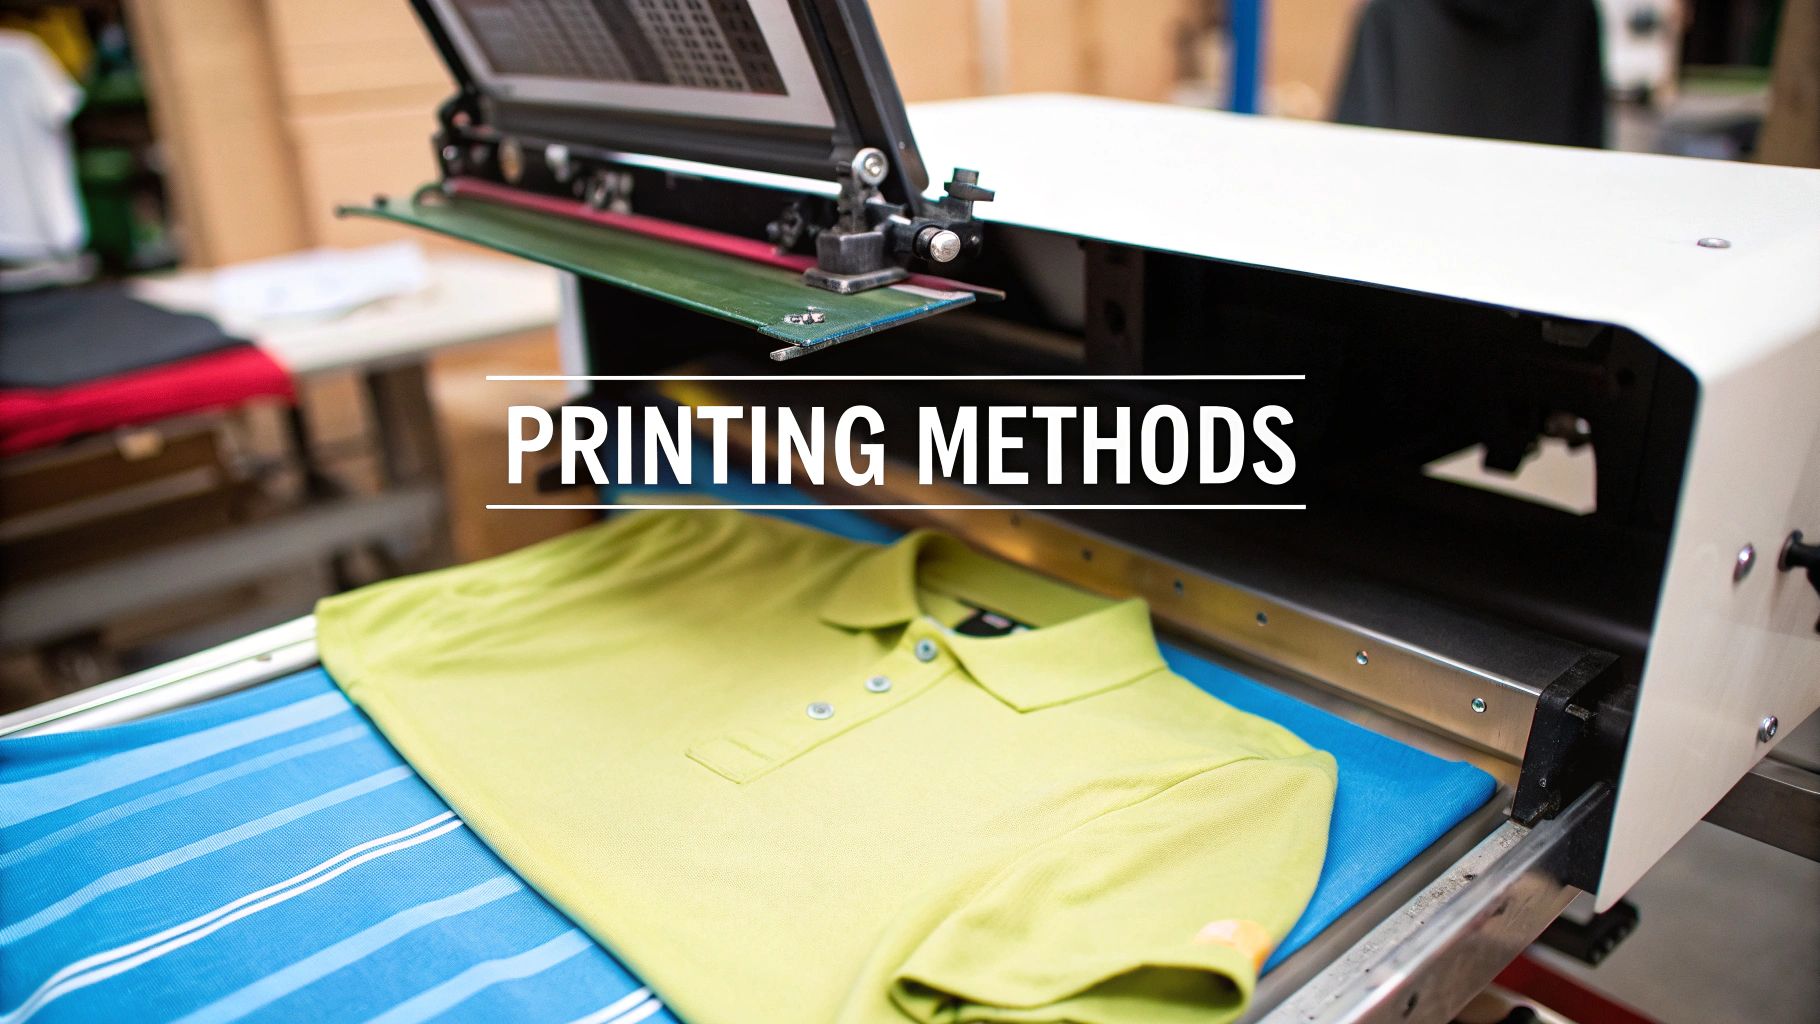
Once the file is good to go, you'll print it onto special PET transfer film. The secret weapon of DTF printers is how they lay down a layer of white ink first, before adding the CMYK colours on top. This is exactly why DTF produces such insanely vibrant designs, even on black or dark-coloured polos. That white base acts like a primer, making every colour pop.
As soon as the design is printed, and while the ink is still wet, the film gets a coating of hot-melt adhesive powder. Think of it as a fine, white, granular dust that needs to be spread evenly across every inch of your design. Miss a spot, and that part of your graphic simply won’t stick to the polo later. An automatic powder shaker is a godsend here, giving you a much more consistent result than doing it by hand.
Next up, curing. The powdered film is carefully passed through a heat tunnel or placed under a heat press. The key is to let the press hover without actually touching the film. This melts the adhesive, bonding it to the ink and creating a single, durable transfer sheet that's ready to go.
The Final Press: Perfecting Your Polo
This is the moment of truth. Getting that design from the film onto the shirt is a delicate balance of heat, pressure, and time. If you get these settings wrong, you're looking at scorched fabric, a faded-looking print, or a design that starts peeling off after the first wash. Nightmare fuel.
The material of your polo dictates everything. Here's a quick rundown of what I've found works best:
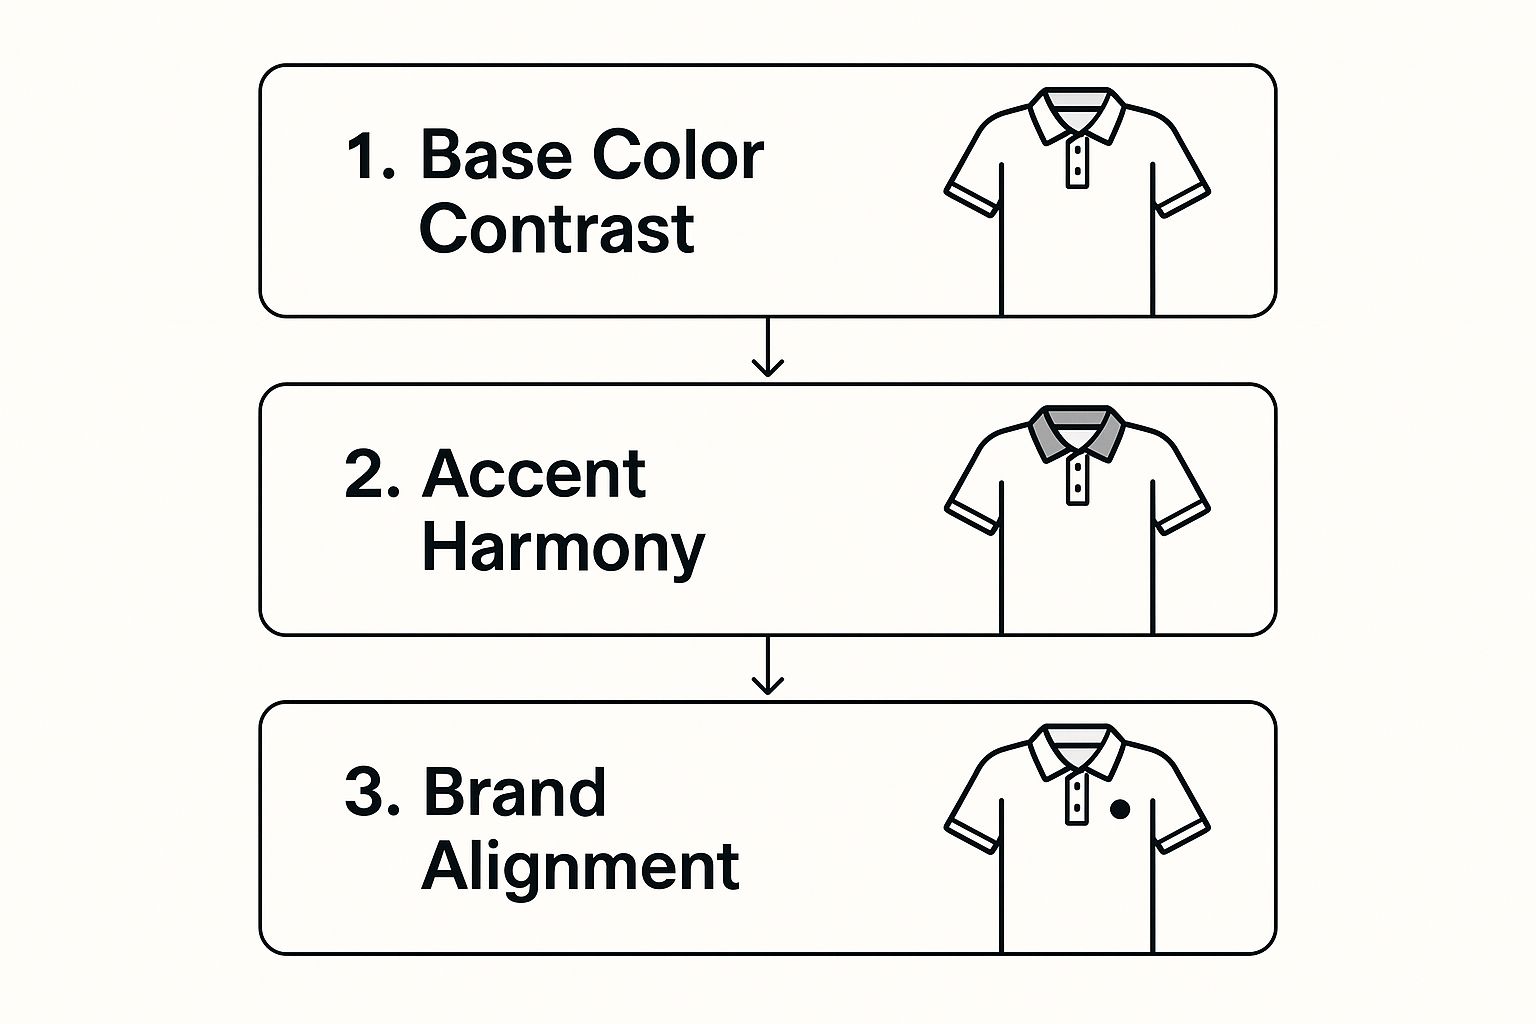
A great design starts with picking colours that will actually stand out against the polo. This infographic nails the core thought process.

It’s simple, really. Start with a strong contrast against the shirt's base colour, refine it with accent colours that work together, and make damn sure it all aligns with your brand's identity.
Heat Press Settings for Common Polo Fabrics
Nailing your heat press settings is non-negotiable for a professional finish. This table is your cheat sheet for the most common polo fabrics to avoid scorching the material while getting perfect adhesion.
| Fabric Type | Temperature (°C) | Time (Seconds) | Pressure | Peel Type |
|---|---|---|---|---|
| 100% Cotton Piqué | 160°C | 15-20 | Medium | Cold Peel |
| Polyester Blends | 140-150°C | 10-15 | Medium | Cold Peel |
| Tri-Blends | 135°C | 10 | Light-Medium | Cold Peel |
Always start with the lowest recommended settings and do a test press if you're working with a new fabric. It's better to press twice than to burn once.
After the initial press, you’ll perform a "cold peel." This just means you need to let the film cool down completely before you even think about peeling it away from the shirt. Patience is key here.
For that extra professional, soft-hand feel, place a sheet of parchment paper over the design and give it a final press for another 5-7 seconds. This last step embeds the ink deeper into the fabric’s fibres, which seriously improves both the feel and its long-term durability.
The demand for custom apparel like polos is huge. The UK market alone generated $200.1 million in 2023 and is expected to more than double by 2030. While old-school screen printing still has its place, the hunger for detailed, full-colour customisation is pushing digital methods like DTF into the spotlight. You can dig into the UK custom t-shirt printing market trends from Grand View Research for the full picture.
To see how these methods stack up, check out our deep dive on DTF vs. screen printing for graphic tees.
Positioning Your Brand in the UK Polo Market

Alright, so you’ve dialled in your designs and perfected your DTF process. Awesome. But a killer t shirt design polo is only half the battle. Now you’ve got to sell it, and that means carving out your space in the crowded UK apparel market.
Let's be real: a great design is just the starting line. A solid business plan is what actually gets you across the finish line and builds a brand that lasts.
The UK t-shirt market, which lumps in polos with regular tees, was worth around £1.4 billion in 2024, seeing a 4.9% bump from the year before. While that sounds huge, the market can be a battlefield, and domestic production has its own set of challenges. You can dig into the stats in this UK t-shirts market report from IndexBox.
This volatility is actually a good thing for small, agile brands like yours. It creates gaps in the market just waiting for someone to fill.
Finding Your Niche
Don't try to be everything to everyone. The UK polo market is a mash-up of different tribes, and your best bet is to pick one and own it completely.
- Corporate and Team Wear: This is a seriously lucrative sector. Think about it: businesses, sports clubs, and event staff always need high-quality, branded polos for uniforms. It’s a constant source of demand.
- Sustainable and Organic Apparel: The appetite for ethically made clothing is massive and growing. Offering polos made from organic cotton or recycled fabrics isn't just a trend; it's a powerful selling point that speaks to a specific customer.
- Fashion and Streetwear: This is the direct-to-consumer (B2C) space, and it lives and dies by trends. To win here, you need unique designs, a brand story that connects, and some smart marketing on platforms like Shopify or Etsy.
Who are you actually selling to? A corporate buyer who cares about durability and a clean, professional finish? Or a fashion-head looking for a statement piece that nobody else has? Nail this down first, because your answer will dictate every other decision you make.
Pricing for Profit
This is where so many new creators stumble. It’s easy to undervalue your own work, but a business that doesn't make a profit is just a hobby. To set a price that keeps the lights on, you need to calculate your total cost of goods sold (COGS).
Seriously, add it all up:
- The cost of the blank polo shirt
- The price of your DTF transfer film and ink
- The cost of your adhesive powder
- A realistic figure for your own labour and time
Once you have that total cost per shirt, you can add your markup. This needs to cover your overheads (like marketing spend and website fees) and, most importantly, leave you with a healthy profit margin. This is non-negotiable if you want your brand to grow.
Getting Your Polos Out There
How you market your polos comes right back to the niche you chose. If you're chasing B2B clients in the corporate world, forget TikTok dances. Your time is better spent networking on LinkedIn and building a slick, professional portfolio that screams quality.
But if you're building a B2C fashion brand? Visual platforms like Instagram and TikTok are your battleground. Show your designs on real people, not just mockups. Run targeted ads, and work with influencers who actually fit your brand’s vibe. To get a head start, check out our guide on social media marketing for fashion brands.
Perfecting Your Polo with Finishing Touches

You’ve pressed the perfect DTF print. The colours are spot on, the placement is killer. But hold up—the job’s not finished yet.
Honestly, this next part is what separates the pros from the amateurs. It’s the small, obsessive details that turn a nicely printed polo into a premium piece of kit that people will pay good money for and rave about to their mates.
Before a single polo goes into a mailer, it needs a final, eagle-eyed inspection. This is your last line of defence against any tiny flaw that could wreck a customer’s unboxing experience and tarnish your brand’s reputation.
Your Quality Control Checklist
Don't just wing it. When you’re buzzing to get an order out the door, it’s far too easy to miss the little things. Make a checklist and stick to it religiously.
- Print Integrity: Have a gentle feel of the DTF transfer. Is it smooth? Fully bonded? If you can feel any peeling edges or a stiff, plasticky texture, your press settings might be off. Our heat press temperature guide is a good place to start troubleshooting that.
- Colour Accuracy: Get the polo under some good light and compare it to your digital file. Check for any weird colour bleeding or dullness, which can sometimes happen on darker garments if things aren't dialled in just right.
- Garment Inspection: Give the whole polo a once-over. Snip any loose threads. Look for fabric pulls or any faint stains that might have happened during handling.
These checks aren't just about being fussy; they're about showing respect for your customer. A flawless product says you give a damn about quality, and that message is more powerful than any marketing you could ever run.
Adding Value Beyond the Print
Once you're happy with the quality, it's time to add those finishing touches that scream "professional brand." These are the details that make a customer feel like they’ve bought something special, not just another bit of clothing off the internet.
Think about sewing in custom woven neck labels instead of leaving the manufacturer's tag in. It’s a classic move that instantly elevates your apparel. A well-designed hang tag is another no-brainer—use it to tell a bit of your brand's story, give proper washing instructions, and point people to your social media.
The last thing your customer touches is the packaging. Don't just chuck it in a grey poly mailer. Thoughtful presentation—whether it's custom tissue paper, a branded mailer, or even just a simple thank-you card—makes that first impression count. It turns getting a parcel into a proper experience.
These finishing steps are how you carve out your space. The UK's apparel market is massive; by 2025, the t-shirt segment alone is expected to hit $4.15 billion. Getting a slice of that pie means delivering a product that feels premium from the print right down to the packaging. It’s these final details that turn a one-off buyer into a loyal fan.
Got Questions About Printing on Polos? We've Got Answers
Even when you think you've got the process dialled in, a new apparel project always throws a few curveballs. Getting solid answers upfront is the only way to sidestep costly mistakes and turn out a t shirt design polo that looks professional, not amateur. Here are a few of the most common questions that land in our inbox.
Can I Really Use DTF on Any Polo Shirt Fabric?
Pretty much, yes. DTF is a workhorse and plays nicely with the usual suspects: cotton, polyester, and the poly-cotton blends most polos are made from. But the real decider isn't the material itself; it's the texture.
If you're working with a classic piqué or a waffle-knit cotton, you’ll probably need to add a bit more muscle during the heat press. That extra pressure helps the transfer get right into those nooks and crannies, ensuring a solid bond with the fabric's bumpy surface.
On the flip side, performance polyester needs a gentler approach. Go for a lower temperature and a shorter press time to avoid scorching the material. This is also your best defence against dye migration—that soul-crushing moment when the shirt's own colour bleeds into your perfectly white design.
Pro tip: Always, always run a test press. Grab a spare shirt or use a hidden spot on the garment. It's the only guaranteed way to perfect your settings before you risk an entire batch of stock.
Where's the Best Place to Put a Logo on a Polo?
The left chest is the classic for a reason. It’s clean, professional, and the go-to for most corporate branding. A logo around 3 to 4 inches wide usually hits the sweet spot. For dead-on alignment, try lining up the top of your design with the bottom of the collar placket. Easy.
But don't feel locked into tradition. If you’re aiming for a more modern, fashion-forward vibe, start experimenting. A small, subtle logo on the sleeve can add a unique touch of class. Or, for a really clean and contemporary look, try placing a brand mark on the back yoke, just below the collar.
Ultimately, the best placement depends on your brand's personality and who you're trying to reach.
How Do I Get My Printed Colours to Actually Match My Screen?
Ah, the million-dollar question. Getting your colours right isn't magic, it's just process. First things first: design your files in a CMYK colour profile, not RGB. CMYK is for printing, RGB is for screens. This one simple switch will solve half your problems before you even start.
Calibrating your monitor also makes a huge difference, but if you're dealing with brand colours that have to be exact, it's time to bring in the pros. Use a Pantone (PMS) guide to find the closest CMYK match.
Most importantly, nothing beats a real-world test. Print a small swatch of your main colours and press it onto the actual fabric you'll be using. This is the only way to see exactly how those inks will react and look before you commit to the full run.
Ready to stop guessing and start creating? At Psyque, we live and breathe high-quality DTF printing, turning wild ideas into vibrant, durable apparel. Check out our collections and custom services at https://psyque.co.uk.
