
Finding the Best T Shirt Transfer Printer
When you hear "T-shirt transfer printer," you might picture a single, all-in-one machine. In reality, it’s more of a powerful system designed to turn your digital ideas into wearable art.
Think of it as a seriously upgraded stencil and iron combo. First, you print your design onto a special film or paper. Then, using a heat press, you permanently transfer that design onto the fabric. This exact technology is what’s fuelling the UK’s booming personalised clothing market.
What Is a T-Shirt Transfer Printer System?
At its core, the "T-shirt transfer printer" is just one piece of the puzzle—the part that prints your design onto a carrier medium like film or paper. But to actually create a finished custom garment, this printer needs to work as part of a three-piece team.
Getting your head around how these components work together is the first step to mastering the craft. It's this cooperative process that allows everyone, from at-home hobbyists to established brands, to produce vibrant and durable custom gear without the massive setup costs of old-school methods.
The Core Components of the System
The whole setup is a bit more involved than just clicking 'print'. Each part of the system plays a crucial role in taking what's on your screen and making it real. For example, the printer handles the creative part, but it’s the heat press that does the heavy lifting to make it permanent.
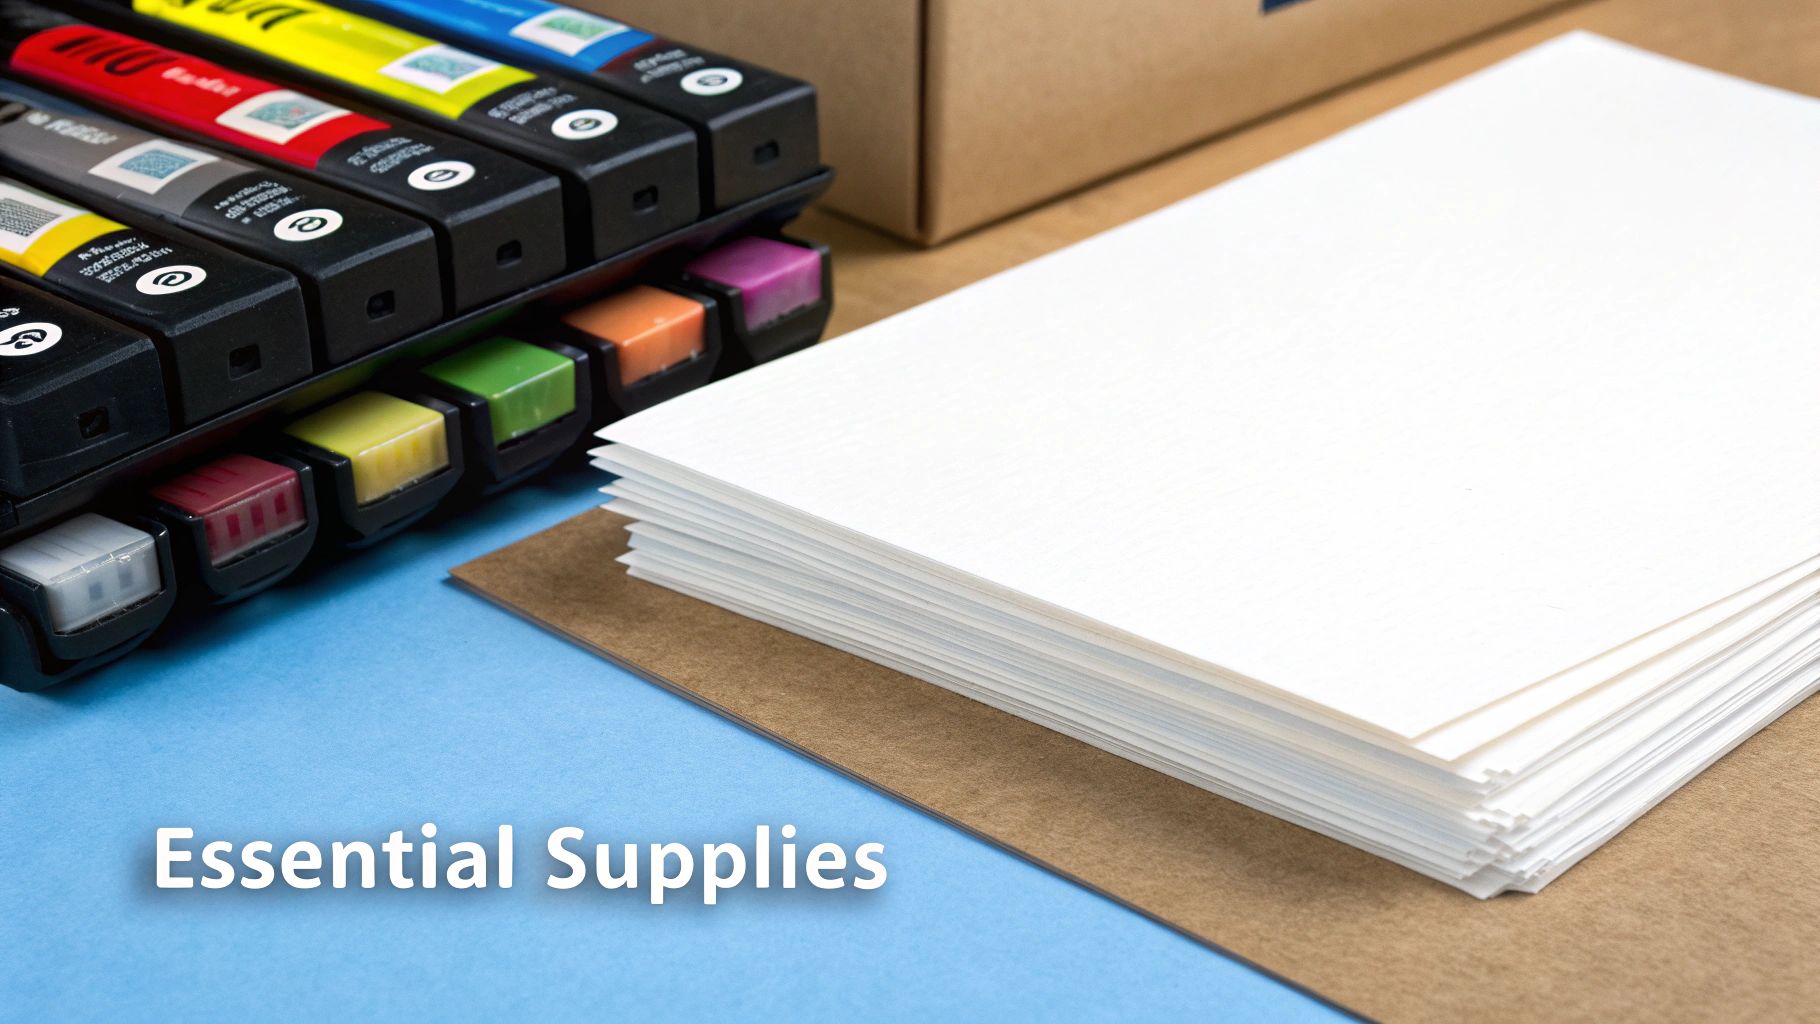
Every transfer printing workflow relies on these three essentials:
- The Printer: This is where it all starts. It's usually an inkjet printer, often tweaked for specific methods like Direct to Film (DTF), and loaded with special inks. It prints your design—in reverse—onto the transfer medium.
- The Transfer Medium: This isn't your average printer paper. It’s either a specially coated heat transfer paper or a PET transfer film, both designed to hold the ink perfectly and then release it onto the fabric when heat is applied.
- The Heat Press: This is the final, make-or-break stage. A heat press clamps down with precise, even pressure and high temperatures. This bonds the ink from the transfer medium directly into the garment's fibres for a permanent, professional finish.
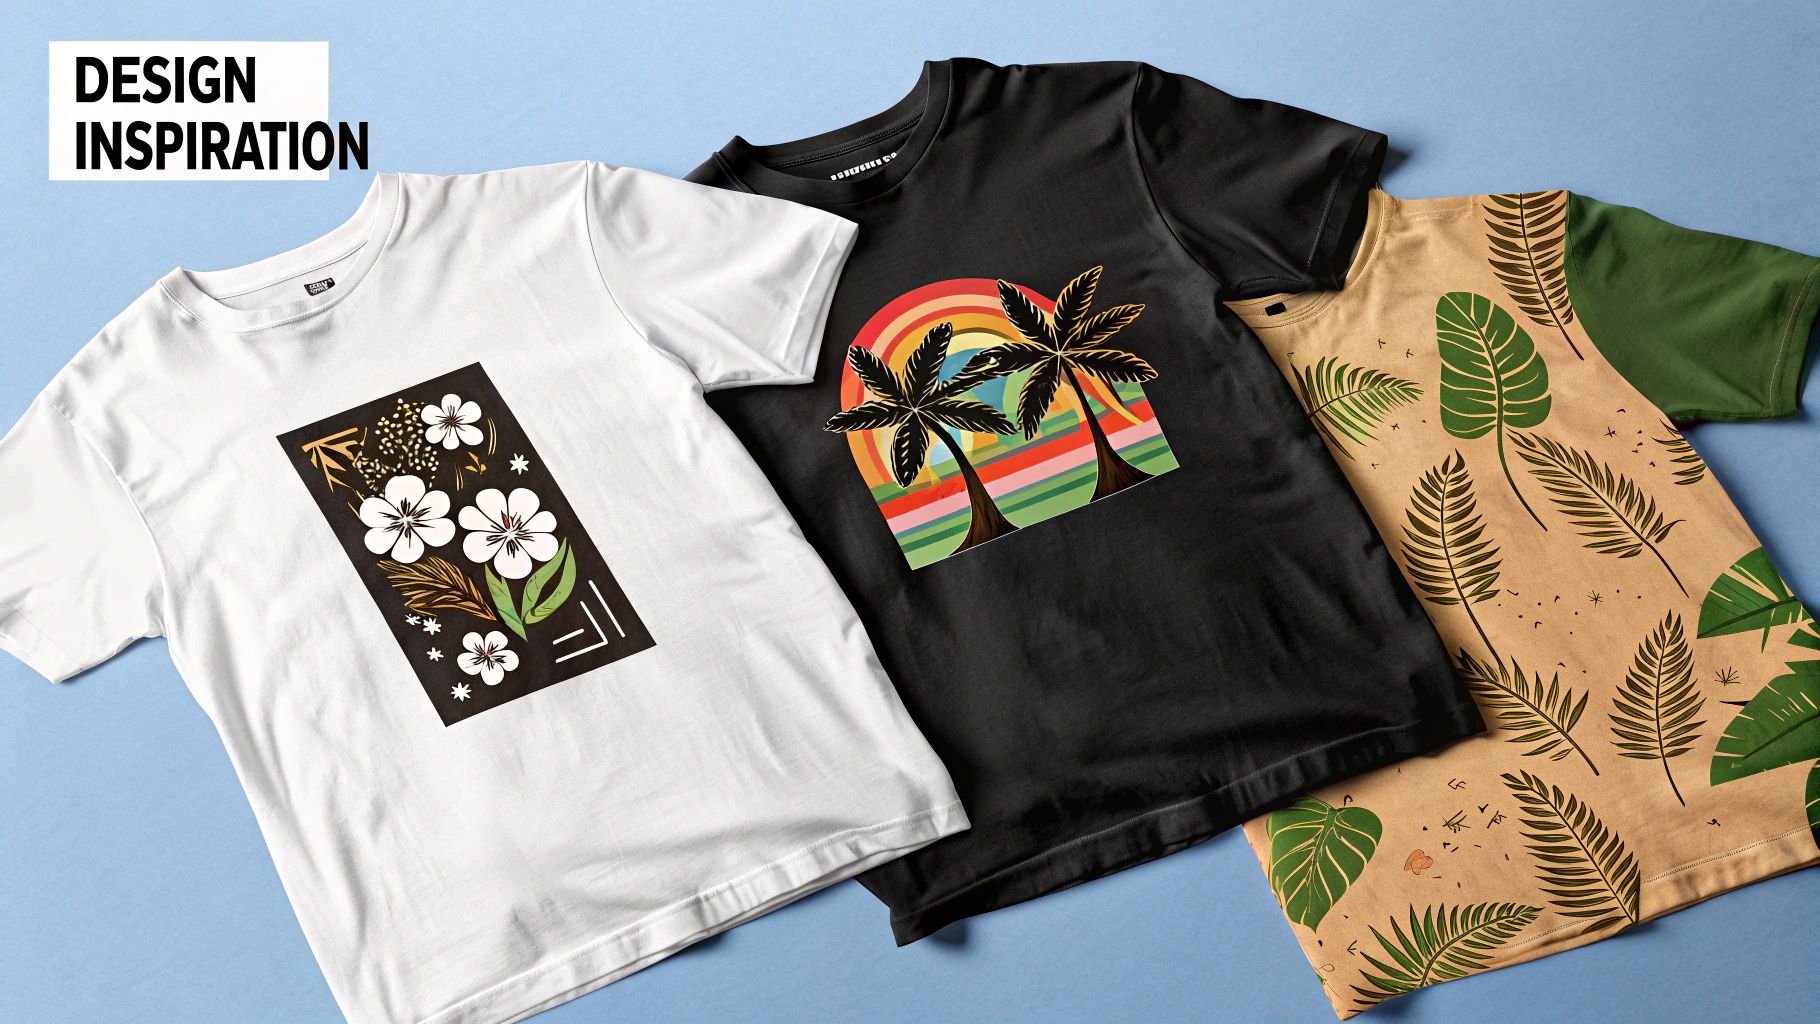
The real beauty of this trio is its flexibility. It lets you apply full-colour, detailed designs to a huge range of fabrics—including cotton, polyester, and blends—that used to be a real headache to decorate.
Why This Method Is So Popular
The explosion in transfer printing, especially with new tech like DTF, comes down to how accessible it is and the brilliant quality you can achieve. It's blown the doors wide open for small businesses and independent designers, letting them compete with bigger players by offering on-demand, personalised gear.
Being able to produce a single custom T-shirt or a small batch without fuss is a huge advantage. It empowers anyone with a good idea to start a brand or offer customisation services. If you're keen to get into the nitty-gritty, our guide on DTF prints dives deep into what makes it such a go-to choice for modern clothing creators.
Comparing Core T-Shirt Printing Technologies
Choosing the right way to get a design onto a T-shirt can feel a bit overwhelming. It’s not simply about one method being “better” than another; it’s about finding the perfect fit for what you’re trying to achieve. Are you making a one-off photo tee for a laugh, or are you kitting out an entire company for an event? The right answer depends entirely on the job.
Let’s get to grips with the three main players: Direct to Film (DTF), traditional heat transfer paper, and the classic screen printing. Each has its own distinct process, its own strengths, and its own time to shine.
Direct To Film (DTF): The Modern All-Rounder
DTF is a relatively new kid on the block, but it has quickly become a favourite for good reason. The best way to think of it is creating a high-quality, ultra-durable sticker that becomes one with the fabric. The process is pretty clever: a design is printed with special textile inks onto a transparent film, coated with a fine adhesive powder, and then heat-pressed onto the T-shirt.
The real magic of DTF is its white ink layer. It's printed at the same time as the colours and acts like a primer on a dark wall. This underbase means you can print stunning, full-colour designs that absolutely pop on any colour of fabric, from black cotton to bright polyester and tricky blends. That incredible versatility is its superpower, making it the go-to for small businesses and on-demand print shops.
This infographic gives a quick visual rundown of how different printing methods stack up.
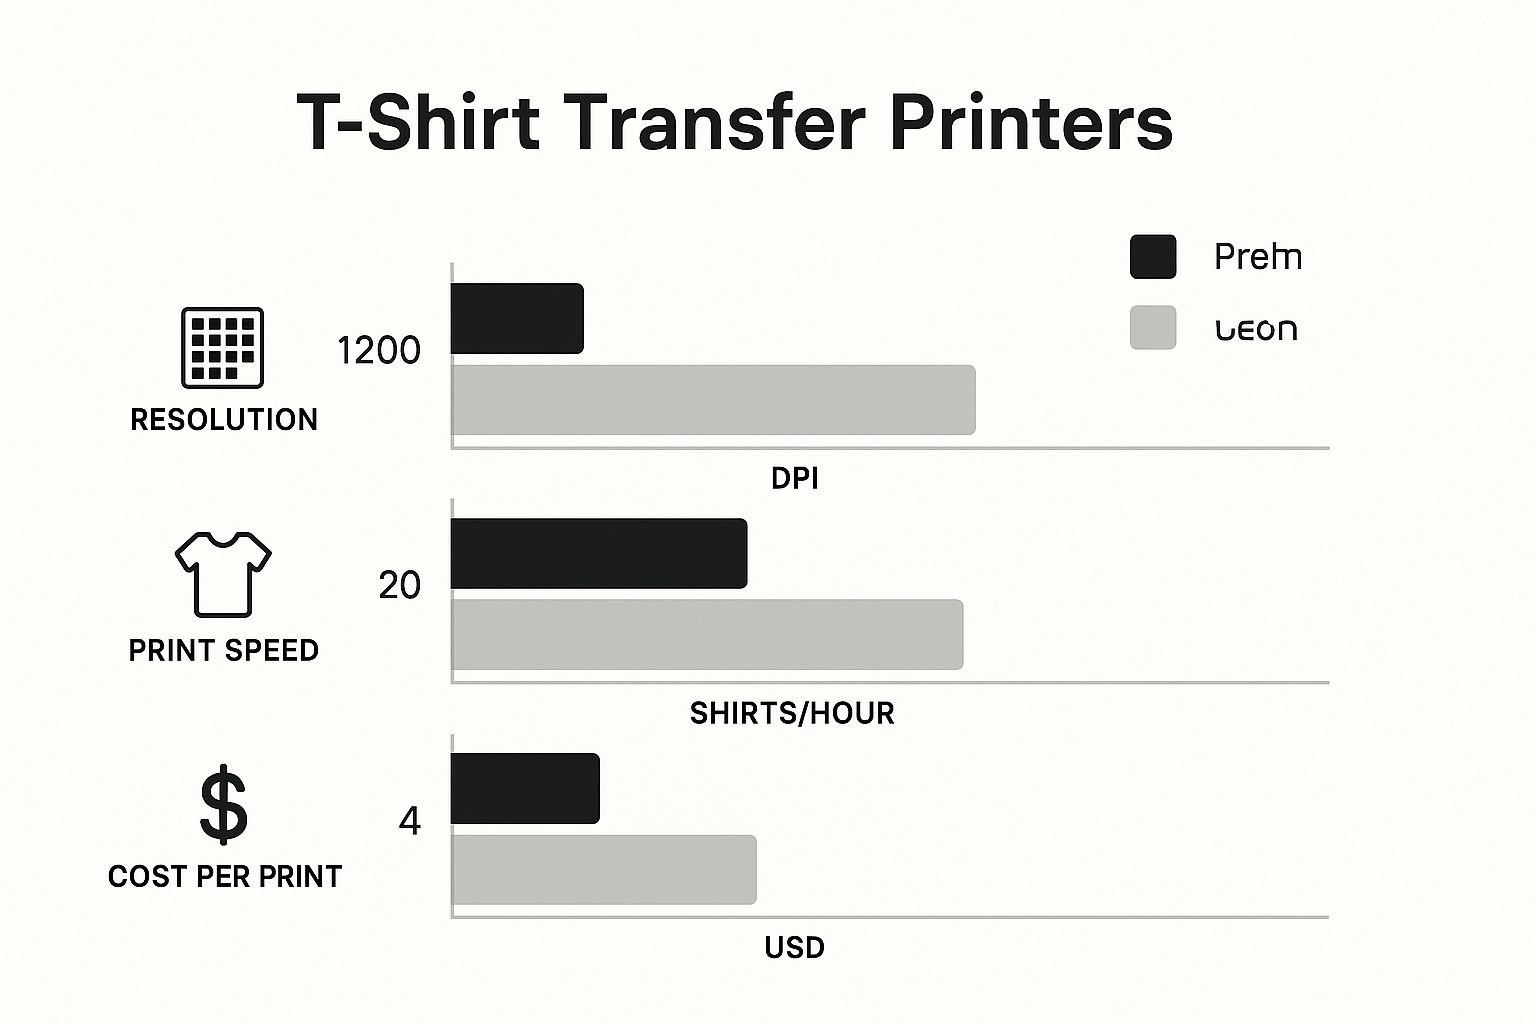
You can see how modern digital methods like DTF strike a great balance between high-resolution results and cost-effectiveness, especially for small to medium-sized batches.
Heat Transfer Paper: The Accessible Starting Point
For many of us, heat transfer paper is the first taste of custom T-shirt making. It’s hands-down the most straightforward method. You just use a standard inkjet or laser printer to print your design onto a sheet of specially coated paper. Then, you place it on the shirt and use a heat press (or even a home iron) to transfer the image across.
There are two main types you'll come across: one for light fabrics and another for darks. With light garments, the ink essentially soaks into the fibres. For dark garments, the paper creates a solid white background for your design to sit on so the colours show up.
While it’s incredibly cheap for one-off projects or a bit of fun at home, the final print can sometimes feel a bit stiff—almost like a plastic layer sitting on the shirt. Durability can also be a bit of a let-down, as prints may crack or fade much faster than with other methods.
Screen Printing: The Bulk Production Powerhouse
Screen printing is the old-school, time-tested champion of the T-shirt world. The technique involves pushing ink through a stencilled mesh screen directly onto the fabric, one colour at a time. Every single colour in your design needs its own separate screen, which makes the setup process pretty involved and time-consuming.
But here’s the trade-off: once those screens are ready, you can churn out hundreds, or even thousands, of identical shirts incredibly quickly and cheaply. This efficiency makes screen printing the undisputed king for large orders—think band merchandise, corporate events, or retail clothing lines. The ink bonds deeply with the fabric, creating prints that are ridiculously soft, breathable, and built to last.
The strength of this method is clear in the UK's custom T-shirt market. In 2023, the market pulled in around £157 million, and screen printing was responsible for over 57% of that revenue. That dominance shows just how unbeatable it is for high-volume jobs, even as digital methods grow in popularity.
Printing Technology Head-to-Head Comparison
To make things a bit clearer, let's put these three technologies side-by-side. Seeing their strengths and weaknesses in a direct comparison is often the easiest way to figure out which one suits your needs.
| Feature | DTF (Direct to Film) | Heat Transfer Paper | Screen Printing |
|---|---|---|---|
| Best For | Small to medium batches, complex multi-colour designs, printing on any fabric type. | One-off prints, hobby projects, kids' crafts, and prototyping on a tight budget. | Large bulk orders (50+ units), simple designs with limited colours, retail-quality feel. |
| Feel on Shirt | Very soft, flexible, and feels almost like part of the fabric. | Can feel like a stiff plastic layer, especially on dark garments. Less breathable. | Incredibly soft and breathable as the ink becomes part of the fabric. |
| Durability | Excellent. Resists cracking and fading for 50+ washes when cared for properly. | Poor to fair. Prone to cracking, peeling, and fading after just a few washes. | The most durable option. The print will often outlast the T-shirt itself. |
| Colour Vibrancy | Outstanding on all fabric colours, including black, thanks to the white underbase. | Good on light fabrics, but can look muted or flat on dark fabrics. | Very vibrant and opaque, with rich, solid colours. |
| Setup Cost & Time | Minimal. No screen setup needed, so it’s fast and cheap for single items. | Almost none. Just need a printer and the paper itself. The quickest for one shirt. | High setup cost and time-consuming. Not cost-effective for small runs. |
Ultimately, the "best" method really is the one that aligns with your specific project. There's a reason all three are still widely used today.
So, Which Printing Method Is Right For You?
The best choice really boils down to your specific project. There are clear lines in the sand between these technologies, and knowing where they are is the key. For a more detailed look, our guide comparing DTF vs screen printing for graphic tees dives even deeper into the nuances.
Let’s run through a few quick scenarios to make it crystal clear:
- You need a single, full-colour photo printed on a black T-shirt. DTF is the obvious winner. Its ability to print vibrant, detailed images on dark fabric with zero setup fees makes it perfect for the job.
- You need 200 one-colour logo shirts for a company event. Screen printing is your best bet, hands down. It will be the most durable and cost-effective option by a country mile. The price per shirt will be far lower than any digital method at that volume.
- You're planning a kid's party where everyone decorates their own shirt. Heat transfer paper is ideal. It’s cheap, easy for anyone to use with a home iron, and perfect for creating a fun, temporary keepsake.
At the end of the day, your choice will be guided by your budget, the quality you're after, the type of fabric you're using, and—most importantly—how many you need to make. Each method has carved out its niche for a very good reason.
Key Features to Look For in a T-Shirt Transfer Printer
Jumping into the world of custom apparel is exciting, but it also means getting to grips with the equipment. When you start comparing different T-shirt transfer printers, you’ll likely be faced with a wall of technical specifications. The key to making a smart investment is understanding what these features actually mean for your day-to-day work.
Instead of getting bogged down in jargon, let’s break down what really matters. We’ll translate the tech-speak into real-world benefits, so you can see how each feature impacts your final product, your workflow, and ultimately, your bottom line. This way, you can choose a machine that truly fits what you're trying to build.
Print Resolution (DPI)
First on the list is print resolution, measured in Dots Per Inch (DPI). Think of DPI as the level of detail your printer can capture. A low DPI is like painting with a chunky brush—you get the general picture, but the edges are fuzzy and fine details are completely lost. High DPI, on the other hand, is like drawing with a fine-tipped pen, giving you crisp lines, smooth colour transitions, and photo-realistic quality.
For T-shirt transfers, a higher DPI translates directly to a more professional and impressive final garment. You should be looking for a printer that can hit at least 1440x720 DPI. This level of detail ensures your designs look sharp and vibrant, not pixelated or muddy. That’s the kind of quality that builds a great reputation.
Ink System and Colour Configuration
The ink system is the heart of any transfer printer. You'll typically find two main types: cartridge-based systems, common in standard office printers, and bulk ink systems (CISS), which are standard in dedicated DTF printers. While cartridges are simple enough, a bulk system is far more cost-effective for any serious production, slashing your cost per print.
Beyond how the ink is delivered, pay close attention to the colour configuration. A standard setup is CMYK (Cyan, Magenta, Yellow, Black). However, if you plan on printing on anything other than plain white T-shirts, a system that includes White (W) ink is an absolute must.
The white ink channel is the secret sauce for getting vibrant prints on dark fabrics. It lays down an opaque white base layer first, which allows the CMYK colours to pop brilliantly on top, rather than getting swallowed up by the dark material.
Maximum Print Width and Media Handling
The maximum print width determines the biggest design you can create in a single pass. A standard A3+ printer, which is around 13 inches wide, is a fantastic starting point for most T-shirt designs. But if you have ambitions to print oversized graphics or want to "gang" multiple smaller designs onto one sheet to save material, a wider format printer (24 inches or more) might be a smarter long-term move.
Just as important is how the printer handles the transfer film itself. Look for a machine designed to take rolls of film, not just single sheets. A roll-fed system enables continuous, unattended printing, which is a massive time-saver when you're knocking out larger batches. It's one of the key features that separates a hobbyist setup from a professional DTF printing machine.
The Role of RIP Software
You could have the best printer on the market, but without the right software, you’re not even close to unlocking its full potential. Raster Image Processor (RIP) software is the brain behind the operation, especially for DTF printing. It’s an advanced driver that gives you granular control over the entire printing process.
RIP software is what lets you manage the white and colour ink layers with precision. It’s critical for:
- Colour Accuracy: Making sure the colours on your screen perfectly match the final print on the shirt.
- Ink Control: Managing exactly how much ink is used, which affects both the feel and the cost of the print.
- Workflow Management: Allowing you to queue, nest, and manage multiple print jobs efficiently.
Many dedicated transfer printers come bundled with powerful RIP software like CADlink or AcroRIP. Don't treat this as an optional extra—it’s a critical component that turns a simple printer into a powerhouse production tool. Choosing a printer without considering the software is like buying a performance car and never taking it out of first gear.
How to Choose the Right Printer for Your Needs
Picking the perfect T-shirt transfer printer isn't about finding the one "best" machine out there. It’s about finding the right setup for you. A printer that’s ideal for a weekend hobbyist would just create a massive bottleneck for a growing business, and vice versa.
To make things simpler, let's break it down by looking at three common types of users. Once you figure out which camp you fall into, you can match your goals with the right technology, balancing cost, quality, and how fast you need to get things done. This way, you invest wisely from the get-go.
The Hobbyist or Creative Explorer
Are you just starting out? Maybe you're dipping your toes into making custom gear for fun, for gifts, or for a small Etsy shop on the side. If that’s you, your biggest priorities are a low upfront cost and a machine that’s easy to get the hang of. You don't need a production powerhouse; you just need a friendly entry point.
For this kind of creator, the best place to start is usually with a good-quality converted inkjet printer and some heat transfer paper.
- Investment: Very low. You might even have a compatible printer already, like an Epson EcoTank. The main expenses will be a heat press and the special paper.
- Best For: Making one-off designs, playing with new ideas, and creating personalised gifts for family and friends.
- Trade-Offs: The final print won't be as durable, and it can sometimes feel a bit stiff on the shirt. It’s definitely not for big batches or professional retail, but it’s the perfect way to learn the ropes without breaking the bank.
The Small Business Owner and Entrepreneur
Okay, this is where things get serious. You're running an online store, handling orders for clients, or maybe even supplying local brands. Your focus has shifted to professional quality, efficiency, and being able to print on almost anything. You need a setup that produces consistent, durable results that your customers will be happy to pay for.
For this user, a dedicated desktop Direct to Film (DTF) printer is the clear winner.
- Investment: Moderate. It’s a definite step up from the hobbyist setup, but it’s what unlocks truly professional capabilities.
- Best For: Fulfilling online orders, producing small-to-medium batches of merch, and printing on a huge range of fabrics and colours (including black).
- Trade-Offs: It requires a bigger initial investment and a real commitment to regular maintenance to keep everything running smoothly.
This is the kind of setup that positions you perfectly to tap into the booming UK apparel market. In fact, the UK's T-shirt retail sector is on track to hit revenues of around US$2.42 billion by 2025, with online sales driving a huge chunk of that growth. A reliable DTF system lets you meet that demand with high-quality, on-demand products. To get the best results, especially with larger T-shirt designs, you need to make sure your source images have a high enough resolution. Knowing how to effectively increase the pixel count of your photos is a crucial skill for getting those crisp, professional transfers.
The Established Print Shop or High-Volume Producer
If you’re already operating at scale, your world revolves around speed, a low cost-per-print, and equipment that is absolutely rock-solid. We're talking orders of 50, 100, or even thousands of T-shirts at a time. Your machines need to be true workhorses.
At this level, the choice usually splits between two powerful options.
For complex, full-colour designs at scale, a large-format, roll-fed industrial DTF system offers incredible versatility. But for simpler designs in massive volumes, traditional screen printing is still an unbeatable powerhouse thanks to its raw speed and low consumable costs.
- Investment: High. This is commercial-grade equipment designed for non-stop production.
- Best For: Large-scale order fulfilment, contract printing for other businesses, and feeding retail production lines.
- Trade-Offs: You’ll need significant upfront capital, dedicated workshop space, and operators who really know what they’re doing.
Choosing the right equipment is one of the biggest decisions you'll make. If you’re looking for more guidance on getting set up, dive into our detailed guide on finding the best custom T-shirt printers to suit your business model.
Setting Up and Maintaining Your T-Shirt Printer
Unboxing a brand-new T-shirt transfer printer is a brilliant feeling, but getting the setup right from the very beginning is what separates amateur results from professional-quality prints. Think of it like assembling flat-pack furniture; you could try to wing it, but skipping a step will only come back to haunt you later. A careful, methodical setup ensures everything works together smoothly from your very first print.
This is about more than just plugging it in and hoping for the best. You'll need to get the software installed correctly, load your inks without any mishaps, and run those first crucial calibration tests. Taking your time here will save you a world of frustration and prevent common issues like wonky colours or alignment problems from ruining your first batch.
Your Initial Setup Checklist
Getting your printer from the box to being fully operational is pretty straightforward, as long as you follow a clear plan. Each step builds on the last, creating a stable and reliable printing environment. Rushing this part is a surefire way to run into technical snags that are easily avoidable.
Follow these steps to get cracking:
- Find the Right Spot: Your printer needs a sturdy, level surface to sit on. Keep it out of direct sunlight, away from dust, and make sure there's good ventilation. You'll also want to leave enough room around it to easily get to the ink tanks and paper trays.
- Install Software and Drivers: Before you connect any cables, install the RIP software and drivers that came with your printer. This software is essentially the brain of the whole operation, controlling everything from ink flow to colour accuracy.
- Load the Inks: If you're using a bulk ink system, carefully fill each tank with the correct colour. The big things to watch out for are cross-contamination (don't mix them up!) and air bubbles in the lines, which can stop the ink from flowing properly.
- Run Your First Test Print: Use the printer’s utility software to run a nozzle check and a print head alignment. This is a vital step. It confirms that all the nozzles are firing correctly and makes sure your designs will come out sharp and precise.
The Importance of Routine Maintenance
Looking after your T-shirt transfer printer is a bit like maintaining a car. You wouldn't drive for thousands of miles without checking the oil, and the same logic applies here. Small, consistent maintenance jobs are the key to preventing costly downtime and making sure every print is as good as the last.
If you ignore maintenance, you'll run into predictable problems. Clogged print heads, inconsistent ink flow, and weird colour banding across your prints are all classic symptoms of a neglected machine. A simple routine can save you hours of troubleshooting and pounds in wasted film and ink.
Proactive care is the single best way to protect your investment. A few minutes of maintenance each week will extend the life of your printer and guarantee the professional quality your customers expect.
Of course, printing the transfer is only half the battle. The heat application stage is just as critical. To make sure your designs bond perfectly and last through dozens of washes, you have to get your heat press settings just right. For a deep dive into this, our comprehensive heat press temperature guide provides detailed advice for different fabrics and transfer types.
Troubleshooting Common Printer Issues
Even with the best maintenance routine in the world, you might still hit a snag now and then. Knowing how to quickly diagnose and fix common issues will keep your production line moving.
- Clogged Nozzles: Seeing fine lines or gaps in your prints? It’s almost certainly a clogged nozzle. The first thing to try is running a head cleaning cycle through your printer's software. If that doesn't sort it, you might need to do a manual clean with a specialised solution.
- Colour Inconsistencies: If the colours on your transfer look nothing like what’s on your screen, the problem usually lies in your RIP software settings or your colour profiles. Double-check that you’re using the correct profile for your specific ink and film combination.
- Film Feeding Problems: Is the transfer film jamming or slipping as it goes through the printer? Check the rollers for any dust or sticky residue. A quick wipe with a lint-free cloth is often all it takes to solve feeding issues and get things running smoothly again.
Common Questions About T-Shirt Transfer Printers
Even after you’ve done your homework, a few questions always pop up just when you’re about to make a decision. Getting straight answers to these common queries can be the final piece of the puzzle, giving you the confidence to invest in the right gear for your creative or business goals.
Let's dive into some of the most frequently asked questions about the t-shirt transfer printer process. This should help clear up any lingering doubts.
Can I Use a Regular Inkjet Printer for T-Shirt Transfers?
Yes, you absolutely can—but there's a big catch. A standard home or office inkjet printer will only work with special inkjet heat transfer paper. It simply isn't built for the Direct to Film (DTF) process, which requires specialised textile inks and PET film to work.
If you go this route, it's vital to buy the right type of transfer paper. There are different papers made specifically for light-coloured fabrics and dark ones, and you can't mix and match them. While this is a brilliant, low-cost way for hobbyists to get started, the final print often feels a bit stiff and won't have the durability you'd get from professional methods like DTF.
What Is the Most Durable T-Shirt Printing Method?
When it comes to simple designs with just a few colours, screen printing is widely considered the king of durability. The ink creates a chemical bond with the fabric itself, making it incredibly resistant to fading and cracking over time.
However, for complex, full-colour photographic designs, modern DTF transfers are the winner, offering outstanding durability that easily surpasses traditional heat transfer paper.
A correctly applied DTF print can handle 50+ washes while keeping its vibrant colours and soft, flexible feel. The secret to longevity, no matter the method, is always the same: high-quality materials and a properly calibrated heat press.
How Much Does It Cost to Start a T-Shirt Printing Business?
The start-up cost for a t-shirt printing business can vary wildly depending on the technology you decide to go with.
- Hobbyist Setup: Using an inkjet printer you already own, some heat transfer paper, and a basic heat press, you could be up and running for as little as £200–£400.
- Small Business DTF Setup: For a more professional operation, a dedicated desktop DTF printer system (which includes the printer, powder shaker/dryer, and a quality heat press) will set you back somewhere between £2,500 and £6,000.
- Commercial Screen Printing: This is the biggest investment by far. A full setup often starts at £10,000 and goes up from there, depending on automation and the number of colours you need to print.
Ready to bring your unique designs to life with professional-grade quality? At Psyque, we specialise in creating vibrant, durable DTF prints that make your apparel stand out. Explore our collections or get in touch for custom orders at https://psyque.co.uk.