
Top Tips for t shirts for sublimation printing: Vibrant, Lasting Results
When you're choosing t shirts for sublimation printing, the single most critical decision you'll make is about the fabric. For results that are vibrant, permanent, and look truly professional, you absolutely need 100% polyester shirts in white or light colours.
Unlike other methods that lay a layer of ink on top of the fabric, sublimation is a different beast altogether. It actually dyes the fibres themselves, which is why your choice of blank garment is the foundation for your success.
Why the Right T-Shirt Is Your Most Important Decision
Welcome to the world of sublimation, where your t-shirt choice isn't just a minor detail—it's everything. It helps to think of this process less like printing on a shirt and more like permanently dyeing the very fibres of the fabric itself. It’s a bit of a magical transformation, really.
The science behind it is simple but very specific. We print your design onto special paper using solid sublimation ink. When we apply heat and pressure with a heat press, that ink turns directly into a gas. This gas then opens up the pores of the polyester fibres and bonds with them on a molecular level as it cools and turns back into a solid.
The result is a design you literally can't feel. It won't crack, peel, or fade over time, and it keeps the original soft, breathable feel of the garment. This is what makes sublimation a premium choice for high-quality custom apparel.
Setting the Foundation for Success
Getting the blank t-shirt right is the foundation of your entire project. If you use the wrong material, like 100% cotton, the ink has nothing to bond with. The design will look faded and washed-out from the start, and it will mostly disappear after the first wash. A high-polyester content garment isn't just a suggestion; it's non-negotiable.
This understanding is what turns a good idea into a vibrant, durable product people will actually want to buy. This is especially true here in the United Kingdom, where the appetite for personalised apparel is booming. In fact, the UK's custom t-shirt printing market was valued at a whopping USD 366.63 million in 2024 and is set to grow even more.
Whether you're starting a small business, creating a merch line, or just diving into a creative hobby, mastering the art of selecting t shirts for sublimation printing is your first real step toward professional-quality results. If you're still exploring different methods, our guide on custom t-shirt printing offers a broader look at all the techniques available.
Understanding Why Fabric Composition Is Non-Negotiable
When you’re setting out to create incredible sublimated T-shirts, the fabric you choose isn’t just a minor detail—it’s the entire foundation of your print. Sublimation isn’t like screen printing or DTG, where ink sits as a layer on top of the garment. Instead, it’s a clever bit of chemistry that permanently dyes the very fibres of the fabric.
Think of it like this: the solid ink on your transfer paper, when hit with the heat from your press, doesn’t melt. It turns straight into a gas. This gas then seeps into the T-shirt’s fibres, and as it cools, it becomes solid again, locking the design into the material itself. Your artwork is literally infused into the fabric.
But there’s a catch. This little bit of magic only works with one specific type of material: polymers. In the world of T-shirts, that means polyester.
The Polyester Perfection Rule
If you’re chasing those stunning, photo-quality, eye-poppingly vibrant prints, then 100% polyester is the undisputed champion. Because the T-shirt is made entirely of polymer fibres, every last particle of that sublimated gas has a home to bond with. This total fusion is what gives you those jaw-droppingly sharp designs that are completely soft to the touch. You can't feel the print at all.
Using a 100% polyester tee is your guarantee that a design will hit its maximum potential. The colours will be true, the lines will be crisp, and the print will last as long as the T-shirt without ever cracking, peeling, or fading.
This diagram breaks down how the key elements—ink, heat, and fabric—must work in perfect harmony.
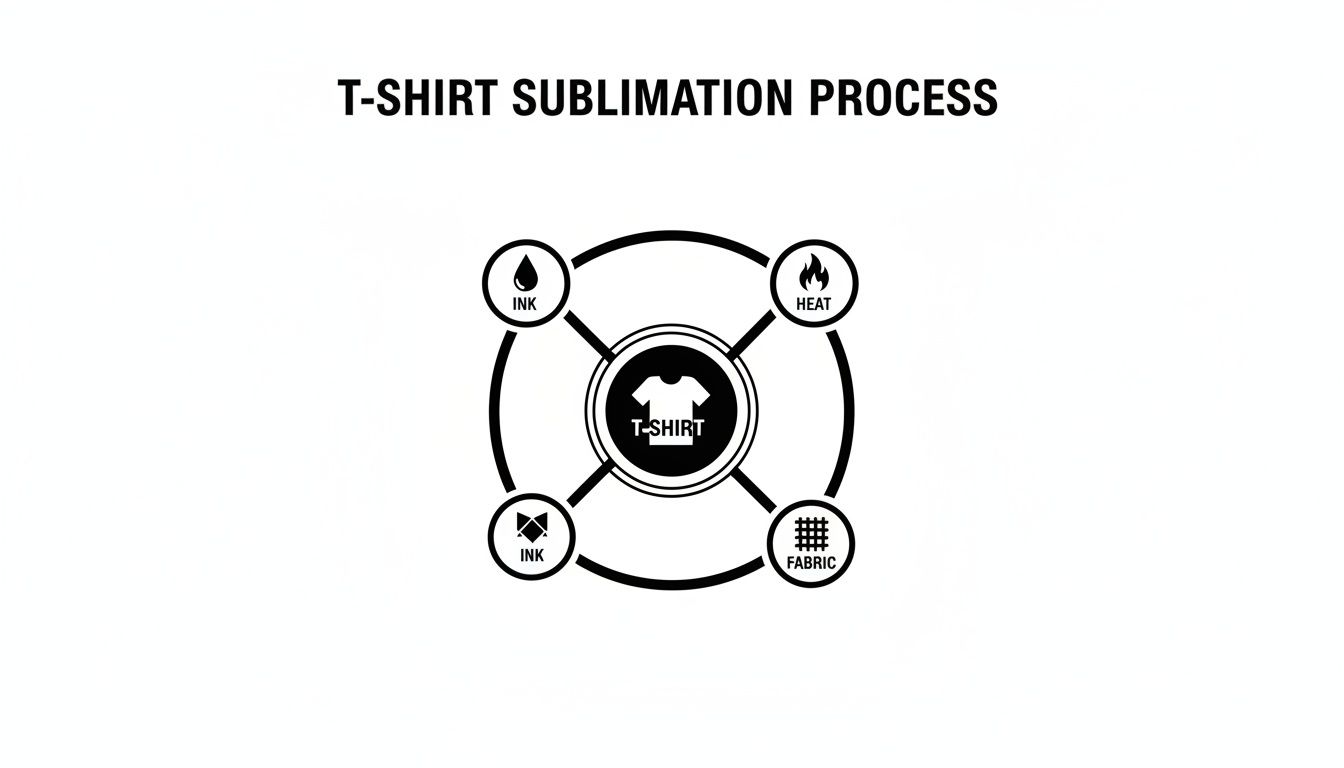
As you can see, a great result is all about the interaction between these three components. Get one wrong, and the whole thing falls apart.
The demand for this kind of quality is booming, particularly for performance wear and promotional gear. Sublimation printing has carved out a serious space in the UK's custom apparel industry. In fact, the wider market, which includes sublimated goods, pulled in £1.99 billion in 2023 and is on track to more than double by 2030. It just goes to show how much people love these durable, vibrant prints. You can dig into the numbers in these market growth projections from Haybrooke Associates.
Working with Poly-Cotton Blends
So, what happens when you move away from 100% polyester? This is where you can start getting creative. Many popular tees are poly-cotton blends, like a 65/35 or a 50/50 split.
When you sublimate onto a blend, the ink only bonds with the polyester fibres. The cotton is left completely untouched.
The result is a softer, more muted, 'vintage' or 'heathered' look. Because only a fraction of the fabric is actually being dyed, the design will naturally appear less vibrant and slightly faded from the get-go. This isn’t a mistake—it’s a stylistic choice. For retro vibes or more subtle designs, a poly-blend can be the perfect canvas.
To see how different blends change the final look, let's break it down in a table.
How Fabric Blends Impact Your Sublimation Prints
| Fabric Type | Polyester Content | Expected Vibrancy | Best For | Potential Drawbacks |
|---|---|---|---|---|
| 100% Polyester | 100% | Highest | Full-colour photos, bold graphics, sportswear | Can have a "performance" feel, not as soft as cotton |
| High-Poly Blend | 65% - 90% | Vibrant but soft | Retro styles, fashion tees, casual branding | Less "pop" than pure polyester, some fading is intended |
| 50/50 Blend | 50% | Muted/Vintage | Heathered looks, intentionally faded designs | Colours will look washed out; not for vibrant prints |
| Low-Poly Blend | Below 50% | Very Faint | Not recommended for commercial printing | Image will be extremely faded and wash out easily |
| Poly-Coated Cotton | 0% (but coated) | Good to High | Mimicking polyester on a 100% cotton feel | Coating can feel stiff, durability varies by brand |
Ultimately, your choice depends entirely on the aesthetic you're aiming for. There’s no right or wrong answer, just different tools for different creative jobs.
The Special Case of Polymer-Coated Cotton
In an effort to get the best of both worlds, some manufacturers offer 100% cotton T-shirts treated with a special polymer coating. These tees are designed to behave like polyester, giving the sublimation ink something to bond with on a natural fabric.
While it sounds like the perfect fix, there are trade-offs. The coating can sometimes change the feel of the cotton, making it a bit stiffer. The print’s durability can also be a mixed bag depending on the quality of the coating, and it might not hold up as well as a true polyester garment after dozens of washes.
These T-shirts can be a great solution for specific projects, but it's absolutely vital to test them first to make sure they deliver the quality and feel your customers expect.
How T-Shirt Colour and Weight Affect Your Final Design
Once you’ve settled on the perfect polyester or poly-blend fabric, the next big decisions are the t-shirt's colour and weight. These two factors have a huge impact on the final look and feel of your sublimated gear, and getting them right is what separates an amateur print from a professional one.
Think of sublimation ink like watercolour paint. If you paint with blue watercolour on yellow paper, you get green. The exact same principle applies here. Sublimation ink is transparent, so the base colour of the t-shirt will always show through and mix with your design.
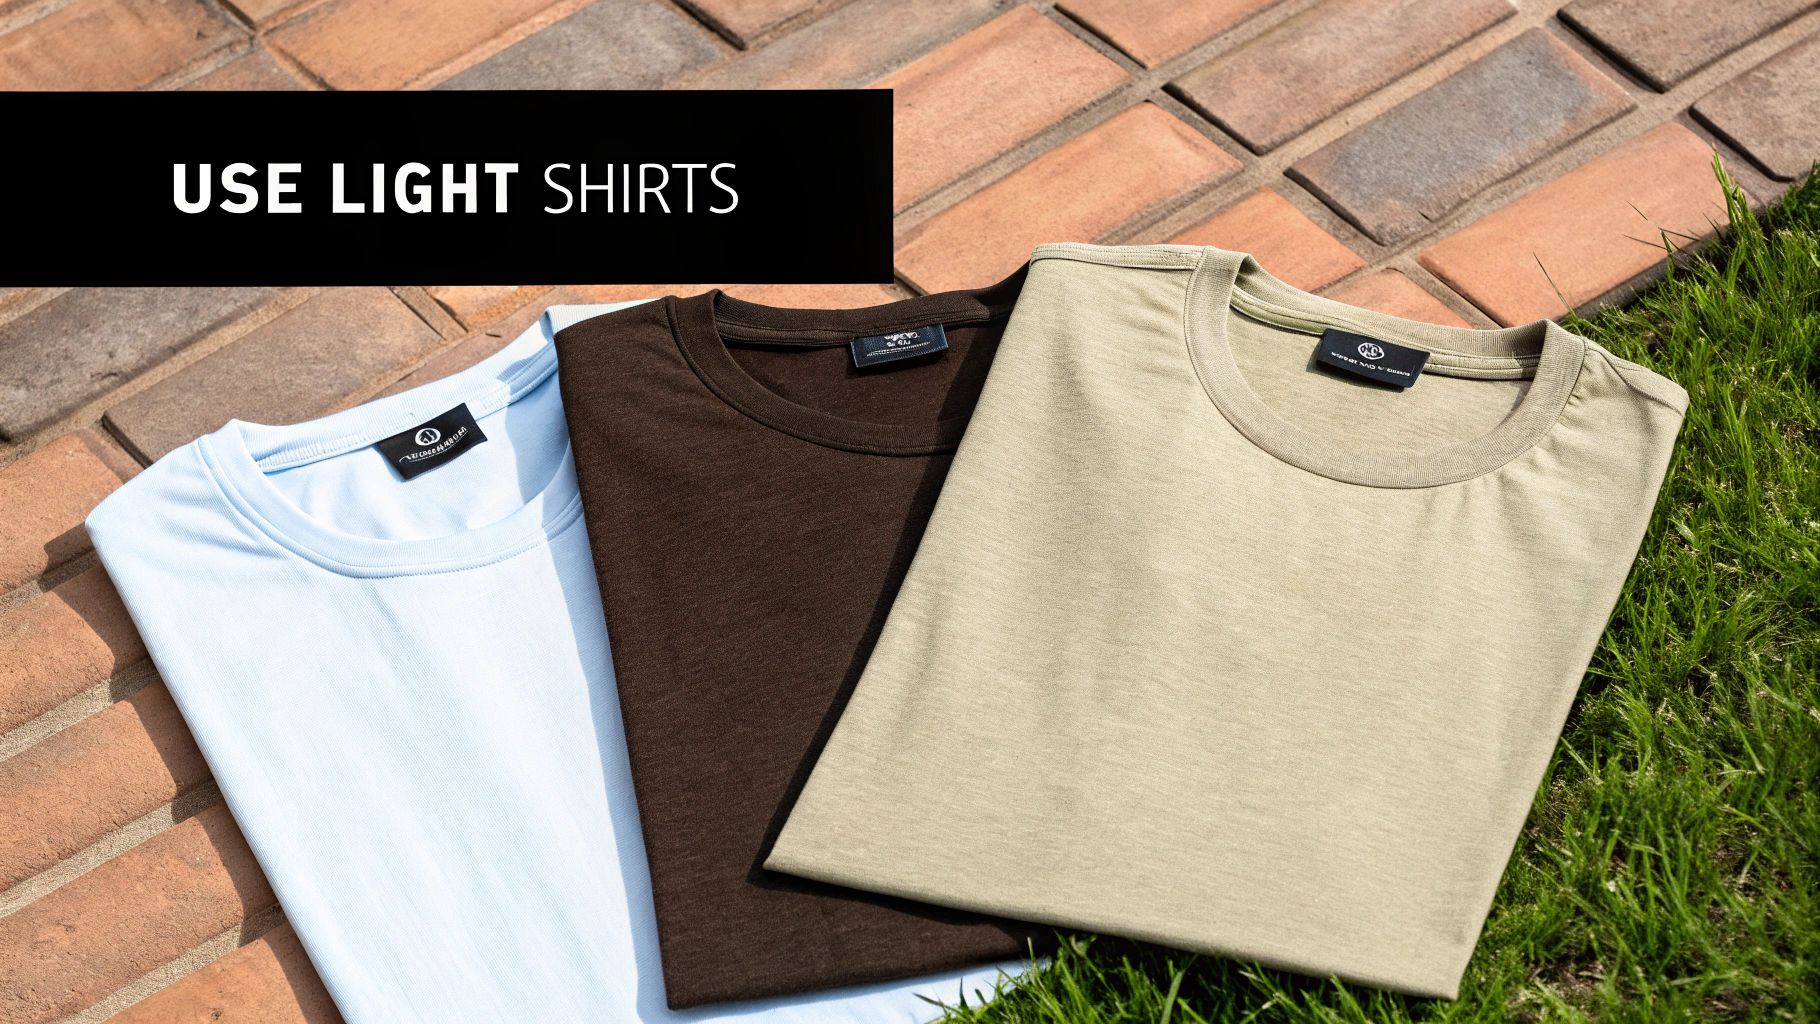
This is precisely why white is the gold standard for sublimation. It acts as a pure, neutral canvas, ensuring your colours pop exactly as you intended. Every hue will be at its most vibrant and true-to-design on a crisp white tee.
The No-White-Ink Rule
One of the fundamental limitations of sublimation is that the printers don't produce white ink. If your design has white elements—like text, clouds, or highlights—those areas won't print any ink at all. Instead, they will simply take on the colour of the shirt itself. On a white tee, this is perfect.
But if you print that same design on a light blue shirt, all the white parts of your image will turn out light blue. Grasping this concept is critical when you’re picking out blank t shirts for sublimation printing. To get a better handle on how colours work in print, check out our guide on the differences between CMYK and RGB for print projects.
That doesn’t mean you have to avoid coloured shirts entirely. In fact, light-coloured garments can be used to create some really unique, artistic effects.
- Light Grey & Heather Grey: These are fantastic choices. A design on a heather grey shirt will have a slightly muted, stylish vibe that's incredibly popular in retail.
- Pastel Colours: Light pinks, baby blues, and soft yellows can work beautifully, as long as you account for the colour shift. A red print on a yellow shirt will appear orange, which can be a deliberate and very effective design choice.
- Avoid Dark Colours: Sublimation on black, navy, or dark green shirts just isn't possible. The transparent ink will be completely invisible against the dark fabric.
Understanding Fabric Weight (GSM)
Beyond colour, the physical weight of the t-shirt plays a massive role in its quality, durability, and how it feels to wear. Fabric weight is measured in Grams per Square Metre (GSM). Simply put, a higher GSM number means a denser, heavier fabric.
A common mistake is thinking heavier is always better. The ideal GSM really depends on what the garment is for. A premium fashion tee and a breathable running top have completely different needs.
Let’s break down the typical ranges you’ll come across when choosing your t shirts for sublimation printing.
Lightweight vs Heavyweight T-Shirts
Lightweight T-Shirts (140-160 GSM)
These shirts are thinner, more breathable, and often have a softer, more relaxed drape. They are the go-to for athletic apparel and performance wear, where wicking away moisture and staying comfortable during activity are top priorities.
- Pros: Very breathable, comfortable in warm weather, and generally more cost-effective.
- Cons: Can be a little transparent and may be less durable over the long run.
- Best For: Running tops, gym wear, summer promotional events.
Midweight T-Shirts (160-180 GSM)
This is the versatile sweet spot for most projects. A midweight shirt offers a fantastic balance of durability and comfort, making it a reliable all-rounder for merchandise, staff uniforms, and general fashion.
- Pros: A great mix of durability and comfort, nicely opaque, and super versatile.
- Cons: Not quite as breathable as the lighter options.
- Best For: Everyday fashion, brand merchandise, company uniforms.
Heavyweight T-Shirts (180+ GSM)
These garments feel substantial and premium right out of the box. The dense fabric provides a sturdy canvas for printing and is built to last. Heavyweight tees are often used by premium streetwear brands, for tough workwear, and for high-end merch where that feeling of quality is essential.
- Pros: Extremely durable, feels high-quality, and is completely opaque.
- Cons: Can feel warm to wear, is less flexible, and costs more.
- Best For: Premium streetwear, durable workwear, high-end branded apparel.
Choosing the right combination of colour and weight is what elevates your product. A lightweight pastel tee is perfect for a summer festival, while a heavyweight white shirt is ideal for a premium brand launch. By mastering these variables, you gain total control over the final product you deliver.
Mastering Your Heat Press for Flawless Transfers
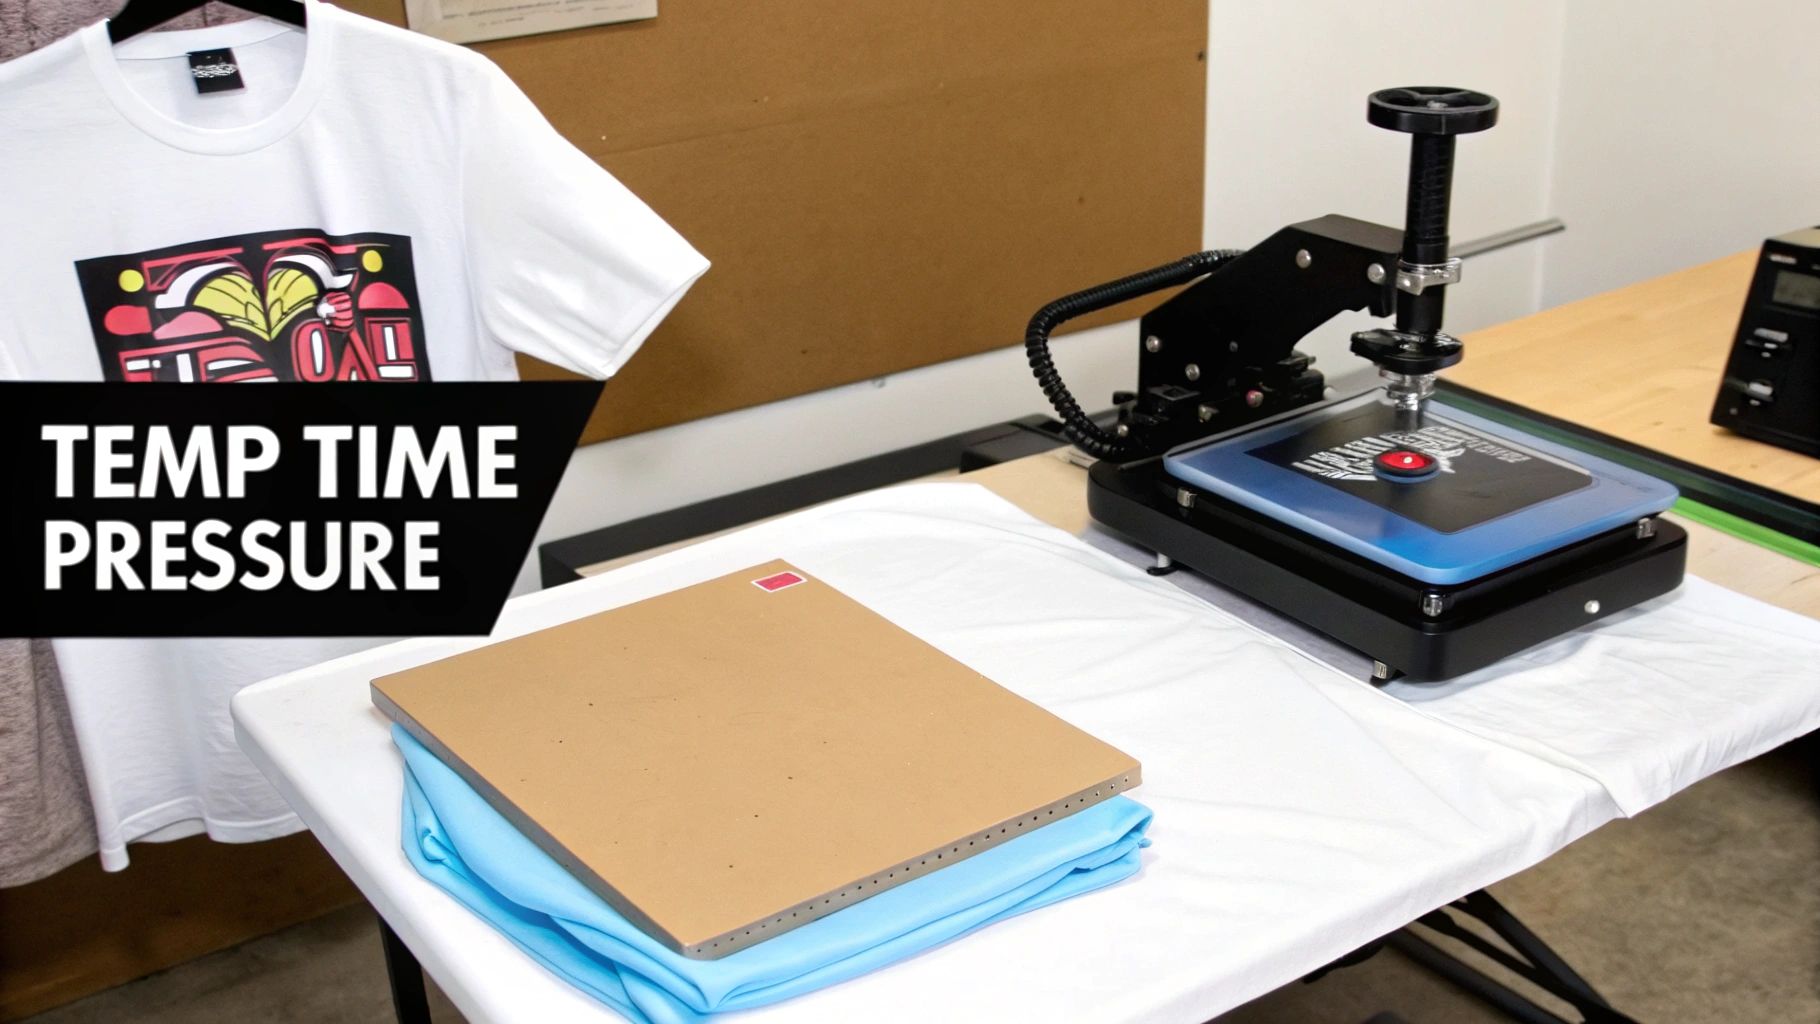
This is where the magic really happens. You've picked the perfect t shirts for sublimation printing, your design is ready, and now the heat press is the final step standing between your idea and a professional-grade product. Getting this stage right all comes down to a delicate dance between three key players: temperature, time, and pressure.
Think of it like baking a cake. Too little heat and the ink won’t transfer properly, leaving your design dull and lifeless. Too much, and you risk burning the fabric. Nailing these settings is what coaxes the solid sublimation ink to turn into a gas and permanently fuse into the polyester fibres of the shirt.
Dialling In the Perfect Settings
While every heat press and t-shirt blank has its own personality, there are some reliable starting points you can lean on. The mission is simple: apply enough heat for the right amount of time to kickstart the sublimation process without damaging the garment itself.
Crucial Tip: Always, always do a test press. Grab a scrap of the same fabric or use an unseen corner of a spare shirt to test your settings before you commit to the real deal. This one simple step will save you a world of frustration (and cash).
The table below gives you a solid foundation for those initial tests. Just remember to tweak the settings based on your specific machine and the weight of the t-shirt. For a deeper dive, our complete heat press temperature guide offers more detailed recommendations for different materials.
Starting Point Heat Press Settings for Sublimation T-Shirts
Use these recommended settings as a starting point to dial in the perfect heat press configuration for your specific material.
| T-Shirt Material | Temperature Range (°C) | Time Range (Seconds) | Pressure Level | Key Tip |
|---|---|---|---|---|
| 100% Polyester | 195°C - 205°C | 45 - 60 seconds | Medium | This is the sweet spot for achieving maximum vibrancy and sharpness. |
| High-Poly Blend | 190°C - 200°C | 50 - 65 seconds | Medium | A slightly lower temperature helps prevent scorching on delicate blends. |
| Poly-Coated Items | 185°C - 195°C | 60 - 75 seconds | Light to Medium | Coatings can be sensitive; start lower and increase time if needed. |
Once you find that perfect recipe for a particular t-shirt, write it down! Keeping a log of your successful settings turns guesswork into a repeatable, reliable process and guarantees consistent quality every time you print.
Your Essential Sublimation Toolkit
Beyond the press itself, a few simple accessories are absolute non-negotiables. They protect your gear and ensure you get a crisp, clean transfer every single time. Having these on hand will save you from the most common (and annoying) printing mistakes.
- Heat-Resistant Tape: Use this to stick your sublimation paper firmly to the t-shirt. It stops the paper from sliding around when you open or close the press, which is the number one cause of "ghosting"—that awful blurry shadow effect you sometimes see.
- Butcher Paper or Parchment Paper: You'll need two sheets. Pop one inside the t-shirt to stop any ink from bleeding through to the back. Place the other sheet over your transfer paper to protect the top of your heat press from any "ink blowout," where excess ink gas escapes from the edges.
- Teflon Sheet: While butcher paper handles ink protection, a reusable Teflon sheet is brilliant for distributing heat evenly and giving your top platen an extra layer of defence. It helps ensure the temperature is consistent right across your design.
Having these tools in your workspace takes the chance out of it. Your printing process shifts from a gamble to a professional, reliable workflow. By taking control of the variables—temperature, time, pressure, and movement—you gain complete command over the quality of your finished t shirts for sublimation printing. This methodical approach is the secret to creating those vibrant, sharp, and long-lasting designs that will keep customers coming back.
Troubleshooting Common Sublimation Print Problems
Even with the best kit and the perfect t shirts for sublimation printing, things can still go wrong. Don’t panic—every seasoned pro has a box of misprints they’ve learned from. Think of this as your first line of defence against the most common sublimation headaches.
We’ll break down each problem, get to the bottom of why it’s happening, and give you some clear, actionable steps to get your production back on track. It’s your practical cheat sheet for saving time, materials, and a bit of your sanity.
Why Are My Colours Dull or Faded?
This is probably the number one issue for anyone new to sublimation. You peel back the transfer paper expecting a vibrant masterpiece, only to be met with a dull, lifeless version of your design.
Nine times out of ten, the culprit is a mismatch in your settings. Either your heat press isn't hot enough, or you haven’t pressed it for long enough. Sublimation needs a very specific temperature to turn the ink into a gas; without enough heat and time, that transfer just won't complete properly.
- Solution 1: First, double-check your settings. For 100% polyester, you want to be somewhere in the 195°C - 205°C range.
- Solution 2: Try increasing your press time in 5-second increments. A few extra seconds can honestly make all the difference.
- Solution 3: Make sure you’re printing on the correct side of the sublimation paper. One side is usually brighter and smoother—that’s the side you want.
What Is This Blurry ‘Ghosting’ Effect?
‘Ghosting’ is that faint, blurry shadow that appears right next to the crisp lines of your design. It's a frustrating little flaw that can ruin an otherwise perfect print.
This happens when the sublimation paper shifts ever so slightly while the press is hot and the ink is in its gas state. Even a millimetre of movement as you open or close the press can cause the gas to settle and re-solidify in the wrong spot, creating that shadow.
The fix is simple but completely non-negotiable: you have to secure your transfer paper. Use good-quality heat-resistant tape on at least two sides of your design to lock it down firmly onto the t-shirt. This stops any movement during the crucial pressing and cooling moments.
Why Did My Black Ink Turn Brown or Green?
Seeing your deep, rich blacks turn into a muddy brown or a strange green hue is baffling, but the cause is usually quite straightforward. This colour shift is a classic sign of either too much heat or too much time under the press.
You’ve essentially ‘overcooked’ the ink. When the black sublimation dye is exposed to excessive heat for too long, it starts to break down, revealing its underlying base colours—which are often shades of brown or green.
To fix this, you’ll need to dial your settings back a bit.
- Lower the Temperature: Start by reducing your heat press temperature by 5°C.
- Shorten the Time: Knock 5-10 seconds off your pressing time.
- Check Your ICC Profile: Make sure your printer is using the right colour profile for your specific sublimation ink and paper. An incorrect profile can send the wrong colour information from your computer to the printer in the first place. For a full breakdown, our guide on heat press sublimation techniques goes into this in more detail.
Getting this right is a big deal in the UK custom apparel world, where quality is everything. The UK market is growing fast, with a projected compound annual growth rate of 9.1% through to 2035, largely thanks to the e-commerce boom and how efficient sublimation is. You can read more about the UK's custom t-shirt printing market and see how these techniques are shaping the industry.
How Do I Avoid Press Lines on My Shirt?
And finally, the dreaded indentation lines. You lift the press to find your beautiful design is framed by sharp creases left by the edge of your sublimation paper or the heat press platen itself. This happens when the pressure and heat are concentrated along the paper's edge, leaving a permanent mark on the polyester fabric.
- Tear the Paper Edges: Instead of using scissors for a sharp cut, carefully tear around the design. The soft, feathered edge is much less likely to leave a hard line on the garment.
- Use a Foam Pillow: Placing a heat-resistant foam pillow inside the shirt raises the print area slightly. This ensures the pressure is focused right on your design, while the edges of the paper fall away where there’s less pressure.
Finding the Right Blanks and What Comes Next
You’ve got the technical side down, but there’s one last piece to the puzzle: sourcing quality blank t-shirts for sublimation printing. Finding a dependable UK supplier is absolutely critical for consistency, whether you're just making a few shirts for fun or buying wholesale for your business.
A good supplier does more than just offer a decent price. You want to see detailed product specs, including the exact polyester count and GSM for every garment they sell. Transparency is everything, as is a solid reputation for keeping items in stock and shipping them out quickly. And always, always get samples before you commit to a big order. There's just no substitute for feeling the material yourself and running a few test prints to make sure the final product will be up to your standards.
Sublimation vs. DTF: A Quick Comparison
As you start getting more serious, it helps to know where sublimation sits among other printing methods. The most common alternative you'll hear about is Direct-to-Film (DTF) printing. While sublimation actually dyes the fibres of a light-coloured polyester tee, DTF works by printing a design onto a special film, which is then heat-pressed onto the garment.
This makes DTF incredibly versatile—it works on pretty much any fabric, including 100% cotton, and on any colour, even black. The trade-off? The print sits on top of the fabric as a thin, flexible layer. For sportswear or any performance gear where breathability is a must, sublimation is still king because the print has zero feel and doesn't block the fabric's weave at all.
Key Takeaway: Stick with sublimation for its incredible permanence, breathability, and soft-hand feel on light-coloured polyester. Go for DTF when you need to print vibrant, detailed designs on dark garments or natural fabrics like cotton.
Your Path Forward
You now have everything you need to make smart choices at every step of the sublimation process. From grasping why polyester is a non-negotiable to mastering your heat press and fixing common hiccups, you've built a solid foundation for creating custom apparel that looks truly professional. Just remember, every print is another chance to learn and perfect your craft.
Once you’ve nailed your technique and found the perfect blanks, the logical next step for many is figuring out how to sell their creations. This often leads to creating a clothing website to showcase their work. And if you hit a point where a project demands printing on something other than polyester, we’re here to help. For those tricky jobs on cotton or dark fabrics, you can always request a custom apparel quote and let our DTF services bring your vision to life.
Frequently Asked Questions
Even when you feel like you've got the hang of sublimation, a few specific questions always seem to pop up. This is the part where we tackle those common head-scratchers, giving you clear answers to keep your printing process smooth and solve problems as they arise.
Can I Sublimate on 50/50 Cotton Polyester T-Shirts?
You absolutely can, but you need to know what you're getting into. Sublimation ink only ever bonds with polyester fibres. So, on a 50/50 blend, your design is only going to stick to half of the fabric. The ink that lands on the cotton has nowhere to go and will just wash out.
The result is a faded, distinctly 'vintage' look. This is actually a brilliant effect if you're aiming for a retro or intentionally washed-out design. However, if you want that signature sublimation vibrancy and sharp detail, you'll need a much higher polyester count—ideally 70% or more.
Why Are My Sublimation Prints Fading After Washing?
If your prints are fading in the wash, it’s almost always down to one of three culprits. The first, and most common, is that the t-shirt just doesn't have enough polyester in it. Any ink that didn't bond with a poly fibre is simply washing away.
The second reason is incorrect heat press settings. Either the temperature was too low or you didn't press it for long enough. Without the right heat and time, the ink can't properly turn into a gas and fuse with the fabric. Finally, you could be working with low-quality sublimation ink or paper. For permanent, wash-proof results, always use high-polyester garments and double-check your heat press settings are right for the blank you're using.
What Is the Main Difference Between Sublimation and DTF?
The biggest difference comes down to how the design gets onto the fabric and what fabrics you can use. Sublimation is essentially a dyeing process. The ink becomes a part of the fabric itself, which is why it only works on light-coloured polyester. The finished print has zero feel to it—it’s completely breathable and will never crack or peel.
In contrast, Direct-to-Film (DTF) printing is a bit different. It works by printing the design onto a special film, which is then heat-pressed onto the garment. DTF is incredibly versatile—it works on any colour and almost any fabric (including cotton)—but it creates a thin, flexible layer that sits on top of the fabric.
Do I Need to Pre-Wash T-Shirts Before Sublimation?
No, definitely not. You shouldn't pre-wash your t-shirts before sublimating. Most blank tees designed for sublimation come with a specific factory finish that helps you get the best print quality.
Even more importantly, washing introduces moisture, which is the enemy of a clean print. Moisture can cause issues like colour bleeding and blotchy patches. For crisp, professional results, just use the t-shirt straight out of the bag. Give it a quick pre-press for 5-10 seconds to get rid of any factory moisture or wrinkles, and you're good to go.
At Psyque, we specialise in vibrant, durable DTF printing, perfect for those designs you need on cotton, dark fabrics, or any other garment where sublimation isn't the right fit. Explore our services and bring your unique apparel ideas to life at https://psyque.co.uk.