
A Practical Guide to Print Heat Transfers
So, you want to print a heat transfer? At its simplest, the process involves using a specialised printer to get your design onto a transfer film. From there, a heat press works its magic to apply that design onto a garment. This method, especially Direct-to-Film (DTF), is a game-changer for creating vibrant, full-colour graphics on all sorts of fabrics. It's a seriously versatile way to get professional-looking custom apparel.
Understanding Modern Heat Transfer Printing
When people hear "heat transfer," some still picture those stiff, plasticky graphics from old hobby shop kits that crack after one wash. Let's be clear: today's technology is a world away from that. We're now focused on advanced methods like DTF that deliver incredible quality, a soft feel, and proper durability.
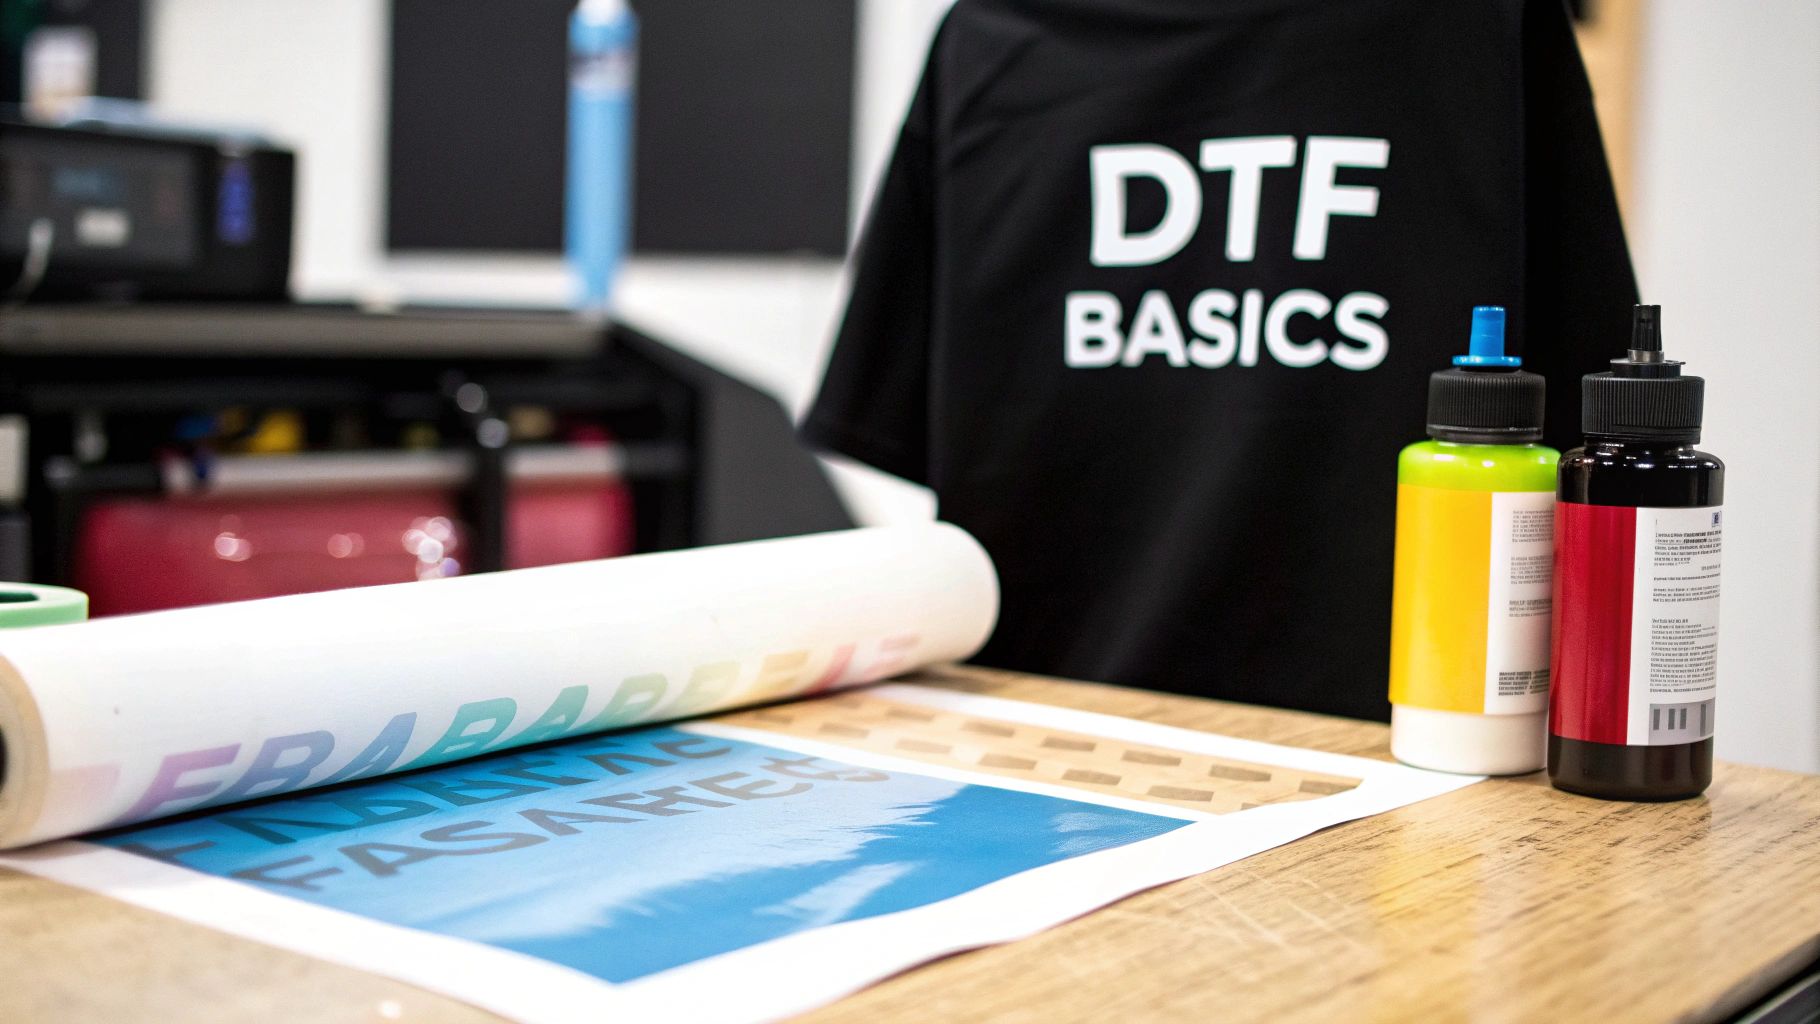
Think of it as a finely tuned system where three key elements work together seamlessly:
- DTF Film: This isn't just any old sheet of plastic. It's the carrier, specifically engineered to hold the ink in perfect detail and then release it cleanly onto the fabric when pressed.
- DTF Ink: These are specialised water-based textile inks. Their formulation is all about flexibility and resilience, which means the finished print can stretch with the fabric instead of cracking.
- Adhesive Powder: Once the design is printed, a fine polymer powder is sprinkled over the wet ink. This is the secret sauce. When heated, this powder melts and creates a powerful bond, essentially fusing the ink to the garment's fibres.
Why DTF Leads the Pack
The real beauty of DTF printing is just how adaptable it is. Unlike other methods that can be fussy about fabric types, you can print heat transfers for cotton, polyester, complex blends, and even materials that are typically a nightmare to decorate. This flexibility has made it a firm favourite for everyone from small start-ups to established brands.
The growth in this space is impossible to ignore. Projections show the global heat transfer film market rocketing from USD 3.2 billion in 2025 to an estimated USD 8.9 billion by 2035. This boom is fuelled by the massive demand for personalised fashion and sportswear, where eye-catching, complex graphics are everything.
At its core, DTF printing cracks a major code: how to get intricate, multi-colour designs onto any colour fabric without needing a complicated, multi-screen setup. It makes high-quality custom apparel accessible to everyone.
To help you get familiar with the lingo, here’s a quick rundown of the essential terms you’ll see in this guide.
Key Terms in Heat Transfer Printing
| Term | Definition |
|---|---|
| Direct-to-Film (DTF) | A printing method where designs are printed onto a special film, coated with adhesive powder, and then heat-pressed onto fabric. |
| Heat Press | The machine that applies both heat and pressure to transfer a design from the film onto the final garment. |
| Transfer Film | The carrier sheet that holds the ink and adhesive before it's applied to the garment. |
| Adhesive Powder | A fine polymer powder that, when melted, acts as the glue that bonds the ink to the fabric fibres. |
| Curing | The process of using heat to dry the ink and melt the adhesive powder, preparing the transfer for application. |
| Peel (Hot/Cold) | Refers to when you remove the transfer film after pressing—either immediately while hot or after it has cooled down. |
Getting these terms down will make the whole process much clearer as we dive deeper.
While DTF is a fantastic all-rounder, it's good to know it sits alongside other methods. For example, our guide on printed vinyl heat transfer explores another popular choice that's perfect for different types of jobs.
But for photographic images, designs with smooth gradients, or anything with fine lines, DTF is often the most reliable way to get a sharp, clean result. It gives you the soft, integrated feel of screen printing combined with the incredible detail of digital printing. The result is a premium, durable finish that looks and feels fantastic. This guide will walk you through mastering it, step by step.
Preparing Your Designs for Perfect Prints
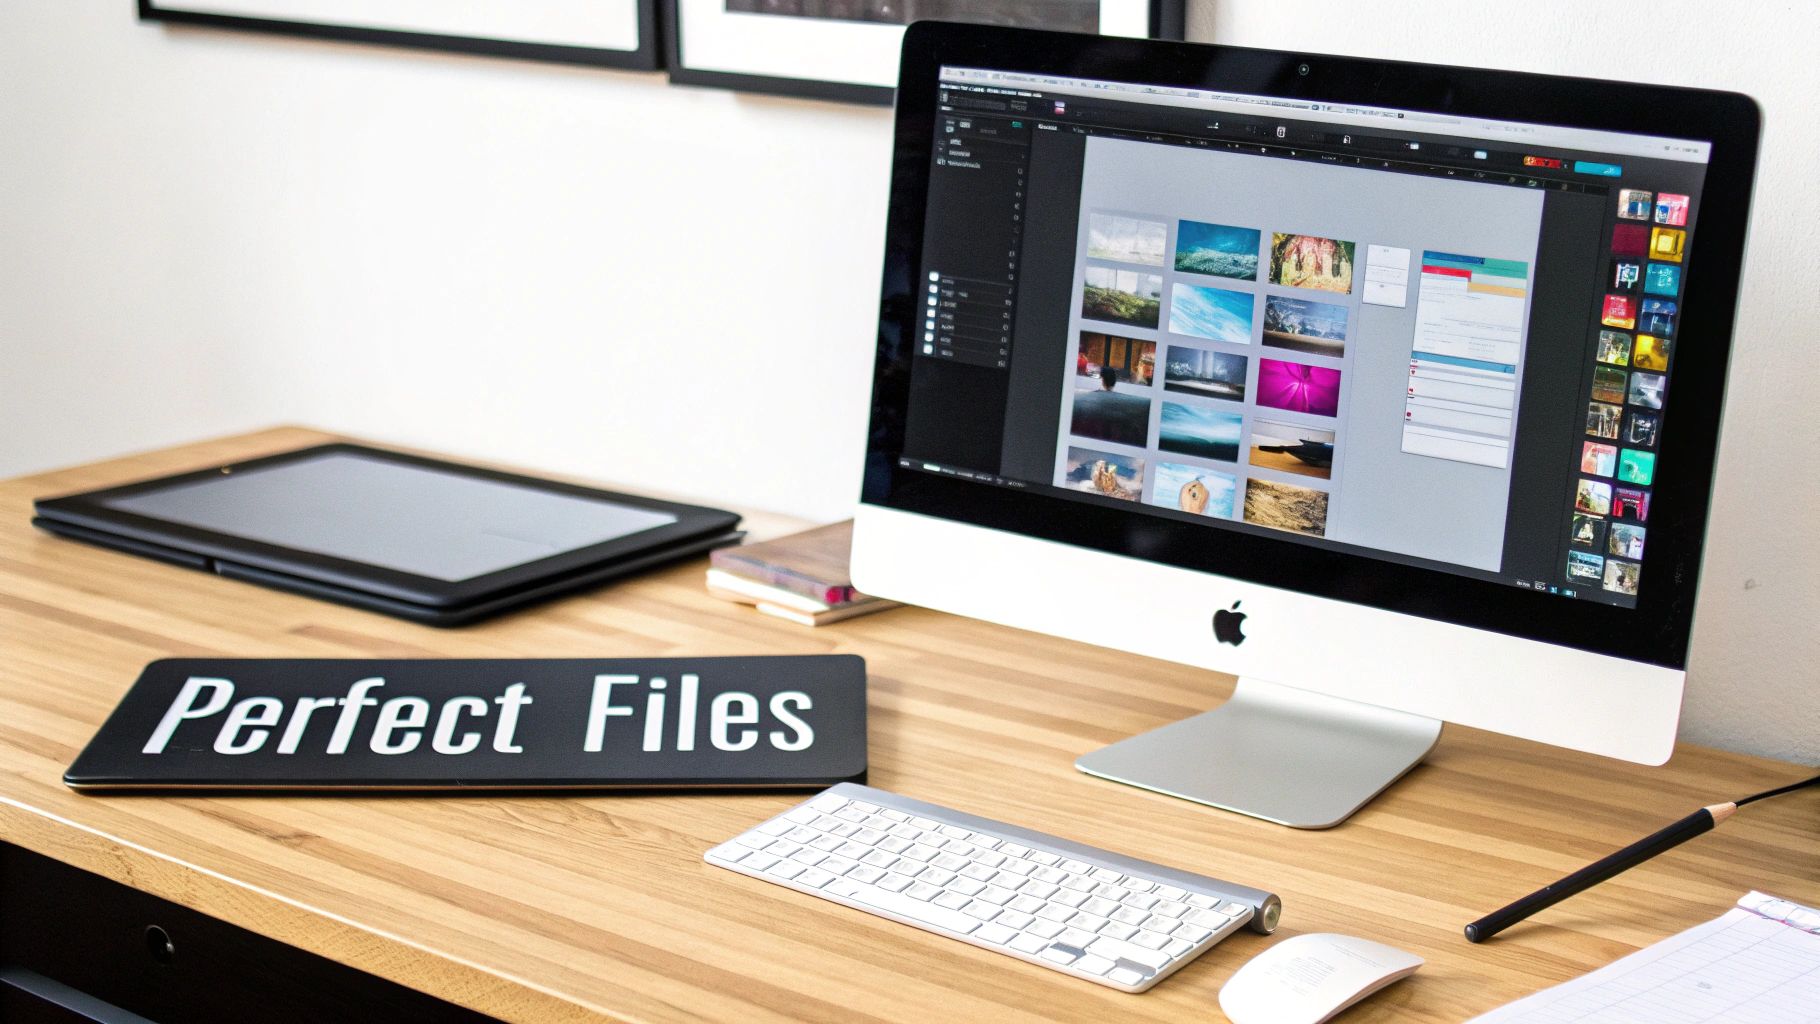 A stunning final product always starts with a well-prepared digital file. Before you even think about warming up the heat press, getting your artwork right is the single most important step. It’s the difference between a sharp, professional-looking garment and a frustrating waste of materials.
First things first, let’s talk resolution. For a crisp, clean print that doesn't look pixelated or blurry, your design file must be set to 300 DPI (Dots Per Inch) at its final print size. An image might look fine on your screen, but if the resolution is too low, it will appear fuzzy when printed, instantly cheapening the look of your work.
Next up is the file format. While you might be used to JPGs or PDFs, when it comes to DTF, a PNG (Portable Network Graphics) file is your best mate. The reason is simple: it supports transparency.
The Importance of a Transparent Background
DTF printing is wonderfully literal—it prints exactly what you give it. If your design file has a solid white background, guess what? The printer will happily lay down a block of white ink on your shirt. This is almost never what you want, especially on coloured garments.
A transparent background ensures only your actual design elements get printed. This gives you a clean transfer that looks like it’s part of the fabric, not just a sticker slapped on top. Always double-check that you’ve saved your file with transparency enabled to avoid this simple but costly mistake.
For a smoother workflow, having a system for effective digital asset organization can be a real lifesaver. Keeping your print-ready files separate and clearly named saves a massive amount of time and prevents last-minute headaches.
One of the most common beginner mistakes is forgetting to mirror the design before printing. While most RIP software handles this automatically, it's something you absolutely have to check. If you print the image as-is, it will appear backwards when you press it.
Fine-Tuning Your Artwork for Flawless Results
Beyond the technical specs, the design itself needs to be optimised for the printing process. Some design elements are notorious for causing trouble if you aren't careful.
Here are a few tips I've picked up over the years:
- Avoid Ultra-Thin Lines: Lines that are only a few pixels wide often don't hold enough ink and adhesive powder to transfer properly. The result? Broken or incomplete details on your final print.
- Be Cautious with Gradients: While DTF handles gradients surprisingly well, very subtle transitions can sometimes look muddy. Make sure your fades have enough contrast to print cleanly. Soft, feathered edges can also be tricky, so aim for a defined edge whenever you can.
- Check Your Colour Mode: Your design should always be in a CMYK colour space. This aligns with the ink configuration of most DTF printers, giving you the most accurate colour reproduction. If you design in RGB, you're likely to see some unexpected colour shifts when the file is converted for printing.
Before you commit to a big batch, always run a small test print first. This quick check can save you a world of pain, allowing you to catch any issues with colours, line thickness, or transparency without wasting valuable film and ink. This is a cornerstone practice of efficient custom t-shirt printing and ensures you deliver consistent quality every time.
By paying close attention to these details, you're building a solid foundation. This prep work ensures the image you so carefully crafted on your screen is the same one that appears on the final garment—looking every bit as professional as you envisioned.
Dialing In Your DTF Printer Settings
Getting your printer settings just right is what takes a print from "decent" to professional. This is where you graduate from the default profiles and really take the reins inside your RIP (Raster Image Processing) software. Think of your RIP software as the mission control for your printer—it’s what translates your beautiful digital file into the precise instructions for laying down ink.
The settings you choose here will make or break the vibrancy, feel, and durability of your final print heat transfers. If you don't calibrate them carefully, you're just asking for muted colours, a weak white base, or frustrating inconsistencies from one print to the next.
Mastering Ink Density for Vibrant Results
One of the first settings you need to get a handle on is ink density, especially for your white ink. When you're printing on dark-coloured garments, that white ink layer is everything. It acts as a primer, creating a solid, opaque base that allows your CMYK colours to really pop instead of getting lost in the dark fabric.
If your prints on black or navy shirts look a bit washed out, the first thing to check is your white ink density. A setting of 60-70% is a decent starting point for many jobs, but don't be afraid to push it higher for designs that need extra punch. For example, a detailed photorealistic print on a black cotton tee might need an 80% or even 90% white underbase to truly shine. On the flip side, printing on a light grey or pastel shirt might only need a 40-50% density to look its best.
Don't get stuck in a "one-size-fits-all" mindset. The pros create and save different profiles in their RIP software for specific jobs—one for dark cottons, one for light polyesters, and another for those tricky blends. It saves a ton of time and guarantees you get consistent results.
Fine-Tuning Your Colour Channels
Beyond the white underbase, your colour channel settings are what guarantee accuracy. Your RIP software gives you fine-tuned control over how much Cyan, Magenta, Yellow, and Black is put down. The default settings are usually a good place to start, but they can't account for all the variables like different ink brands, film types, or even the humidity in your workshop, all of which can affect the final output.
A classic problem is seeing colours that look perfect on screen but come out slightly off on the film. This is where calibration is your best friend. Printing a simple colour chart and comparing it to your screen is a low-tech but incredibly effective way to spot any differences. If your reds look a bit too orange, you might need to dial back the yellow channel percentage just a touch in your RIP profile. Making these small tweaks is the key to achieving predictable, accurate colours every single time. For anyone wanting to dig deeper into materials, our guide on DTF transfer sheets offers some extra insights into how your choice of film can impact your prints.
The Power of Routine Maintenance
Honestly, the most perfectly calibrated settings in the world won't save you from a poorly maintained printer. Simple, regular checks aren't just a good idea; they're non-negotiable if you're serious about quality. Skipping them is the fastest way to run into frustrating issues like banding (those awful visible lines in your print) or weird colour shifts.
Try to work these two tasks into your daily routine:
- Nozzle Check: Before you fire up your first print job of the day, run a quick nozzle check. It prints a small pattern that instantly shows if all your print head nozzles are firing correctly. If you spot any gaps or broken lines, you've got a clog.
- Head Cleaning: If that nozzle check shows a clog, run a head cleaning cycle. This function just pushes a tiny bit of ink through the head to clear out minor blockages. For a stubborn one, you might need to run a couple of cycles, but try not to overdo it, as it does use up a fair bit of ink.
This simple two-step process takes less than five minutes but can save you hours of headaches and prevent wasting expensive film and ink. It just ensures your printer is in peak condition, ready to produce the sharp, consistent print heat transfers your customers are paying for.
Mastering the Heat Press Application
This is it—the moment your design makes the jump from a digital file to a real, wearable product. Getting the heat press stage right is what separates the pros from the amateurs, and it all comes down to a perfect balance of three key elements: temperature, pressure, and time. Nail this trio, and you'll create print heat transfers that look fantastic and are built to last.
Get these settings wrong, and you'll run into all sorts of frustrating issues. Not enough heat or time? Your transfer will start peeling after the first wash. Too much of either, and you risk scorching the fabric or ending up with a print that feels thick, stiff, and plasticky.
Before you even get to the press, remember that a great final product starts with a great print. The infographic below gives a quick look at the DTF printer settings that lay the foundation for a quality transfer.
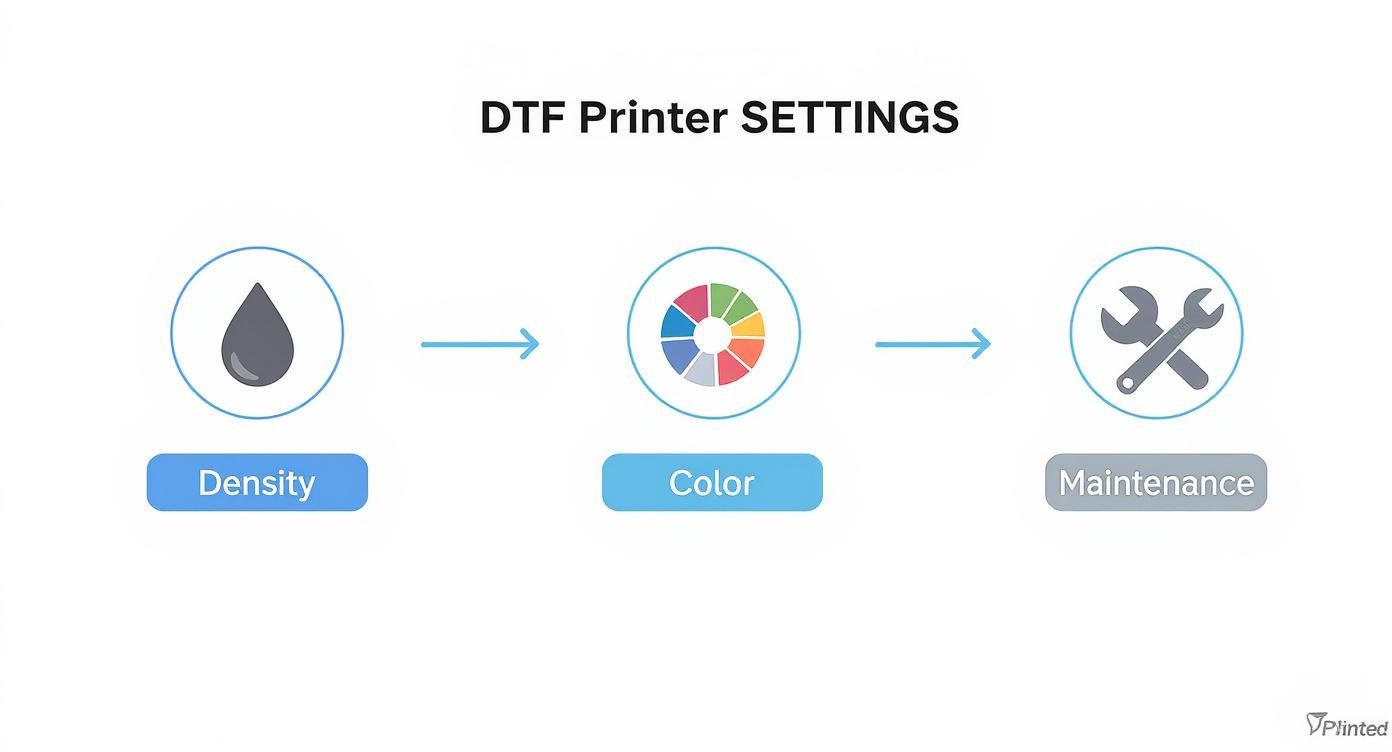
Think of it as a chain reaction: a perfectly calibrated printer produces a flawless transfer, which then allows for a flawless application at the heat press.
The Critical Pre-Press Step
Here’s a small habit that makes a massive difference: always pre-press your garment. Before you even think about laying down your transfer, give the empty shirt a quick press for about 5-7 seconds.
This simple step does two vital things. First, it smooths out any wrinkles, giving you a perfectly flat canvas to work on. Even more importantly, it forces out any hidden moisture trapped in the fabric fibres. Moisture is the number one enemy of a solid transfer, as it can stop the adhesive from bonding correctly and lead to bubbles or peeling down the line. Don't skip this.
Aligning Your Design Like a Pro
Getting the placement right is what makes a shirt look professional instead of homemade. Start by laying your garment flat on the press and finding its centre. A quick trick is to fold the shirt in half vertically and give it a light press to create a temporary crease down the middle.
You can do the same thing by gently folding your DTF transfer. Now, all you have to do is line up the two creases—perfect vertical alignment every time. For horizontal placement, a good rule of thumb is to position the top of your design about three or four fingers' width down from the collar. Using a t-shirt alignment tool or even a simple ruler will help you stay consistent, especially when you're working on a larger batch.
Temperature and Time Starting Points
Every heat press runs a little differently, and fabrics can vary, so always treat these recommendations as a starting point and be prepared to do a little testing. For a deeper dive, our comprehensive heat press temperature guide is a fantastic resource for dialling in your settings perfectly.
Here are some go-to starting points for the most common materials:
- 100% Cotton: This fabric is pretty tough. Aim for a temperature around 150-165°C and press for 12-15 seconds.
- 100% Polyester: Be much more careful with polyester. Start with a lower temperature, around 135-145°C, for about 10-12 seconds. Too much heat can cause dye migration (where the fabric’s colour bleeds into your print) or even melt the material.
- Cotton/Poly Blends: These hybrids usually need something in between. A good place to start is 145-155°C for 12 seconds.
To help you get started, here is a quick-reference table for common fabric types.
Heat Press Settings for Common Fabrics
Use these as a starting point for your temperature, time, and pressure when applying transfers to different materials.
| Fabric Type | Temperature (°C) | Time (Seconds) | Pressure Level |
|---|---|---|---|
| 100% Cotton | 150-165 | 12-15 | Medium-Firm |
| 100% Polyester | 135-145 | 10-12 | Medium |
| 50/50 Cotton/Poly | 145-155 | 12 | Medium-Firm |
| Tri-Blends | 140-150 | 10-12 | Medium |
| Performance Fabrics | 130-140 | 8-10 | Light-Medium |
Remember to always perform a test press on a scrap piece of fabric if you're unsure. This small step can save you from ruining an entire garment.
Hot Peel vs Cold Peel Technique
The type of DTF film you’re using will determine whether you need to peel it hot or cold. This is a critical step that massively affects the final look and feel of the print.
- Hot Peel: Just like it sounds, you peel the film away immediately after the heat press opens, while it’s still piping hot. This technique usually results in a softer, more matte finish because the ink has a chance to sink into the fabric's fibres.
- Cold Peel: For this method, patience is key. You need to remove the garment from the press and let it cool down completely to room temperature before peeling back the film. This typically gives you a slightly glossier and sharper finish that sits more on top of the fabric.
Always double-check your film manufacturer’s instructions. Using the wrong peeling method is a surefire way to ruin your transfer and have to start from scratch. It’s worth experimenting with both types to see which finish you prefer for different projects.
Troubleshooting Common Headaches
Even when you follow the steps perfectly, you can still run into annoying little issues. One of the most common is that shiny "press box" outline you sometimes see around the edge of your design. This happens when the hard edge of the heat platen squashes the fabric fibres flat.
An easy way to prevent this is to use a heat press pillow inside the shirt. The pillow raises the print area, ensuring only that part of the garment gets firm pressure. Another quick fix is to use a Teflon sheet that is only slightly larger than your transfer itself, which helps soften the pressure around the design's edges. By mastering these little details, you ensure every print you make is a testament to your skill and quality.
Finishing and Care for Lasting Quality
Getting a design perfectly pressed onto a garment is a great feeling, but the real mark of a pro is creating a print that lasts. What you do after the main press is what separates an amateur print from a professional one that holds up wash after wash. These final touches are what build a reputation for quality.
One of the most critical steps, and one that's surprisingly often skipped, is the finishing press. It’s a quick, final press that takes just a few seconds but makes a massive difference to the durability and feel of the finished product.
By giving the garment a second press for about 5-7 seconds after you’ve peeled off the film, you're essentially locking the design into the fabric's fibres. This simple action dramatically improves wash durability and gives the print a much softer feel, getting rid of that stiff, plastic-like texture.
The Finishing Press Technique
So, how do you do it? It’s incredibly simple. Once you've peeled the transfer film away, just cover the design with a protective sheet and press it again. This helps embed the ink deeper into the garment, making it part of the shirt rather than just sitting on top.
For this second press, your choice of cover sheet matters:
- A Teflon Sheet: This will give your print a slight sheen or glossy finish. It's a great option for designs that need to pop with a bit of shine.
- Parchment or Kraft Paper: Using either of these will result in a more matte finish, which is perfect for achieving that softer, premium feel.
Don't be afraid to experiment with different cover sheets to see how they change the final texture. It’s an easy way to add another layer of customisation to your work, tailoring the look and feel to your brand or your customer’s preference.
The goal here is to melt the ink just enough for it to conform to the fabric's texture. This not only makes the print more durable but massively improves the "hand" – how it feels. It becomes part of the shirt.
The demand for high-quality, durable custom apparel is only getting bigger. In the UK, the custom T-shirt printing market is booming, especially for things like sports kits and corporate branding. When the government announced a £12 million investment in women's rugby, for example, that directly translates into more teams needing customised kits with durable prints that can withstand the game. This focus on team identity is a huge driver for quality heat transfer work. You can find more insights on this trend over at Research and Markets.
Don't Forget the Care Instructions
Once you've nailed the application, the last piece of the puzzle is teaching your customers how to look after their new gear. Providing clear, simple care instructions is a professional touch that protects your work and keeps customers happy. After all, a print that cracks or peels in the wash reflects badly on you, even if it’s down to user error.
Here are the essential care instructions you should give with every single order:
- Wait Before Washing: Always tell customers to wait at least 24 hours before the first wash. This gives the adhesive that extra bit of time to fully cure and bond with the fabric.
- Turn It Inside Out: This is the golden rule. Washing and drying the garment inside out protects the print from rubbing against other clothes, zips, and buttons in the machine.
- Go for a Cool Wash: Recommend washing in cold or cool water, preferably on a gentle cycle. Hot water can weaken the adhesive over time and cause the design to crack.
- Use a Mild Detergent: Harsh detergents and fabric softeners can be too aggressive. A standard, mild detergent is all that’s needed to get the job done without damaging the print.
- Avoid the Tumble Dryer: The intense heat from a tumble dryer is the number one enemy of print heat transfers. Always recommend hanging the garment to air dry. If they absolutely must use a machine, it should be on the lowest heat setting possible.
- No Ironing on the Print: If the shirt needs ironing, it must be done inside out. A hot iron placed directly onto the print will melt and completely ruin the design.
By mastering the finishing press and giving your customers these simple care tips, you’re ensuring that every garment you produce is a true testament to quality that lasts.
Common Questions About Heat Transfers
When you're getting stuck into the world of custom apparel, you're bound to have questions. It's just part of the process. Nailing the details with your print heat transfers is what separates amateur work from professional results, and a bit of troubleshooting is how we all learn.
We get asked a lot of the same questions by creators, so we've put together some straight answers to help you solve common problems and really perfect your technique. Even seasoned pros run into issues now and then, whether it's ink doing something strange or a finished print just not looking right. Getting to the 'why' is always the first step.
Why Is My White Ink Not Printing Solidly?
Ah, patchy white ink. It's a classic problem, but thankfully, it usually has a simple fix.
The very first thing you should do is run a nozzle check from your printer's utility menu. Even a tiny, partial clog in the print head can cause noticeable gaps in your white underbase. A quick head cleaning cycle often gets things flowing smoothly again.
If the nozzle check comes back clean, the next place to look is your RIP software. Your white ink density might just be set too low. This is especially common when you're printing on dark garments that need a really thick, opaque foundation for the colours to look vibrant.
Finally, don't forget that the pigments in white ink can settle over time if left sitting. Always follow the manufacturer's instructions for agitating or shaking your ink. This keeps it properly mixed and ready to lay down a perfect, solid layer.
What Is the Difference Between Hot Peel and Cold Peel Film?
The main difference here really comes down to timing and the final texture you're after. Choosing the right one is all about the look and feel you want for the finished garment.
- Hot Peel Film: With this one, you peel the film off immediately after the heat press opens, while everything is still hot. It tends to produce a softer, more matte finish because the ink settles deeper into the fabric's fibres as it cools.
- Cold Peel Film: As the name suggests, you have to let the garment cool down completely before you even think about touching the film. Peeling it cold typically results in a sharper, glossier finish that sits more on top of the fabric.
A word of warning: Always double-check which type of film you're using. Trying to hot peel a cold peel film (or vice versa) is a surefire way to ruin a transfer and waste a perfectly good tee.
Can I Use a Home Iron for DTF Transfers?
I'll be blunt: for any kind of professional or long-lasting result, the answer is a firm no. A home iron just can't deliver the two things that are absolutely critical for a proper application: consistent temperature and even pressure.
A heat press is designed to guarantee that the entire design gets the exact same heat and force, something you can never replicate by hand with an iron. Using an iron will almost always give you a patchy, uneven transfer that's guaranteed to crack, peel, and fall apart in the first wash. If you're serious about producing quality apparel, investing in a proper heat press isn't just a suggestion—it's essential.
For anyone weighing up their printing options, it's really useful to see how DTF stacks up against other methods. You can find a detailed breakdown in our article on DTF vs screen printing for graphic tees.
How Do I Avoid a Shiny Box Outline on My Shirts?
That frustrating shiny 'press box' outline is a common headache. It happens when the edge of the heat platen flattens the fabric fibres around your design. Luckily, there are a few simple tricks to stop it from happening.
The best method is to use a heat press pillow or a foam pad inside the garment. This raises the print area so that only that section gets the full pressure, leaving the surrounding fabric cushioned.
You can also try easing off the pressure slightly—you want just enough for a solid transfer without crushing the material. Another pro tip is to use a Teflon sheet that's only a little bit bigger than your design. This helps focus the pressure exactly where you need it and softens the harsh edge of the platen.
At Psyque, we specialise in creating vibrant, durable DTF prints that bring your unique designs to life. Whether you need custom apparel for your brand, business, or personal project, we have the tools and expertise to deliver exceptional quality. Explore our collections and start your custom journey at https://psyque.co.uk.