
A Guide to Printing Heat Transfers
Printing heat transfers is a fascinating process where you apply a pre-printed design onto a garment using heat and pressure. Think of it as a professional-grade iron-on, but with far superior results. By printing special inks onto a transfer film, you can bond vibrant, full-colour graphics to fabrics like cotton, polyester, and blends. It’s no wonder it's such a popular choice for custom apparel.
Understanding the World of Heat Transfer Printing
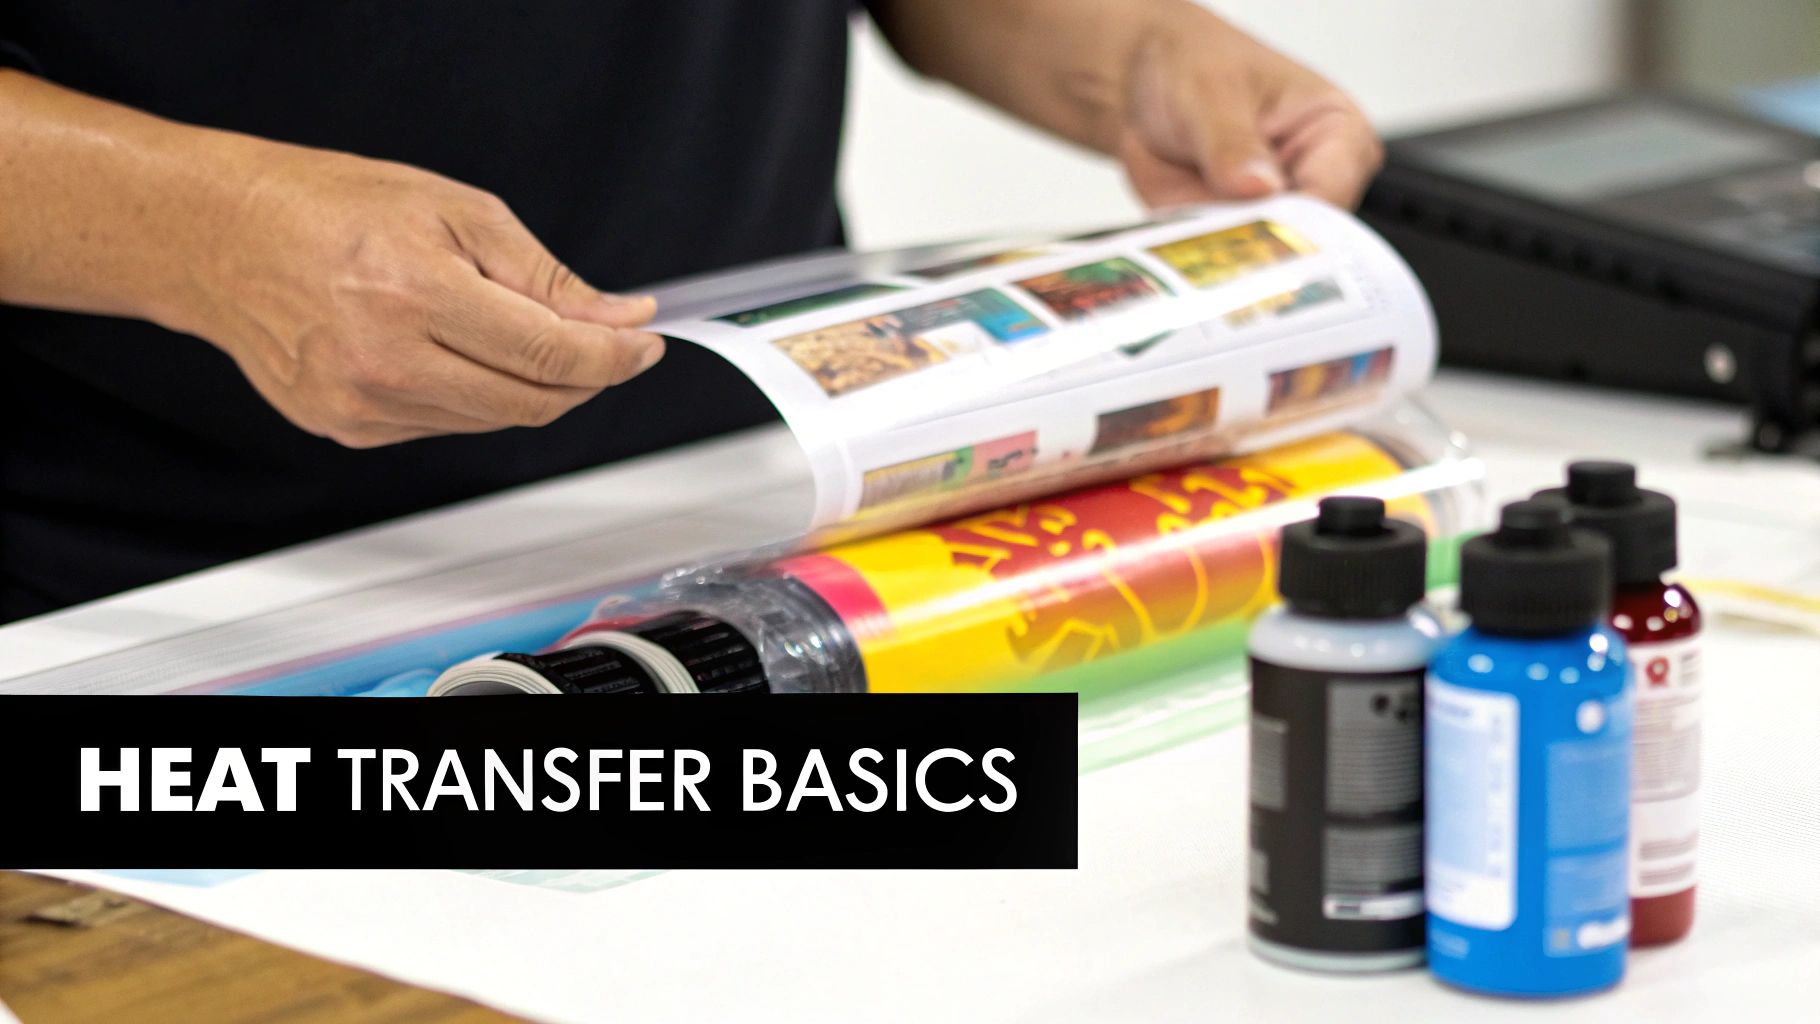
At its heart, the concept is beautifully simple. Instead of printing directly onto a t-shirt, you first print your design onto a special carrier material. This "transfer" is then placed on the garment, and with a bit of controlled heat and pressure from a heat press, the ink releases from its carrier and permanently bonds with the fabric fibres.
This guide is all about one of the most powerful methods out there: Direct-to-Film (DTF). The DTF process involves printing your design with specialised water-based inks onto a polyethylene terephthalate (PET) film. The secret sauce is the layer of white ink that goes down first, acting as an underbase. This is precisely why DTF works so brilliantly on dark-coloured garments.
Once printed, a hot-melt adhesive powder is sprinkled over the wet ink. This powder is then carefully melted and cured, creating a durable yet flexible adhesive layer on the back of your design. The final transfer is then ready to be pressed onto almost any fabric you can think of.
Key Benefits of DTF Heat Transfers
So, what makes this method a crowd favourite? Its versatility and quality are just hard to beat. Unlike screen printing, which needs a new screen for every single colour, DTF can knock out intricate, full-colour designs with gradients and fine details in one go.
Here are a few of the main advantages:
- Fabric Versatility: DTF is a true all-rounder. It works exceptionally well on cotton, polyester, cotton/poly blends, and even trickier materials like nylon and leather.
- Vibrant Colours on Any Garment: That white ink underbase ensures your colours pop with brilliant opacity, even on solid black or dark-coloured fabrics.
- Durability and Feel: Modern DTF transfers feel soft, are surprisingly stretchable, and hold up incredibly well to washing without cracking or fading. For a deeper dive into different options, check out our guide to t-shirt transfers printing.
Market Growth and Industry Significance
The demand for high-quality, on-demand decoration is really fuelling the growth in this sector. The global heat transfer paper market was valued at roughly USD 550 million in 2023, and it's projected to hit around USD 1.1 billion by 2033. This boom is largely thanks to advances in digital printing that have made professional-quality results more accessible than ever. You can find more insights on this growing market over at datahorizzonresearch.com.
Heat transfer printing strikes the perfect balance between quality, speed, and cost-effectiveness. It’s an ideal solution for small businesses, independent brands, and large-scale operations alike, empowering creators to produce durable, high-detail apparel with minimal setup.
Prepare Your Artwork for a Flawless Print
The quality of your finished garment is decided long before you even switch on the printer. I can't stress this enough: exceptional heat transfers begin with meticulously prepared digital artwork. It's the foundation for everything that follows.
Getting this prepress stage right is non-negotiable if you want crisp, vibrant, and professional results. Think of your digital file as the blueprint. Any flaws in that blueprint—low resolution, dodgy colours, you name it—will be faithfully reproduced on the fabric. That’s why dedicating time to proper artwork prep is one of the most critical habits for anyone serious about quality.
The Non-Negotiables of File Setup
Before your design gets anywhere near the RIP software, it needs to be formatted correctly. The absolute industry standard for high-quality printing is a resolution of 300 Dots Per Inch (DPI). Trying to print a 72 DPI image you’ve pulled from a website will only lead to disappointment—a blurry, pixelated mess that looks completely amateur.
Always start your design work on a 300 DPI canvas. If you're working with existing artwork, make sure it’s converted properly without sacrificing quality. This is how you ensure every fine line and subtle gradient is captured with perfect clarity.
The file format is just as important. For designs with any kind of transparency—think text-only graphics or logos without a background box—PNG (Portable Network Graphics) is your best friend. It handles transparency flawlessly. For full-frame rectangular images, a high-quality TIFF file also works a treat.
Key Takeaway: A high-resolution PNG file is the gold standard for most DTF transfer artwork. It supports transparency, maintains sharp detail, and plays nicely with virtually all RIP software, preventing a whole host of common printing errors right from the start.
Mastering Your RIP Software Settings
Once your artwork is pristine, it’s time to run it through your Raster Image Processor (RIP). This clever bit of software is the translator between your digital file and the printer, dictating exactly how the ink is laid down onto the film. This is where you really dial in the print for perfect colour and opacity.
One of the most critical jobs of the RIP is creating the white underbase. For any design going onto coloured or dark garments, the software first lays down a layer of white ink shaped exactly like your design. The colour layer is then printed directly on top. Without a solid underbase, your colours would look dull, washed-out, and almost transparent on the fabric.
This is a conceptual illustration of how a RIP processes a file, separating it into different colour channels for the printer.
Your RIP software intelligently manages these ink channels, making sure the white base is solid enough and the CMYK colours are accurately reproduced right on top of it.
You'll need to get comfortable with a few key settings:
- White Ink Density: This controls how much white ink is used for the underbase. A good starting point is usually around 60-80%, which gives you solid coverage without drowning the film in expensive ink.
- Choke/Spread: The "choke" setting is a lifesaver. It makes the white underbase just slightly smaller than the colour layer, usually by 1-2 pixels. This brilliant little trick prevents any white ink from peeking out around the edges of your design, giving you a super clean and professional outline. You can explore more about perfecting your transfers by reading our guide on DTF transfer sheets.
- Colour Profile: Always select the correct colour profile for your specific printer, ink, and film combination. This is crucial for ensuring the colours you see on your screen are what you actually get in the final print.
The Importance of Printer Maintenance
Finally, you can have the best artwork and perfectly calibrated RIP settings, but it all counts for nothing if your printer is poorly maintained. Those frustrating streaks, gaps, or faded colours are almost always symptoms of clogged printhead nozzles.
Making simple, regular maintenance part of your daily workflow is the secret to consistent quality.
Before you kick off a big print run, always run a nozzle check. This prints a small test pattern that immediately shows if any nozzles are blocked. See any broken lines or missing colours? Run a head cleaning cycle. This check takes less than a minute but can save you hours of frustration and piles of wasted materials. Trust me, keeping your machine clean and running nozzle checks will prevent the vast majority of print quality headaches.
Getting Your Prints and Curing Spot On
Alright, with your artwork dialled in, it’s time to move from the screen to the real world. This is where your digital design becomes a physical, press-ready transfer. Honestly, this part of the process is a bit of a delicate dance between your printer, the materials you're using, and even the room you're in. Nailing these next steps is what really separates the pros from the hobbyists.
It all begins at your DTF printer. Before you even think about hitting 'print', take a moment to check your environment. Big swings in temperature or humidity can play havoc with how your ink behaves and how the film performs. You're aiming for a sweet spot of 20-25°C with a relative humidity between 40-60%. A stable climate like this is your best defence against ink bleeding and ensures the film takes the ink just right, every single time.
Translating a design from your monitor onto film is a workflow that demands precision. This visual guide breaks down the key steps to ensure a quality print.
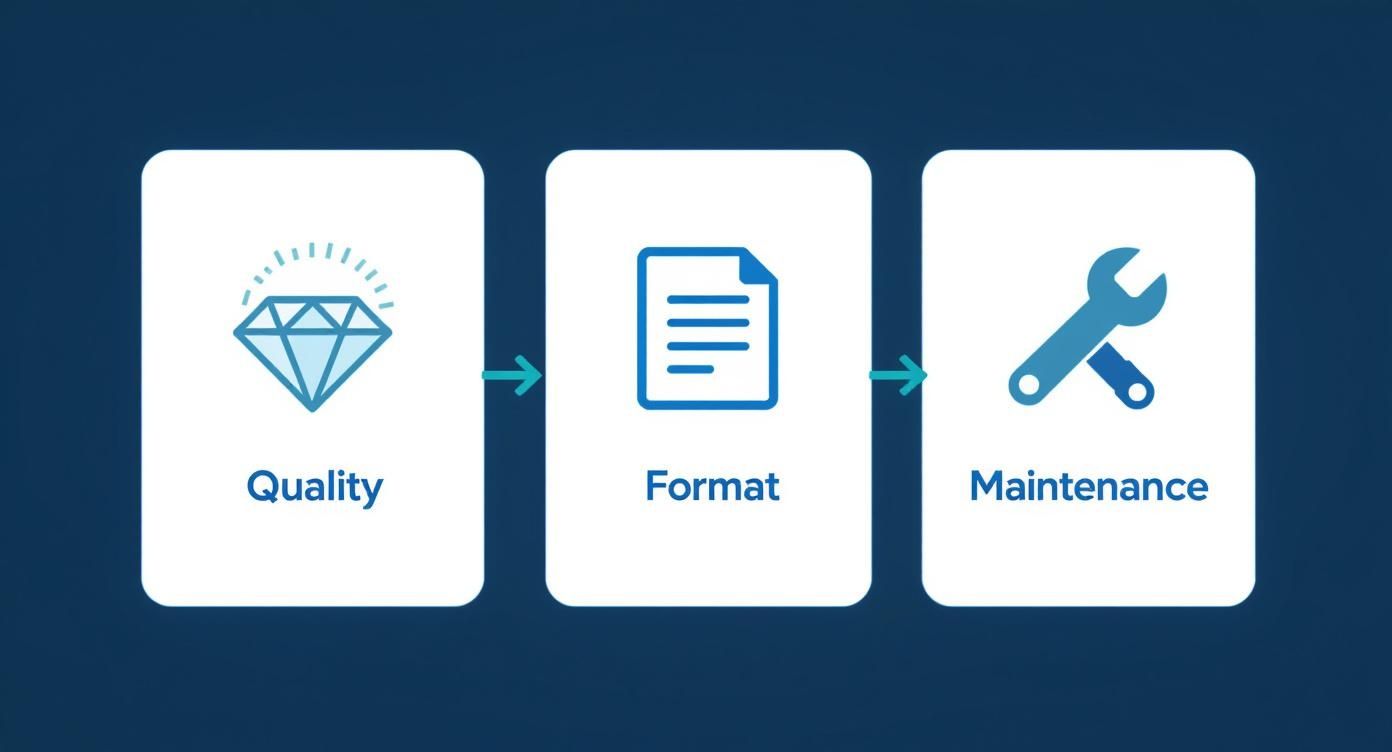
As you can see, keeping your gear in top shape is just as crucial as prepping your artwork. A clean, properly calibrated printer isn't just a nice-to-have; it's the foundation for getting repeatable, high-quality results.
Applying the Adhesive Powder Evenly
Once your design rolls out of the printer, the ink is still wet and tacky, ready for the magic ingredient: the hot-melt adhesive powder. This stuff is what will eventually fuse your design to the fabric, so getting a nice, even coat is non-negotiable if you want a durable, smooth finish.
The go-to method is often called the 'shake and bake', and for good reason. It's simple, low-tech, but incredibly effective.
- Prep Your Tray: Gently place your freshly printed film inside a shallow bin or tray that's bigger than the sheet itself.
- Be Generous: Sprinkle a good amount of adhesive powder all over the printed areas. Don't be stingy here; you want to make sure everything is completely covered.
- Get it Coated: Carefully pick up the film and tilt it back and forth, letting the powder cascade across the entire inked surface. A few light taps on the edges will help it settle into all the nooks and crannies.
- Shake it Off: Once the ink is fully coated, hold the film by the unprinted edges and give it a sharp flick or two. This will dislodge all the excess powder, leaving only the adhesive that's stuck to the wet ink.
This step is absolutely critical. Any stray powder left clinging to the film will melt and transfer onto the garment, leaving you with ugly speckles or a rough texture. A common rookie mistake is being too rough and causing the powder to clump up. For a deeper dive into similar application techniques, check out our guide on printed vinyl heat transfer methods.
Curing for That Perfect Bond
Powder on, it’s time for the final stage of creation: curing. This is where you melt that powder into a smooth, consistent adhesive layer. You can do this with a heat press (hovering the top platen just over the transfer, not touching!), a dedicated curing oven, or even a conveyor dryer if you're running a bigger operation.
The aim is simple: melt the powder completely without cooking the ink or the film. You’re looking for a very specific visual cue—the powder’s texture should change from looking like fine sugar to a slightly glossy, bumpy finish.
We call this the 'orange peel' texture. Seeing this is the single best sign that your transfer is perfectly cured and ready to go. It tells you the adhesive has melted into one cohesive, flexible layer that will bond beautifully and strongly to the fabric.
If the powder still looks grainy, it’s under-cured and won't stick properly. If it’s super shiny and flat, you've likely over-cured it, which can damage the ink and make the final transfer feel stiff and brittle. That orange peel effect is the sweet spot you're looking for.
Never underestimate the role your materials play. The quality of your ink, film, and powder directly impacts your final product. Just look at the UK dye sublimation market—a similar industry—which was worth USD 1,178.8 million in 2024. A staggering 46.61% of that figure was spent on inks and other consumables. That just goes to show how vital good-quality supplies are. You can read more on these trends over at Grand View Research.
Once cured, your transfer is officially done. It’s now ready for the heat press.
How to Heat Press Your Transfers Perfectly
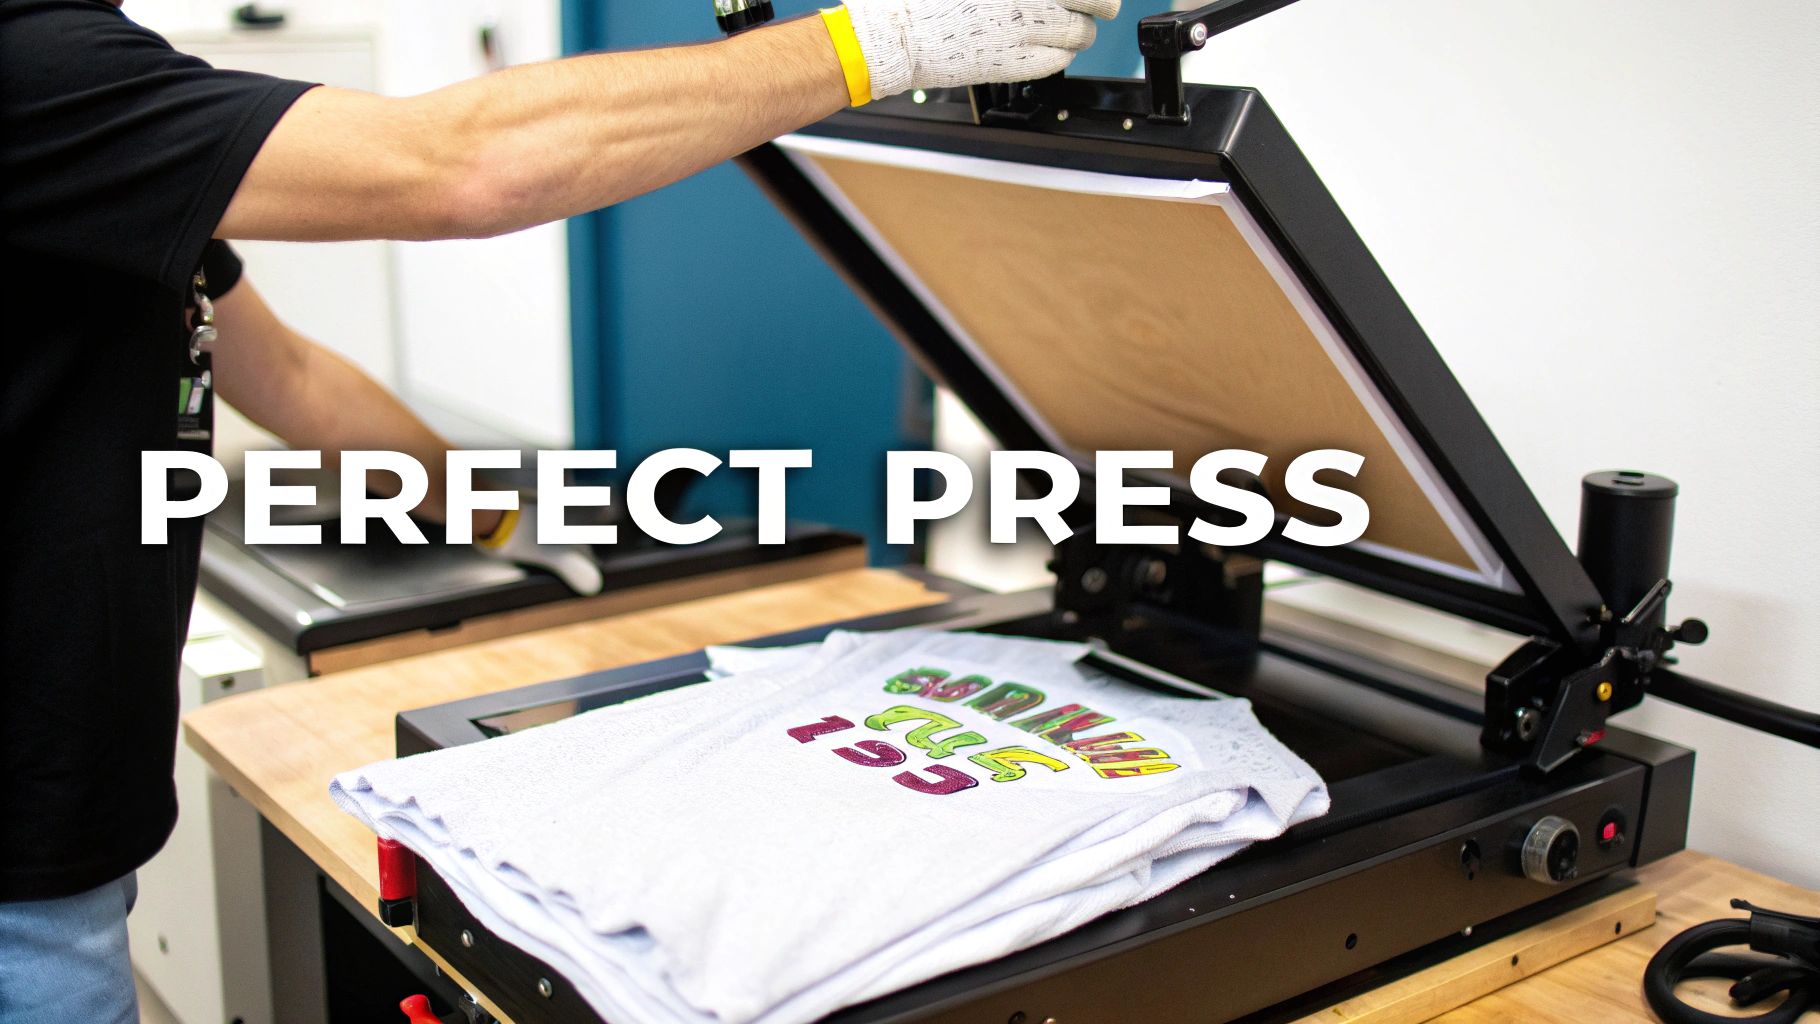
This is it—the moment of truth. After all the careful artwork prep and curing, the final press is where your design truly comes to life on the garment. This step is what separates a professional, lasting print from one that just doesn't make the cut.
Success all comes down to the three pillars of heat pressing: temperature, pressure, and time. Nailing this trifecta is what ensures the adhesive fully melts and bonds with the fabric fibres. It’s less about brute force and more about finesse.
Don’t Skip the Pre-Press
Before you even think about laying down your transfer, there’s a crucial step that far too many people skip: the pre-press. Garments, especially natural fibres like cotton, love to soak up moisture from the air. Pressing a transfer onto a slightly damp tee is a recipe for failure, as the steam it creates will fight against the adhesive.
Just give the blank garment a quick press for 5-10 seconds. This simple move works wonders. It zaps any hidden moisture and smooths out wrinkles, giving you a perfectly flat, dry canvas. It’s a tiny investment of time that prevents a world of frustration.
Dialling In Your Heat Press Settings
Every fabric is different. You can't use the same settings for a cotton hoodie as you would for a delicate polyester sports top—one would likely result in scorching, the other in a print that peels right off. Having a solid starting point is essential.
Here’s a quick reference guide with settings we've found work well for the most common materials. Remember, these are starting points. Your specific heat press, the brand of film you're using, and even the garment’s colour can mean you’ll need to tweak things slightly.
| Fabric Type | Temperature (°C) | Pressure | Time (Seconds) |
|---|---|---|---|
| 100% Cotton | 150 - 165°C | Medium-Firm | 10 - 15s |
| 100% Polyester | 135 - 145°C | Medium | 8 - 12s |
| 50/50 Blends | 145 - 155°C | Medium | 10 - 12s |
| Tri-Blends | 135 - 145°C | Light-Medium | 8 - 10s |
My best advice? Always run a test press on a scrap piece of fabric if you're working with a new garment. For a deeper dive, our comprehensive heat press temperature guide is a brilliant resource to keep bookmarked.
Hot Peel Versus Cold Peel Explained
Once that timer goes off, what you do next is dictated by the type of transfer film you’re using. The peel technique—whether it’s hot, warm, or cold—has a massive impact on the final finish. Get it wrong, and you can ruin a perfectly good print, so always check the manufacturer’s instructions.
- Hot Peel: Just as it sounds, you peel the film backing away immediately after the press opens while everything is still piping hot. This is quick and efficient, often leaving a softer, more matte finish as the ink settles into the fabric weave.
- Cold Peel: This requires patience. You have to let the garment and transfer cool down completely to room temperature before peeling the film. This technique usually gives you a glossier, super-smooth surface finish and incredibly sharp details.
- Warm Peel: The happy medium. You wait just a few seconds for the transfer to cool slightly, then peel. It’s a good balance between the speed of a hot peel and the smooth finish of a cold one.
The choice between hot and cold peel isn't just about workflow; it's a creative decision. A hot peel can give you a softer, more integrated feel that's perfect for vintage or streetwear looks. A cold peel, on the other hand, delivers that crisp, glossy pop you want for bold, modern graphics.
The Finishing Press for Maximum Durability
You’ve pressed it, you’ve peeled it... but you're not done just yet. There’s one last little step that can dramatically improve the durability and feel of your print: the post-press.
After the film is off, cover the design with a sheet of parchment paper or a Teflon sheet. Now, press it again for just 5-10 seconds. This final press is the secret sauce. It helps embed the design deeper into the fabric’s fibres, which seriously boosts wash resistance. It also knocks back any leftover shine from the film, giving the print a much softer feel.
This simple action is what turns a good print into a great one—the kind that stands up to dozens of washes without cracking or fading. It’s the final seal of quality on all your hard work.
Ensuring Quality and Long-Term Durability
A truly great print isn't finished when the heat press timer goes off. The final steps—inspecting the garment, testing its resilience, and giving your customer solid care advice—are what elevate a good transfer into a product that people love and builds your reputation for quality. Think of it as your last line of defence before a print goes out the door.
Rushing this final stage is a classic mistake, and it often leads to unhappy customers and costly reprints. Taking a few extra moments for a systematic quality check is an investment that pays for itself ten times over. It ensures every single piece leaving your workshop meets the high standards you've worked so hard to achieve.
Your Final Inspection Checklist
Before any garment gets folded and packed, it needs a quick but thorough once-over. Running through this simple checklist helps you catch any potential issues while they’re still on your turf. It's far better to spot a problem yourself than to have a client point it out later.
- Check Adhesion: Gently run your fingers over the edges of the design. Are they perfectly fused to the fabric, or can you feel any lifting? Pay close attention to fine details and sharp corners, as these are the usual suspects for poor adhesion.
- Inspect for Colour Accuracy: Pop the finished print next to the original digital artwork on a colour-calibrated screen. Look for any noticeable colour shifts or dullness. If something looks off, it could be a sign of incorrect press temperatures or an issue with your colour profiles.
- Look for Physical Flaws: Scan the design for any tiny cracks, peeling, or a hazy residue left behind. Also, check the surrounding fabric for scorch marks from the heat press or any stray specks of adhesive powder that might have transferred over.
This little routine takes less than a minute per garment but is absolutely vital for keeping your quality consistent. It's the professional polish that makes all the difference.
Testing for Real-World Durability
So, how can you be sure your transfers will stand up to the rigours of daily life? A couple of quick physical tests will give you immediate confidence in your product's durability, mimicking the stresses a garment will face once it's out in the wild.
The stretch test is your first port of call. Gently stretch the printed area of the fabric. A well-applied transfer should stretch right along with the material, no questions asked. If you see immediate cracking, that's a massive red flag that your press time, temperature, or pressure needs tweaking.
Next up, the wash test. This is the ultimate proof of quality. Just take one garment from a new batch or after you've changed a setting and chuck it through a standard wash and dry cycle.
A properly cured and applied DTF transfer should easily withstand 30-50 washes without any significant fading or cracking. If your test print fails after just a few cycles, you need to revisit your curing process and pressing parameters immediately. This single test validates your entire workflow.
Providing Clear Customer Care Instructions
The final piece of the quality puzzle is empowering your customers to look after their new gear properly. Giving them clear, simple care instructions is a small touch that has a huge impact on the life of the print and their overall satisfaction. You can pop these on a small card with the order or print them directly on your packaging.
Here are the essential points to cover:
- Washing: Always advise turning the garment inside out before washing. Recommend a cool wash cycle (max 30°C) with a mild detergent.
- Drying: Tumble drying on a low heat setting is generally fine, but air drying is always the safest bet to maximise the print’s lifespan. High heat is the enemy of any print.
- Ironing: Instruct customers to never iron directly over the printed design. If they must iron the garment, it should be done inside out and on a cool setting.
Providing this guidance shows a level of professionalism and helps ensure your hard work continues to look great for years to come. The UK's custom t-shirt printing market, valued at a whopping USD 310.48 million in 2023, is built on quality and trust. As digital methods continue to grow, delivering a durable product is non-negotiable. This market growth is detailed in a report by Credence Research. If you're looking for more info on materials, you might find our article on transfer print paper to be a helpful resource.
Got Questions About Heat Transfer Printing?
Even when you’ve done everything right—perfect artwork, flawless curing—you’re bound to run into questions. It’s just part of mastering the craft. Whether you're seeing small visual imperfections or have bigger questions about materials and durability, getting straight answers is the fastest way to dial in your process.
We’ve pulled together some of the most common queries we get, from beginners and seasoned pros alike. Tackling these head-on will save you time, materials, and a whole lot of frustration, helping you get brilliant results on every single order.
Why Is a White Halo Showing Around My Design?
Seeing that faint white outline peeking out from behind your design is a classic (and annoying) problem, but the fix is usually quite simple. This "halo" is almost always caused by an incorrect 'choke' setting in your RIP software. The choke is there to pull the white ink underbase in, making it just a fraction smaller than the colour layer that sits on top.
If your choke is too low or switched off, the white layer is the exact same size as the colour one. Any tiny misalignment during printing—and we're talking fractions of a millimetre—will let that white edge show. The solution? Jump back into your RIP settings and bump up the choke value. Going from 1 pixel to 2 or 3 pixels is often all it takes to tuck that white ink in, giving your colour layer a clean edge to cover it completely.
What's the Difference Between Hot and Cold Peel Film?
The choice between a hot and cold peel film all comes down to the special release coating on the film itself. This dictates exactly when you should peel the backing away after pressing, and it’s not just a matter of preference. Getting it wrong for your specific film can completely ruin an otherwise perfect transfer.
-
Hot Peel Films are all about speed and efficiency. You peel the film away immediately after the heat press opens, while the t-shirt is still hot on the platen. This method tends to leave a more matte finish with a softer feel, as the ink settles right into the fabric's weave.
-
Cold Peel Films demand a bit of patience. You have to take the garment off the press and let it cool right down to room temperature before even thinking about peeling the backing. The payoff is a glossier, smoother surface, which is fantastic for locking in ultra-fine details.
Always, always follow the manufacturer's recommendation for your film. The peel type is a crucial part of the transfer’s design. Try to force a cold peel film when it’s still hot, and you'll likely pull the whole design right off the shirt with it.
How Do I Make My Heat Transfers Last Longer?
Real durability—the kind that survives wash after wash—is the hallmark of a professional job. It’s a mix of using quality materials, getting your application spot-on, and giving proper aftercare advice. First things first, don't skimp on your supplies. High-quality ink, powder, and film are the foundations of a print that’s built to last.
Next, you need to perfect your powder curing. You're looking for that signature 'orange peel' texture we mentioned earlier. This is the visual cue that tells you the adhesive has melted into a single, strong layer, ready to form a permanent bond with the fabric. Finally, make sure your heat press settings—time, temperature, and pressure—are dialled in for the specific fabric you're using.
Here's a pro-tip we swear by: after you’ve peeled the film, do a quick second press for 5-10 seconds. Just cover the design with a sheet of parchment paper and press again. This simple step helps embed the ink even deeper into the fabric fibres, giving its wash resistance a serious boost and softening the feel of the print.
Can I Just Use a Home Iron Instead of a Heat Press?
In a word: no. For professional, long-lasting transfers like DTF, using a domestic iron just isn't an option. If you're serious about quality, a heat press is a non-negotiable piece of kit. The reason is simple: an iron fails to deliver the two most critical ingredients for a successful transfer—consistent temperature and even pressure.
An iron’s surface is a patchwork of hot and cool spots, and it’s impossible to manually apply the firm, even pressure needed across the entire design. This inconsistency leads to a transfer that doesn't cure or bond properly. You'll end up with a print that cracks, fades, or peels off after the very first wash, which is the last thing you or your customers want.
At Psyque, we live and breathe high-quality DTF printing. Explore our collections of unique, durable apparel, all created with the professional techniques discussed in this guide. Check out our latest designs at https://psyque.co.uk.