
Your Guide to DTF Ready to Press Transfers
If you've ever felt boxed in by the fiddly weeding process of vinyl or put off by the steep setup costs of screen printing, DTF is the answer you've been looking for. It's the perfect middle ground, giving you the best of both worlds: the full-colour freedom of digital printing combined with the tough-as-nails durability of more traditional methods.
Unlocking Custom Apparel with DTF Transfers
DTF ready-to-press transfers are essentially pre-printed designs on a special film, all set for you to apply to just about any garment with a trusty heat press. This technique lets you create incredibly vibrant, full-colour designs with razor-sharp details on a huge range of fabrics. The result? A professional finish without any of the usual fuss.
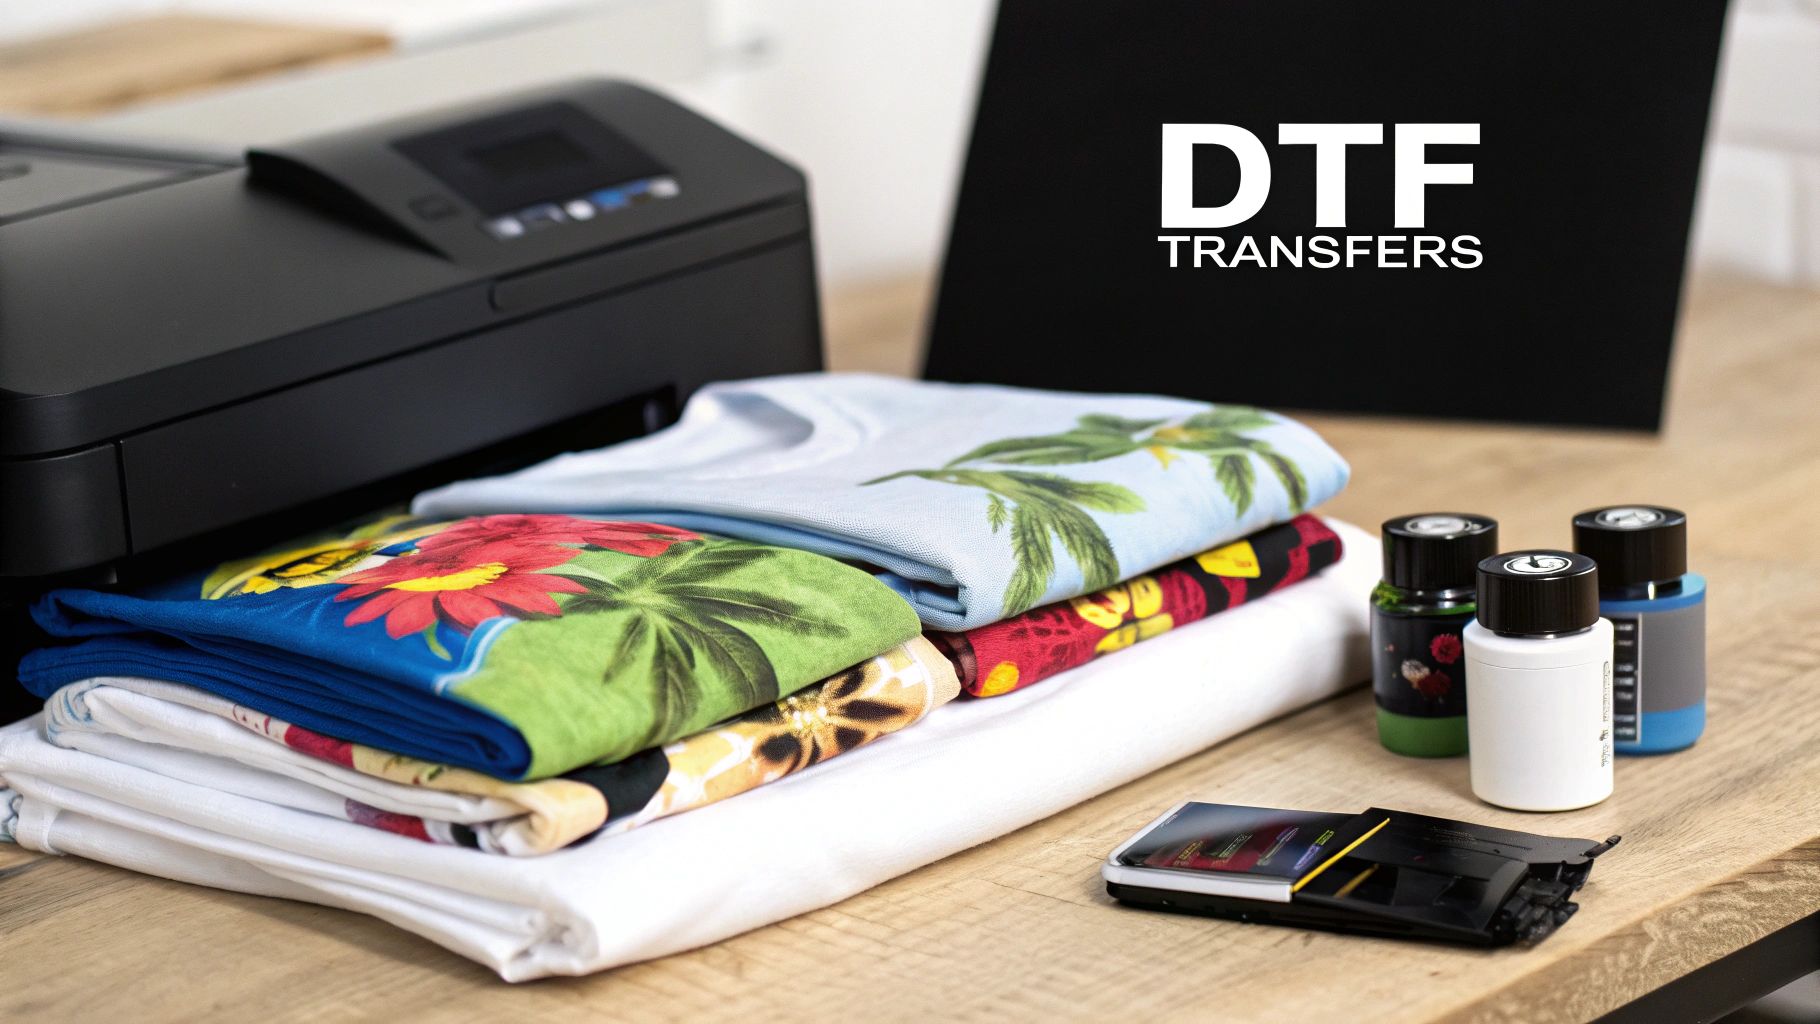
The process itself is surprisingly straightforward. First, a design is digitally printed onto a specialised PET film. That printed layer then gets a coating of powdered adhesive which, once cured, creates a solid, ready-to-go transfer. The real magic happens when you bring in the heat press – the combination of heat and pressure permanently bonds the design to the fabric.
If you want to get into the nitty-gritty of the terminology, our guide on what DTF stands for breaks down the technology in more detail.
Why Is DTF Gaining So Much Popularity?
One of the biggest selling points for DTF is just how versatile it is with different materials. While other methods can be picky about textiles, DTF is a true all-rounder, and that's made it a firm favourite for custom apparel businesses everywhere.
A few key advantages really stand out:
- Fabric Compatibility: It works beautifully on cotton, polyester, leather, nylon, and all sorts of blends without needing special inks or pre-treatments for each one.
- Vibrant and Detailed Prints: DTF can handle photorealistic images and complex designs with an unlimited colour palette. That’s something that's either really difficult or incredibly expensive to achieve with screen printing.
- Durability and Feel: When they’re applied correctly, the transfers are stretchy, soft to the touch, and can stand up to dozens of washes without cracking or fading.
The rise of dtf ready to press transfers in the UK is undeniable, especially among small businesses and independent designers. This growth is a significant part of why the UK now accounts for 36% of the European DTF printing market. You can explore more market data in this Grand View Research report on direct-to-film printing.
This massive shift isn't just a fleeting trend; it’s a practical move driven by a demand for both efficiency and quality. Smaller brands can now produce retail-quality garments in small batches, freeing them from the financial headache of large minimum orders and levelling the playing field in the custom apparel industry.
Choosing Your Transfers and Nailing the Artwork
The final quality of your printed garment comes down to just two things: the quality of your DTF ready to press transfers and the precision of your artwork file. Honestly, getting these two elements right from the very beginning is the difference between a professional finish that lasts and a disappointing mess.
When you're looking for a supplier, it’s about so much more than just the price tag. You're hunting for a partner who's as invested in your project's success as you are.
My advice? Find a UK-based supplier who is open about the materials they use. Don't be shy—ask them about their inks and the specific adhesive powders they rely on. Premium materials lead to transfers that feel softer, stretch better, and hold up brilliantly in the wash. Spend some time digging through their customer reviews and photo galleries to see how their transfers look on actual clothing, not just on a sterile product page. A supplier worth their salt will be proud to show off what their products can do.
Getting Your Digital Artwork Spot On
Once you've found a supplier you trust, it's time to turn your attention to the digital file. This is where so many brilliant ideas fall flat. A design that looks razor-sharp on your monitor can easily turn into a blurry, pixelated disaster on fabric if it isn't set up correctly.
There are three unbreakable rules you need to follow to make sure your design translates perfectly from the screen to the shirt.
- Always Use a Transparent Background: This one is crucial. Your artwork file absolutely must have a transparent background. If you leave a white background in your file, that white block will get printed right onto the transfer. Start your design on a transparent canvas from the get-go to avoid this classic blunder.
- Resolution is Everything: Your file needs to be at least 300 DPI (dots per inch) at the final print size. If you grab a low-resolution image from a website, it’s going to look jagged and amateurish when printed. There’s no magic fix for this later on; you have to begin with a high-quality source file.
- Export as a PNG File: The PNG format is the go-to for DTF transfers for a very good reason: it supports transparency. Exporting your file as a JPEG will flatten your image, add a solid background, and compress the file, robbing you of all those crisp details you worked so hard on.
Remember, the printer prints exactly what you send it. If you've got stray pixels, a faint background you can barely see, or low-res bits in your file, they will show up on the finished transfer. Always zoom in to 200-300% to double-check your work before you hit "send".
Common Artwork Traps and How to Avoid Them
Picture this: you've just spent hours perfecting a graphic for your new collection. You send it off, and when the transfers arrive, there's a weird, faint box around your entire design. The culprit? You saved it as a JPEG, which flattened your transparent background into a solid white one. It’s a frustratingly common mistake.
Colour accuracy is another frequent hurdle. Your screen shows colours in RGB (Red, Green, Blue), but professional printers work in a CMYK (Cyan, Magenta, Yellow, Black) colour space. This can cause some minor shifts in colour. Most reputable DTF suppliers in the UK have sophisticated systems to manage this conversion, but it's something to keep in mind, particularly if you’re using very bright or neon shades.
If you want to get smarter about fitting multiple designs onto a single sheet to get more bang for your buck, you can learn more about arranging artwork on DTF transfer sheets to make the most of your space and cut down on waste.
The Perfect Heat Press Application Process
https://www.youtube.com/embed/7pMNDa7FbC0
This is where the magic really happens—turning your digital design into a tangible, wearable piece of art. Your heat press is the heart of the whole operation, and getting comfortable with it is what separates the amateurs from the pros. It all comes down to the details: the right temperature, the perfect amount of pressure, and precise timing.
Forget any one-size-fits-all advice you might have heard. Every fabric is different. A delicate polyester blend needs a much gentler touch than a heavy-duty 100% cotton tee to stop it from scorching. Your first move should always be to calibrate your press for the specific garment you’re working with.
Before you even get to the press, a quick check on your artwork file can save you a world of trouble. This simple workflow is a great reminder of the basics.
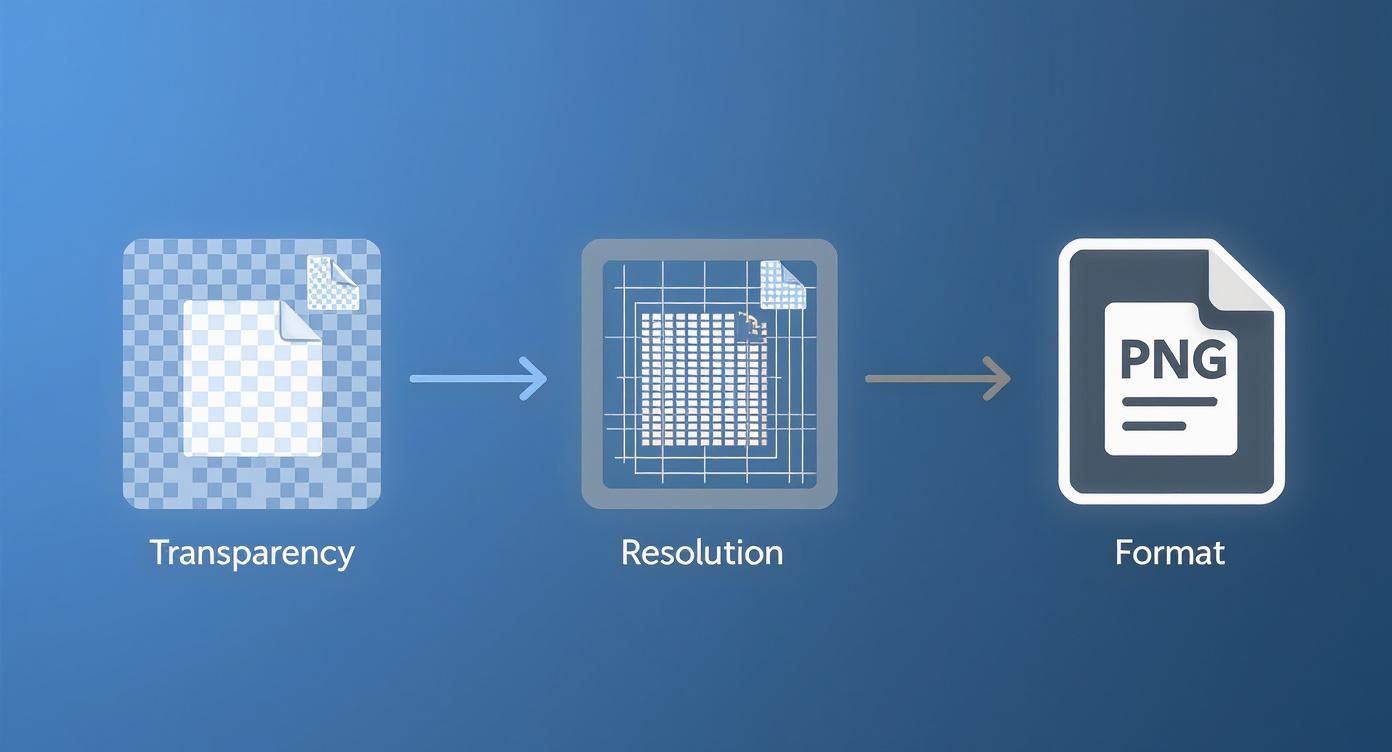
Nailing these digital steps—ensuring proper transparency, high resolution, and the correct format—is the best way to eliminate common errors before they even have a chance to ruin a perfectly good garment.
Preparing the Garment and Press
Right, before you even think about laying down that transfer, let’s get the garment ready. Fabrics, especially cotton, are notorious for holding onto moisture from the air. Pressing a damp t-shirt is a recipe for disaster. The trapped moisture turns into steam, which can completely block the transfer’s adhesive from bonding properly.
The fix is simple: a quick pre-press. Just lay your garment flat on the press and close it for about 5 to 10 seconds. This little step forces the moisture out, flattens any wrinkles, and gives you a perfectly smooth, dry surface to work on.
Next up, dial in your settings. While the perfect combination varies, here's a solid starting point that works for most cotton and poly-cotton blends:
- Temperature: 150°C to 165°C
- Time: 10 to 15 seconds
- Pressure: Medium to firm
Pro Tip: Not sure about your pressure? Try the paper test. Slide a piece of paper onto the bottom platen so it hangs over the edge, then close the press. If you can pull the paper out easily, your pressure is too light. It should be clamped down tight.
To take the guesswork out of it, here is a quick-reference table for some of the most common materials you'll be working with.
Recommended Heat Press Settings by Fabric Type
| Fabric Type | Temperature Range (°C) | Press Time (Seconds) | Pressure Level | Peel Type |
|---|---|---|---|---|
| 100% Cotton | 150-165 | 10-15 | Medium-Firm | Cold Peel |
| Polyester Blends | 140-150 | 8-12 | Medium | Cold Peel |
| 100% Polyester | 135-145 | 7-10 | Light-Medium | Cold Peel |
| Triblends | 140-150 | 8-12 | Medium | Cold Peel |
| Nylon (Pre-test) | 130-140 | 5-8 | Light | Cold Peel |
Always remember to do a test press on a scrap piece of fabric if you're unsure. It's much better to sacrifice a small swatch than an entire garment.
The Pressing and Peeling Motion
With your garment pre-pressed and settings locked in, it’s go-time. Carefully position your DTF ready-to-press transfer exactly where you want it. Make sure it's straight and centred. A bit of heat-resistant tape on the corners can be a lifesaver if you're worried about it shifting when you close the press.
Close the lid and hit the timer. Once it beeps, open the press smoothly. Now for the moment of truth: the peel. This is where you really see the difference between various transfer types.
The vast majority of our transfers are cold peel. This is non-negotiable—you must let the transfer and garment cool down completely before you even think about removing the film. I’ve seen so many great prints ruined by impatience. Let it sit for at least 30 to 60 seconds, or until it’s properly cool to the touch.
When you’re ready, start peeling from a corner. The key is a low, slow, and steady motion. You want to pull the film back against itself, almost rolling it off, rather than yanking it straight up. When it's applied correctly, the film will release with a clean, satisfying smoothness. If you want to get really granular with your settings, our comprehensive heat press temperature guide is a great resource for fine-tuning your process for all sorts of materials.
The Final Press for Durability
You might think you’re done after the peel, but don’t skip this final step. It’s the secret to getting that soft-hand feel and making sure your print will survive countless washes.
Cover the exposed design with a sheet of parchment paper or a Teflon sheet. Now, give it a second press for another 5 to 10 seconds. This quick final press accomplishes two key things: it pushes the ink deeper into the fabric's fibres for incredible durability, and it knocks back any shine from the adhesive, leaving you with a professional, matte finish.
This is what makes the design feel like it's part of the shirt, not just sitting on top of it. The result is a print that’s flexible, soft, and built to last—the kind of quality that turns a homemade project into a retail-ready product.
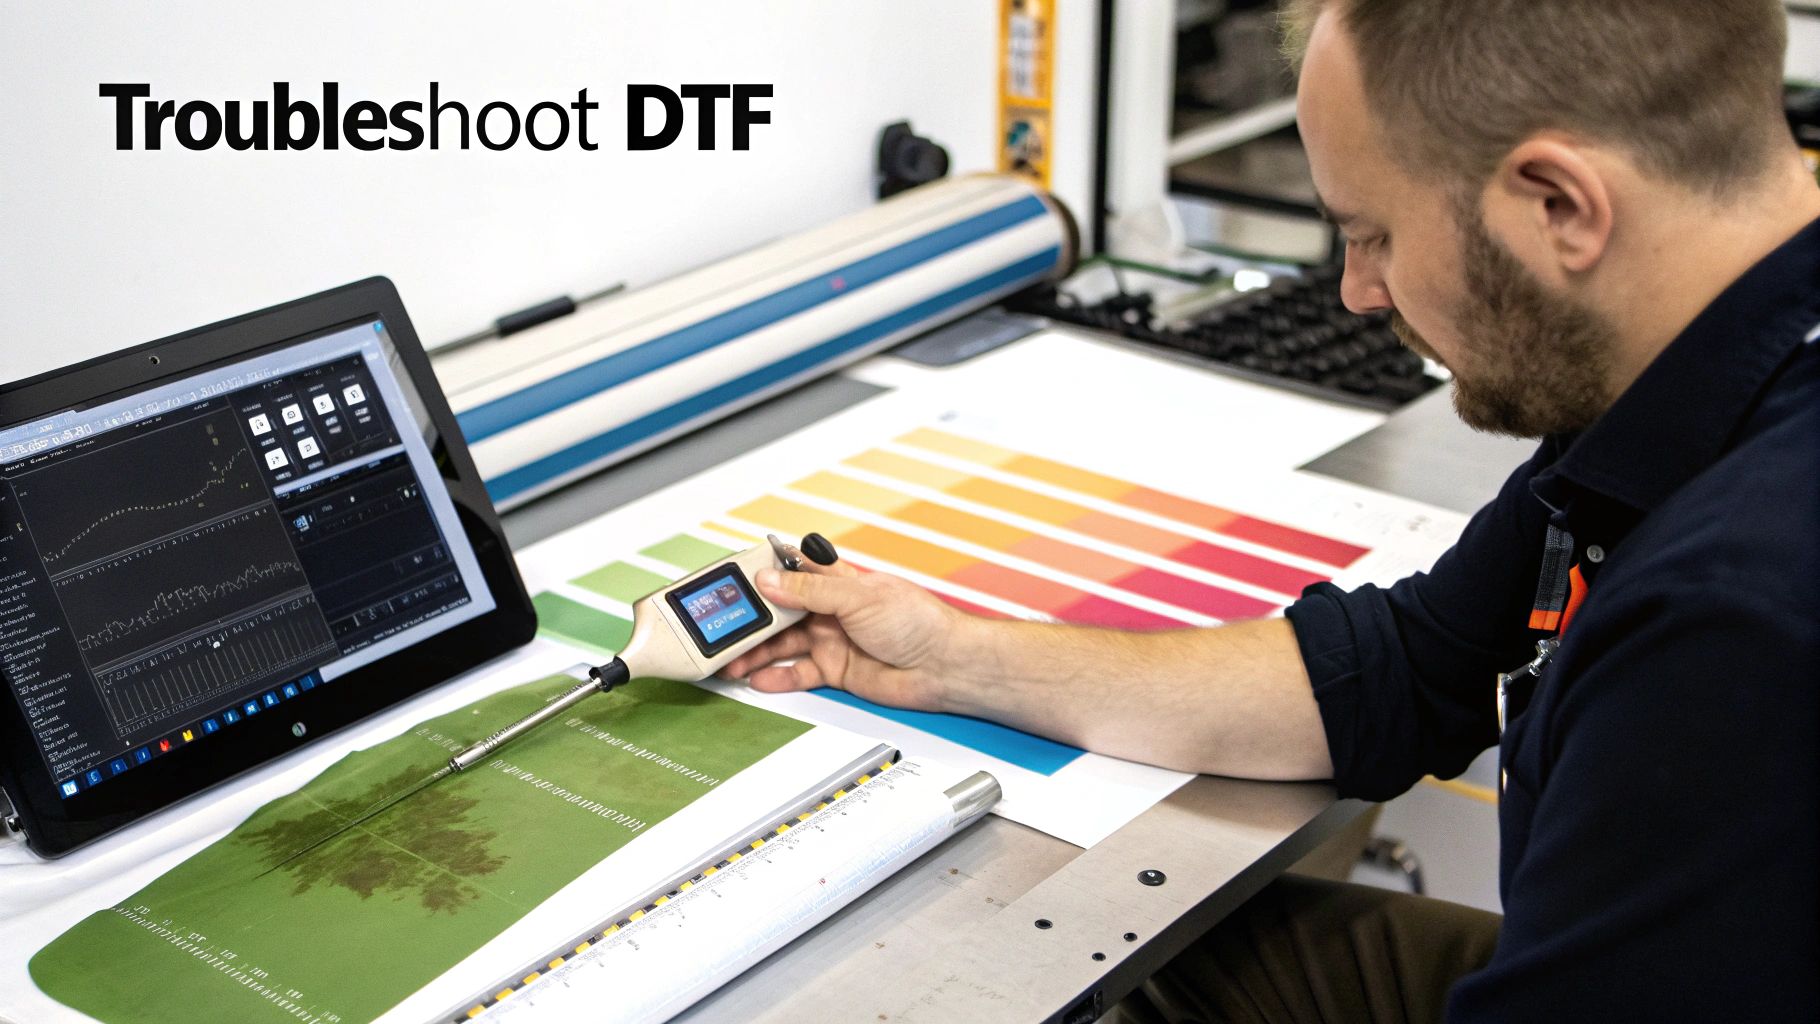
Troubleshooting Common DTF Pressing Issues
Even with a perfectly dialled-in process, you'll eventually hit a print that just won't cooperate. It’s part of the game. The real skill is knowing how to spot the problem and fix it fast, without burning through your stock of blank garments. Let's walk through the most common headaches with dtf ready to press transfers and how to get things back on track.
Why Is My Transfer Not Sticking Properly?
This is easily the number one question I get, especially from people just starting out. You peel back the film, and bits of the design are either still stuck to it or the edges are lifting right off the shirt. More often than not, it's one of three culprits.
First, check your pressure. I can’t stress this enough: weak pressure is the main cause of poor adhesion. That adhesive needs to be physically forced into the fibres of the fabric. If your press is too light, you're just getting a surface-level bond that’s doomed to fail.
Next, think about moisture. Did you remember to pre-press the garment for at least 5-10 seconds? Any humidity trapped in the fabric turns to steam under the heat, creating a barrier that actively stops the adhesive from getting a good grip.
Finally, have a look at the garment itself. Some materials, particularly anything with a waterproof or performance coating, are designed to repel things—and that includes your DTF adhesive. If you’re trying a new or unusual fabric, always do a quick test on a scrap piece first.
How to Fix That Shiny, Plastic Look
A great DTF print should have a soft, matte finish that almost feels like part of the fabric. If your design has a noticeable shine or feels stiff and plasticky to the touch, it’s a dead giveaway that you missed the final, crucial step in your process.
This almost always comes down to skipping the final press. After you've peeled the carrier film away, you must cover the design with parchment paper or a Teflon sheet and press it one more time for 5 to 10 seconds.
This final press is non-negotiable. It does two vital things: it embeds the ink deeper into the fabric for incredible durability and melts away that glossy finish from the adhesive, leaving you with a professional, retail-quality feel.
Why Did My DTF Print Crack or Peel After Washing?
There's nothing more frustrating than pulling a beautifully printed shirt out of the first wash only to find the design cracked or peeling. When this happens, it’s a clear sign of an incomplete bond during the initial press. The transfer wasn't fully cured, so the water and movement of the wash cycle were enough to break it apart.
To fix this, you need to go back and check your core settings:
- Temperature Check: Is your heat press actually at the temperature it says it is? A cheap infrared thermometer is a great tool to have. You might find your press is running colder than the display shows, and even a 10°C difference can be enough to prevent a full cure.
- Pressure Re-evaluation: As I mentioned before, firm and even pressure is essential for long-term durability. Make sure your press is clamped down good and tight.
- The Final Press: Did you do that all-important second press? This step is what really locks the design into the fabric, giving it the flexibility to stretch instead of crack.
By methodically checking these variables, you can nail down the cause and stop it from happening again. For a deeper dive into the science of application, our guide on the finer points of printing heat transfers offers extra insights to help you perfect your technique.
Extending the Life of Your DTF Garaments
A brilliant print deserves a long and vibrant life. The job isn’t truly done when the heat press cools down; proper aftercare is what turns a decent print into a long-lasting favourite. Passing these simple instructions on to your customers adds huge value and shows you stand by your work.
These rules are straightforward, but they’re absolutely essential for keeping dtf ready to press transfers looking their best. Think of them as the golden rules for garment longevity.
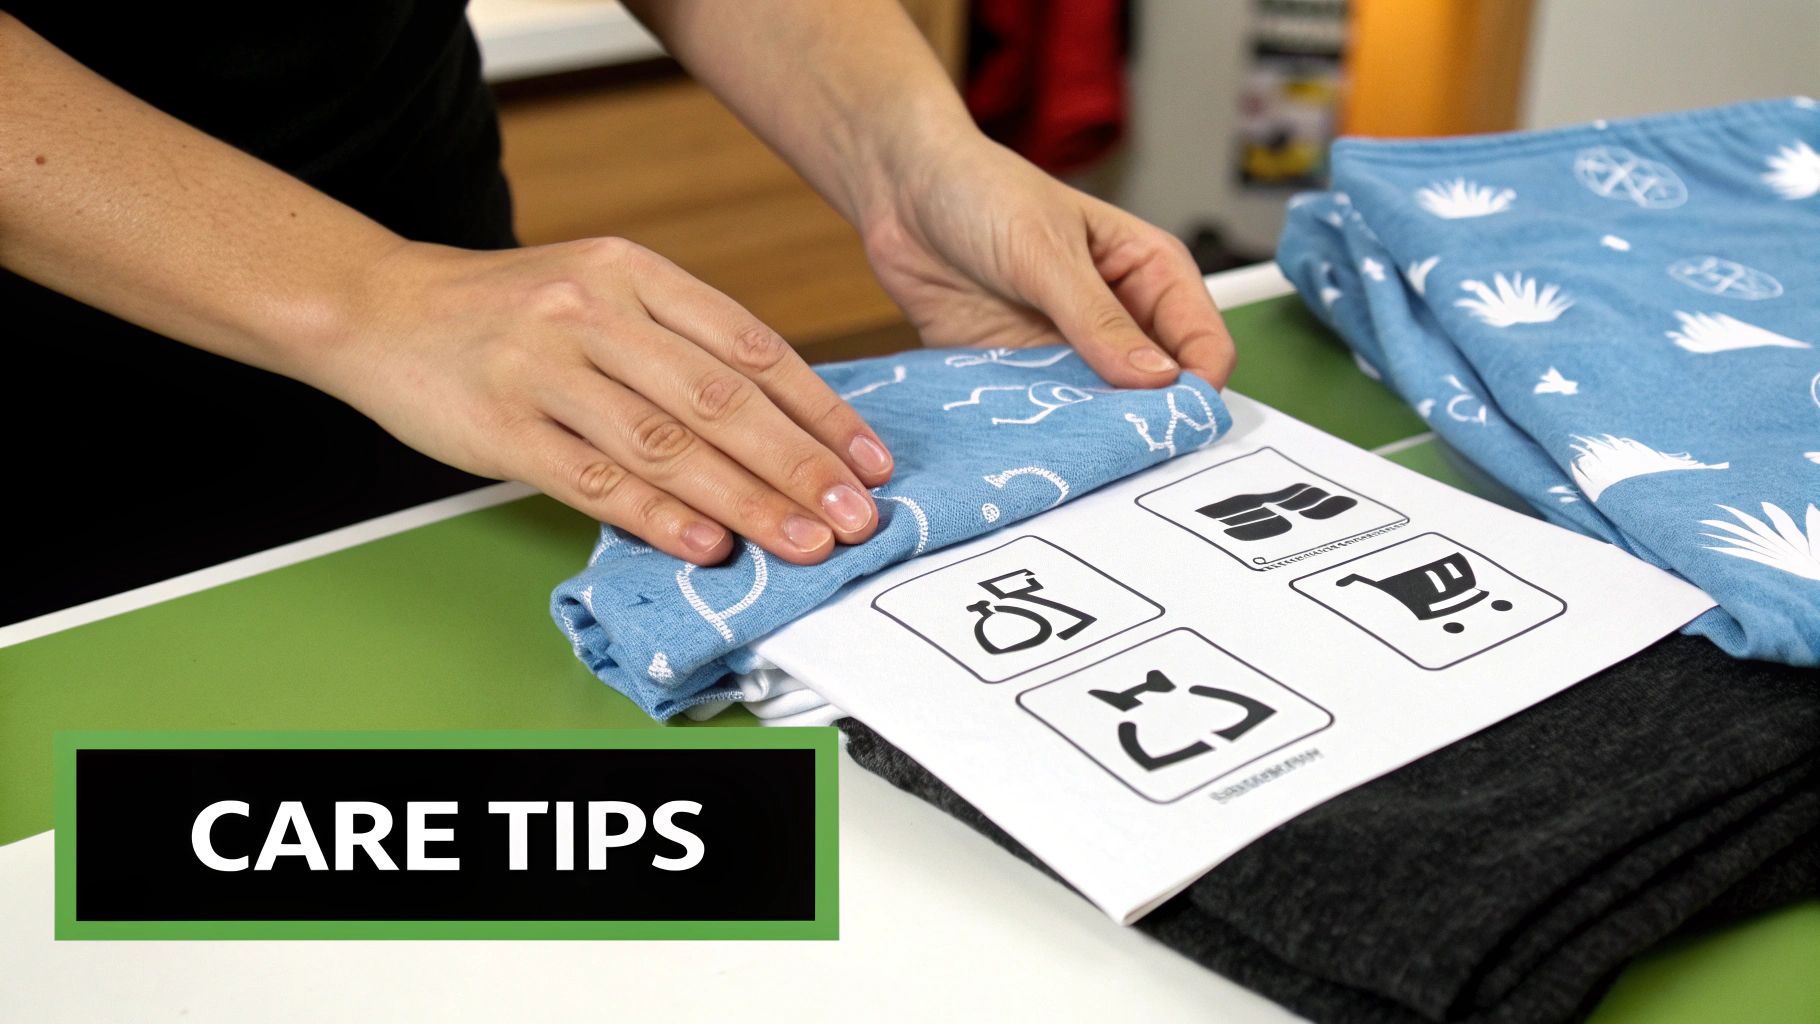
Essential Washing and Drying Rules
The number one rule? Wash inside out on a cold cycle. It's a simple step that makes a world of difference. Turning the garment inside out shields the print from rubbing against other clothes in the machine, which prevents unnecessary friction and wear. Cold water is just as important, as it stops the adhesive from softening and causing the design to peel over time.
For best results, you'll want to use your machine's gentlest setting, so it's worth getting to know its delicate cycle wash options.
Here’s a quick rundown of what to do:
- Washing: Always turn the garment inside out first. Stick to a cold water setting, which is usually 30°C or lower.
- Detergents: Go for a mild detergent. You absolutely must avoid bleach and harsh fabric softeners, as these aggressive chemicals will just eat away at the inks and the adhesive holding your design in place.
- Drying: This one is a big deal. Never, ever tumble dry a garment with a DTF print. The high heat can reactivate the transfer's adhesive, making it sticky, distorted, or even causing it to peel right off. Just hang it up to dry or lay it flat.
- Ironing: If you need to iron the garment, make sure it’s inside out and use a low heat setting. A hot iron should never touch the transfer directly.
By following these instructions, a well-applied DTF print can easily withstand 50+ wash cycles without any significant fading or cracking. It’s this kind of durability that makes the technology so reliable for professionals and hobbyists alike. If you want to dive deeper into the whole process, our complete guide to DTF transfer printing covers every single step.
Your Top Questions About DTF Transfers
Alright, let's wrap this up by tackling some of the most common questions that pop up when you're working with DTF ready to press transfers. Getting these details sorted will give you the confidence to make every single press a winner.
One of the first things people ask is whether they can just use a standard home iron. It’s tempting to think it’s a cheap and easy shortcut, but trust me, it’s a recipe for disaster. A home iron just can't provide the consistent, even pressure and precise temperature needed to properly cure the DTF adhesive. You'll almost always end up with prints that start peeling after the very first wash, so a proper heat press is an absolute must-have for professional, lasting results.
Hot Peel Versus Cold Peel
Another area that often causes a bit of confusion is the difference between hot and cold peel films. This simply refers to when you remove the plastic carrier film after pressing the design.
- Hot Peel: Just like it sounds, you peel the film away immediately while the garment is still hot on the press. This method is all about speed and efficiency, perfect for when you're churning out a high volume of items.
- Cold Peel: With this technique, you need to be patient and wait until both the garment and the transfer have cooled down completely. It tends to be more forgiving for beginners and often gives the design a slightly more matte, integrated look.
Most of the transfers we supply are cold peel. We've found this method gives the adhesive the best chance to fully set, creating a much stronger and more durable bond with the fabric.
When applied and cured correctly, a DTF print is incredibly tough. Industry standards show that these transfers are rated to withstand 50+ wash cycles without any major fading or cracking. In many cases, the print will actually outlast the garment itself.
Durability and Prep Facts
That impressive durability often leads to the next question: what kind of prep work is involved? One of the biggest advantages of DTF is that, unlike Direct-to-Garment (DTG) printing, your garments don't need any chemical pre-treatment at all. The transfer is a self-contained system.
The only prep your garment needs is a quick 5-second pre-press. This little step is crucial for removing any lingering moisture and smoothing out wrinkles, giving you a perfectly flat surface for the transfer to adhere to.
Once you’ve got the hang of creating brilliant custom garments, you might start thinking about turning your new skills into a business. For a complete roadmap on how to get started, from finding your niche to marketing your products, check out this ultimate guide to selling clothing online.
Ready to bring your own vibrant designs to life? At Psyque, we provide high-quality, ready-to-press DTF transfers that make professional results achievable for everyone. Explore our collections and start creating today!