
A Guide to DTF T Shirt Printing
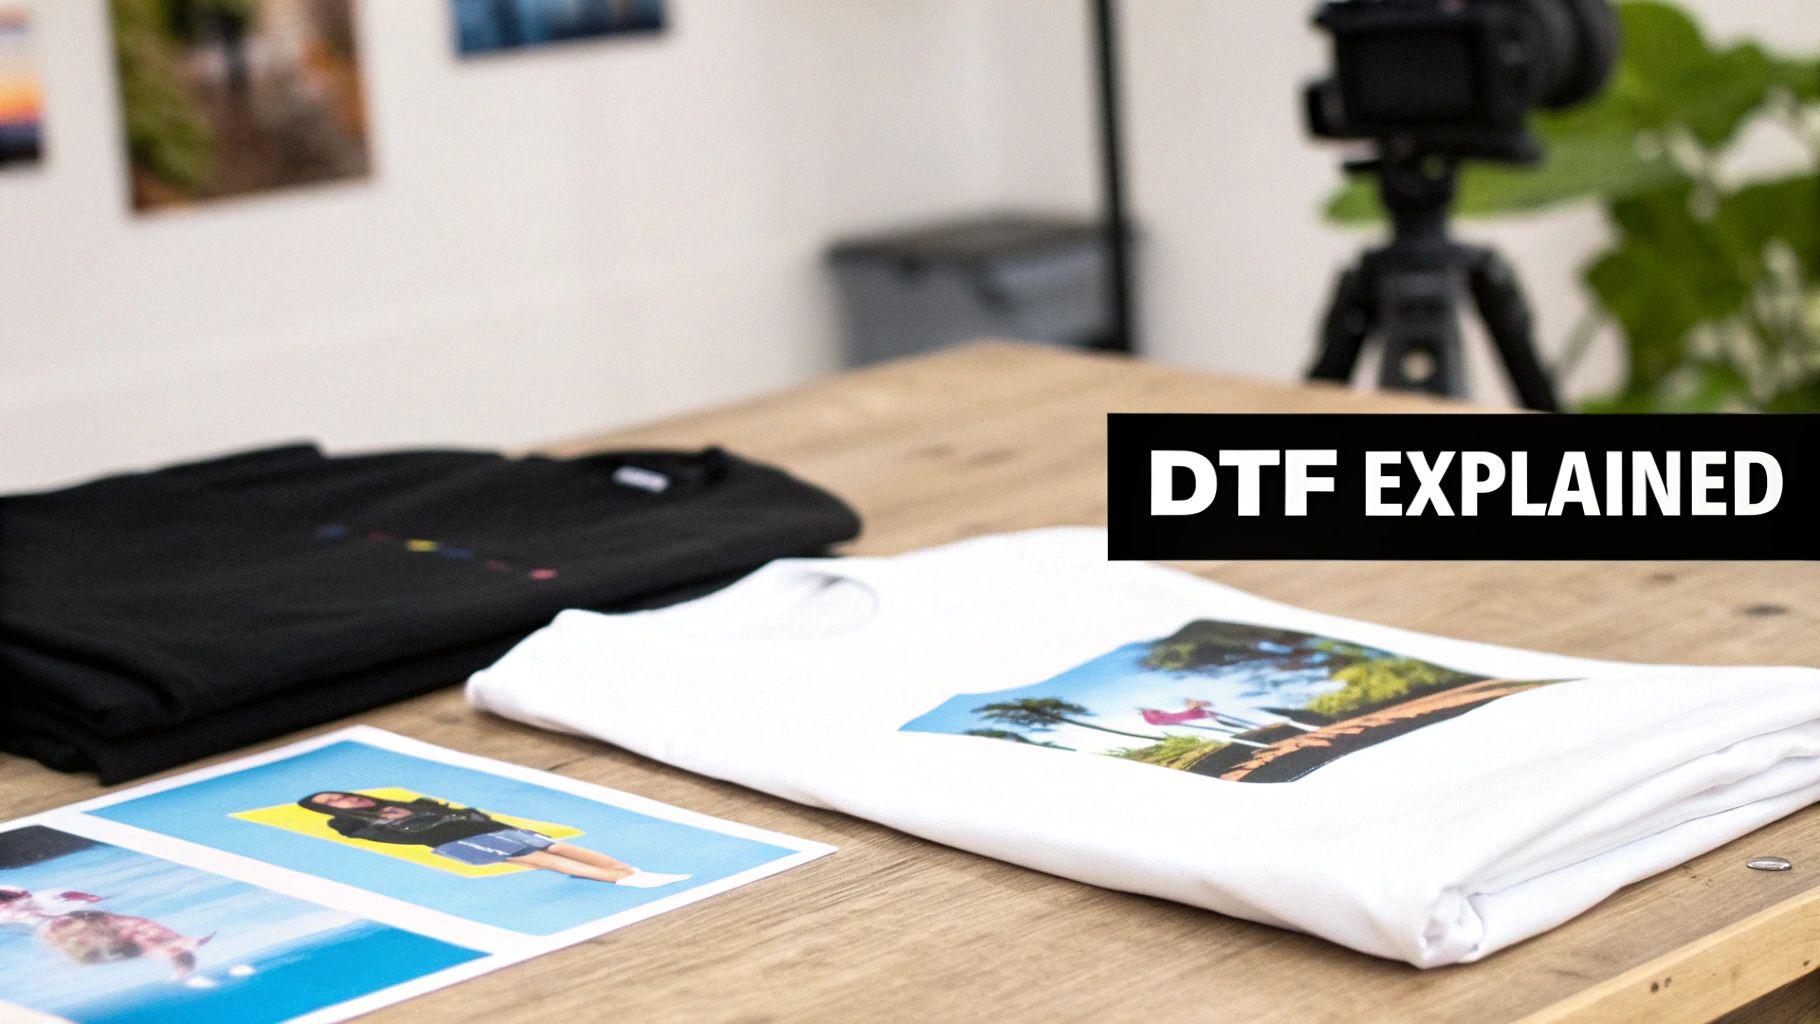
If you've ever wondered how those incredibly detailed, vibrant, and soft-feeling graphics get onto T-shirts, there's a good chance you're looking at DTF printing. It’s a game-changing technique where designs are first printed onto a special film, coated with an adhesive powder, and then perfectly heat-pressed onto the garment.
This method produces vibrant, detailed, and durable prints that work beautifully on all sorts of fabrics—from classic cotton and polyester to tricky blends. It's quickly become a go-to for anyone creating custom apparel.
Understanding the Power of DTF Printing
Before you can really get stuck in, it helps to understand what makes Direct-to-Film (DTF) such a powerful and popular choice. It really stands out from the crowd by offering a unique blend of quality, flexibility, and accessibility that other methods struggle to match.
Unlike screen printing, which needs separate stencils for every colour, or Direct-to-Garment (DTG), which prints ink straight onto fabric, DTF uses a clever middle step. The entire design, in full glorious colour, is printed onto a special Polyethylene Terephthalate (PET) film first. This simple but brilliant step is what unlocks its biggest advantages.
The Core DTF Process Explained
The real magic happens in a few key stages. Once your design is printed onto the film, a fine layer of hot-melt adhesive powder is applied. The powder cleverly sticks only to the wet ink. Give it a gentle shake, and all the excess just falls away.
Next, the film goes through a curing process with heat, melting the powder into a smooth, even adhesive layer.
What you're left with is a ready-to-press transfer. All you need to do is place it on a T-shirt and use a standard heat press. The heat activates the adhesive, bonding the ink permanently into the fabric's fibres. The result? A stunningly detailed, stretchable, and vibrant print that feels great and is built to last.
Key Benefits of Choosing DTF
So, what makes DTF a firm favourite for everyone from hobbyists to established businesses across the UK? It really boils down to a few standout benefits:
- Fabric Versatility: DTF is incredibly forgiving. It works brilliantly on cotton, polyester, nylon, and even tricky blends, unlike methods that restrict you to 100% cotton.
- No Colour Limitations: Got a complex, multi-coloured design or a detailed photo? No problem. DTF handles gradients and fine details with ease, without needing a complicated setup.
- Dark Garment Friendly: The process naturally includes a white ink base layer. This means your colours will pop on black, navy, or any dark T-shirt without needing any messy pre-treatment.
- Durability and Feel: DTF prints are known for their fantastic wash resistance and flexibility. They stretch with the fabric, which helps prevent the cracking you often see with older types of transfers.
For many small businesses and startups, DTF printing removes the huge barrier to entry you see with other professional printing methods. You can produce a single, high-quality custom item or a small batch without the eye-watering setup costs of screen printing.
This adaptability has been the driving force behind its rapid rise. The demand for personalised apparel is booming, and technologies like DTF make it easier than ever for businesses to meet that need. In fact, the UK custom T-shirt printing market is projected to grow from USD 310.48 million in 2023 to an impressive USD 526.78 million by 2032. This surge is fuelled by digital printing advancements and the growth of e-commerce, where DTF's ability to handle small, intricate orders truly shines. You can explore more data on this market trend and its drivers.
The combination of a low initial investment, top-notch output, and incredible material flexibility makes DTF T-shirt printing a seriously attractive option for anyone wanting to create professional-grade custom apparel.
DTF Printing vs Other Methods At a Glance
Feeling a bit overwhelmed by the options? This quick comparison should help you see where DTF shines and decide which method best suits your project.
| Feature | DTF Printing | Screen Printing | DTG Printing |
|---|---|---|---|
| Best For | Small to medium batches, complex designs | Large batches (100+), simple designs | Single items, highly detailed photos |
| Fabric Compatibility | Very wide (cotton, poly, blends, leather) | Most fabrics, but ink may vary | Primarily 100% cotton or high-cotton blends |
| Colour & Detail | Excellent, unlimited colours, photo quality | Limited colours, best for solid graphics | Excellent, unlimited colours, best for photos |
| Feel on Garment | Soft, flexible film layer | Thicker ink layer, can feel heavy | Very soft, ink soaks into the fabric |
| Setup Cost | Moderate | High (screens must be made for each colour) | Low |
| Durability | High, excellent wash and stretch resistance | Very high, one of the most durable methods | Good, but can fade over time with washing |
Ultimately, while screen printing is the king of bulk orders and DTG excels at one-off photo prints on cotton, DTF hits that sweet spot of versatility, quality, and cost-effectiveness for a massive range of projects.
Setting Up Your DTF Printing Workspace
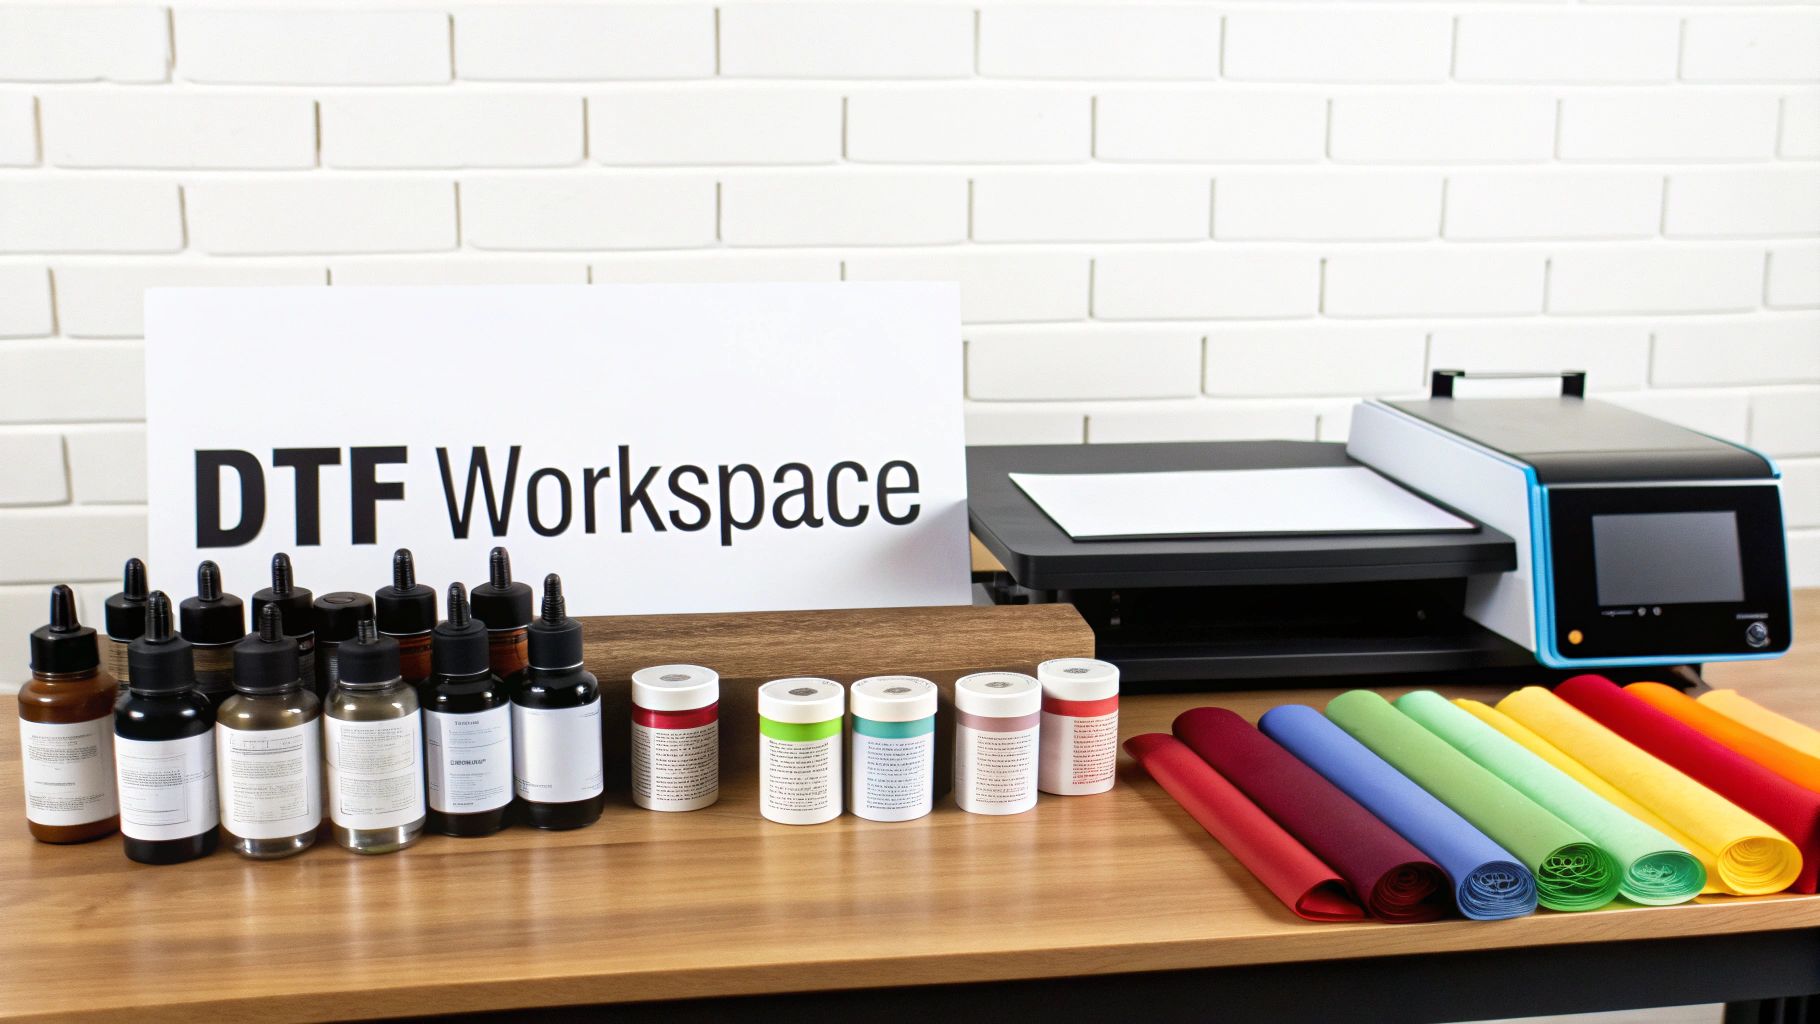
A professional-quality print starts long before you even power up the printer. To get consistently great results with DTF t-shirt printing, you need to build a functional and efficient workspace first. It’s not just about buying the gear; it's about creating a space where every element works together smoothly to produce flawless transfers.
Think of it like a production line. Each piece of equipment, from the printer to the heat press, has a crucial job to do. If there's a bottleneck or a failure at any stage, it can easily compromise the final product, costing you time, ink, and materials.
The Core Equipment You Cannot Compromise On
Let's cut through the noise of all the gadgets you could buy and focus on what truly matters. There are a few items that are absolutely non-negotiable if you want to produce high-quality DTF transfers that your customers will love.
The heart of any setup is, of course, the DTF printer. These aren't your typical office machines. They are purpose-built or modified to handle pigmented textile inks and, crucially, to print that all-important white base layer. If you're just starting out, it pays to explore different models—you can learn more about what to look for in a quality DTF printing machine in our detailed guide.
Just as important is your heat press. This is where the magic happens and your design becomes one with the t-shirt. A cheap, unreliable press with dodgy heat distribution is a recipe for disaster, leading to peeling prints and disappointed customers. Invest in a quality press that delivers consistent temperature and even pressure across the entire platen. Many printers prefer a swing-away or drawer-style press because it gives you a clearer view when positioning your transfers.
Your heat press is arguably just as important as your printer. Consistent heat and pressure are what permanently bond the adhesive to the fabric fibres. Skimping here will directly impact the durability and professional finish of your T-shirts.
Finally, you need a way to cure the adhesive powder. While you can do this by hovering the heat press platen over the powdered film, it’s not ideal. For higher volume or more consistent results, a dedicated curing oven or a shaker/dryer unit is a game-changer. It ensures the adhesive melts perfectly evenly without any risk of scorching the film.
Essential Consumables for Flawless Prints
Once your main hardware is sorted, it's time to think about consumables. The quality of these materials has a direct impact on the vibrancy, feel, and longevity of your final prints. Don’t cut corners here.
- DTF Inks: You'll need specialised, water-based textile inks in CMYK plus White (W). These are specially formulated for elasticity, allowing the print to stretch with the fabric instead of cracking. Always use inks recommended for your specific printer to avoid dreaded print head clogs.
- PET Film: This isn't just any old transparent sheet. DTF film has a unique coating that holds the ink droplets with precision, allowing for incredibly sharp details. Films are available in hot peel or cold peel versions, which simply dictates when you remove the backing after pressing.
- Adhesive Powder: This fine, white powder is the glue that binds your design to the garment. It's sprinkled over the wet ink and sticks only to the printed areas. The quality of the powder affects both the final hand-feel and the wash resistance of the print.
Creating the Right Environment
The environment of your workspace plays a bigger role in your DTF printing success than you might think. Inkjet printers can be surprisingly sensitive to their surroundings, and overlooking these details can lead to some really frustrating print failures.
Try to maintain a stable room temperature, but most importantly, get a handle on the humidity. If it’s too low, you’ll get static electricity, which causes stray adhesive powder to cling to your film and make a mess of your prints. On the other hand, if it's too humid, the ink might not dry properly on the film before you apply the powder.
A simple digital hygrometer is a great tool for monitoring your room. You should be aiming for a humidity level somewhere between 40% and 60%. If your space is too dry, a small humidifier can make a world of difference and prevent common printing defects before they even start. It also goes without saying that a clean, dust-free space is vital for keeping contaminants off your film and out of your printer.
Preparing Your Artwork for a Perfect Print
The final quality of your printed T-shirt lives and dies by the quality of your digital file. Let me be blunt: no amount of printing wizardry can salvage a poorly prepared design. This pre-press stage is where a good idea becomes a fantastic, wearable product, so it’s absolutely vital to get the details right from the very start.
Think of your digital artwork as the foundation for a house. If that foundation is weak, with cracks and imperfections, the final structure is never going to be stable. The exact same principle applies to DTF t shirt printing. A low-resolution or incorrectly formatted file will only ever give you a blurry, pixelated, or discoloured print.
Setting Your Resolution for Maximum Clarity
The single most important setting for your artwork is its resolution, which is measured in Dots Per Inch (DPI). When you're printing on textiles, you need a high level of detail to make sure the final image comes out crisp and clear, not fuzzy.
As a rule of thumb, always set your design canvas to a minimum of 300 DPI. An image might look perfectly sharp on your 72 DPI computer screen, but that same file will look soft and unprofessional once it’s printed on a garment. A higher DPI simply packs more information into every square inch of your design, which translates directly to sharp lines and vibrant details on the finished product.
Imagine you're creating a T-shirt design that needs to be 10 inches wide. To hit that 300 DPI standard, your digital file must be at least 3000 pixels wide (10 inches x 300 dots). You can't cheat the system by starting with a smaller file and just scaling it up in your software—that just stretches the existing pixels and makes everything blurry.
Always start your design process with the correct canvas size and resolution. It is nearly impossible to add detail back into a low-resolution image, so building your artwork on a solid, high-resolution foundation is non-negotiable for professional results.
Mastering Colour Profiles and Transparency
Getting your colours right is another hurdle you need to clear. Your computer screen shows you colours in an RGB (Red, Green, Blue) profile, which is created using light. Printers, on the other hand, use a CMYK (Cyan, Magenta, Yellow, Key/Black) profile, created with ink. For DTF printing to accurately reproduce your intended colours, your artwork needs to be created and saved in a CMYK colour profile.
Working in CMYK from the beginning in software like Adobe Illustrator or Photoshop prevents any nasty surprises down the line. If you design in RGB, the RIP software (the program that processes your file for the printer) has to convert the colours on the fly, and this can lead to some pretty noticeable shifts. That vibrant electric blue on your screen might turn into a much duller, flatter blue on the T-shirt.
Just as important is the background of your design. For DTF, your artwork must have a transparent background. Any solid background, even if it's white, will be printed. The printer lays down a white ink base under all coloured areas, so if your file has a white box around the design, you’ll get a white box printed on your T-shirt.
Here’s how to avoid that common mistake:
- Work with Layers: In your design software, always keep your main artwork on a separate layer from any background colour you're using for reference.
- Hide the Background: Before you save, make sure to hide or delete the background layer. You should only see your design elements against that transparent (chequered) grid.
- Save Correctly: Export your final file in a format that actually supports transparency, like PNG, TIFF, or PSD. JPEGs don't support transparency and will automatically add a white background, which is exactly what you don't want.
Fine-Tuning Your Printer Settings
Once your artwork is prepped and perfect, the final step before hitting 'print' is to configure your printer settings inside the RIP software. This bit of software is the brain of the whole operation, controlling exactly how much ink is put down and in what order.
Getting the right ink saturation is a bit of a balancing act. Too little ink, and your colours will look washed out and weak. Too much, and you risk the colours bleeding or smudging when you apply the adhesive powder later on. Most RIP software comes with pre-set profiles for different fabrics and designs, and these are a fantastic starting point.
A key setting to look out for is the white ink choke. This clever feature makes the white underbase slightly smaller than the colour layer that sits on top of it. It’s a subtle adjustment, but it prevents any fuzzy white edges from peeking out around your design, giving you a much cleaner, more professional finish.
For those wanting to dive deeper into customisation, our guide to creating personalised T-shirts offers further insights.
Taking the time to really master these artwork preparation steps will save you a huge amount of frustration, wasted materials, and money. It's what separates an amateur-looking T-shirt from a professional, retail-quality garment you can be genuinely proud of.
Applying and Curing the Adhesive Powder
https://www.youtube.com/embed/ZvG-y8eJaN4
This next bit is arguably the most crucial moment in the entire DTF t shirt printing process. It's where your beautiful, wet ink design gets transformed into a tough, press-ready transfer. Getting the adhesive powder and the curing stage just right is the real secret to a print that not only looks professional but will also last wash after wash.
So, what is this magic powder? It's a fine, hot-melt polyurethane that basically acts as the glue, permanently bonding your design to the fabric. When your design rolls off the printer, the ink is still wet, which is exactly what you need. That slight tackiness is what allows the powder to grab onto the printed areas and nowhere else.
Achieving an Even Powder Coating
Your main goal here is to get a completely consistent, even layer of powder across every speck of wet ink. Clumps or bare spots are your enemy—they'll lead to an uneven transfer and, worse, peeling down the line.
A simple but effective method is to pop the printed film into a shallow tray or bin, something a bit bigger than the film itself. Be generous and sprinkle the adhesive powder all over the design, making sure every part is covered. Don't be stingy with it; you'll get rid of the excess in a moment.
Once it's covered, gently pick up the film by the edges and give it a little rock back and forth. This movement helps the powder work its way into every little nook and cranny of the design. Afterwards, a few firm taps on the back of the film will shake loose any powder that hasn't stuck directly to the ink.
It’s absolutely vital to do this immediately after printing. If you let the ink start to dry, the powder simply won't stick properly, and your transfer will be a dud. The whole process hinges on the ink being wet enough to grab hold of the adhesive.
This process highlights the key steps for successful artwork preparation, making sure your digital file is primed for a perfect print.
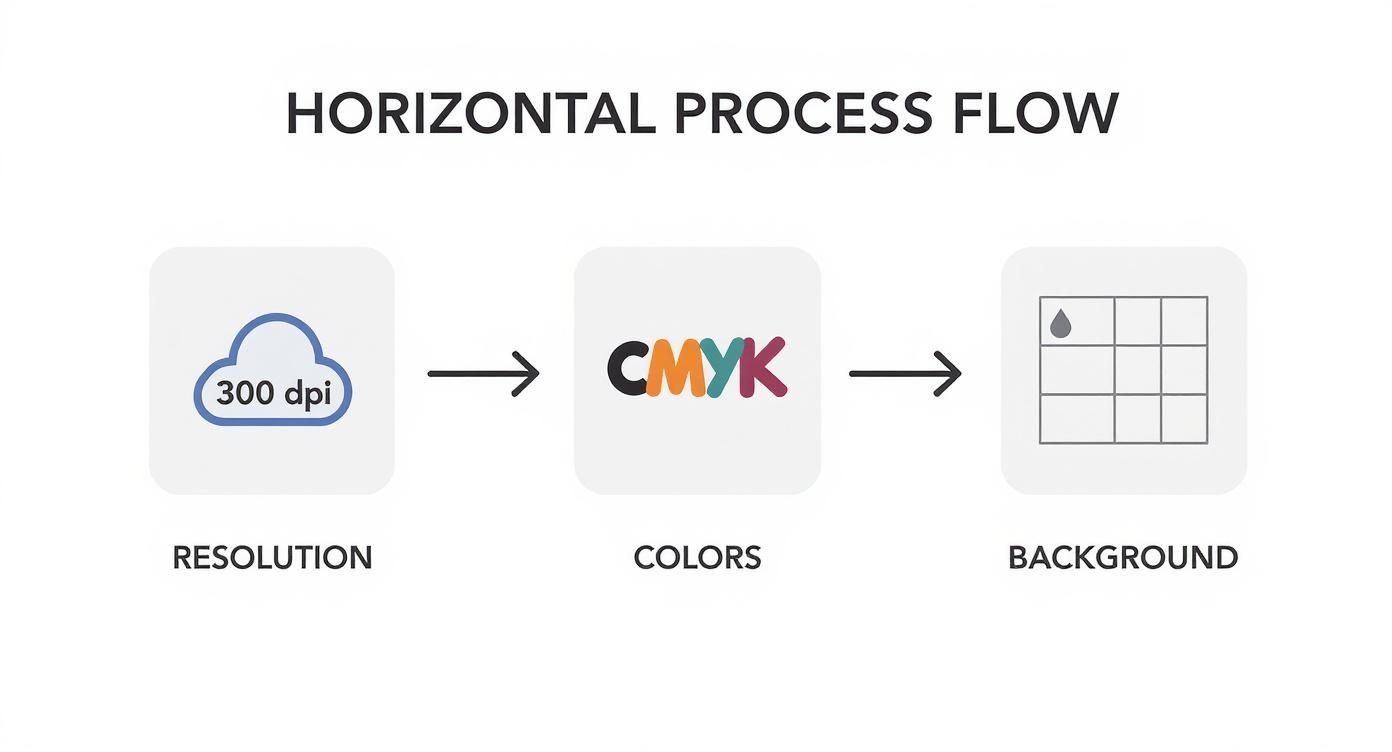
As you can see, starting with a high-resolution file, using the correct CMYK colours, and ensuring a transparent background are the non-negotiable foundations for a quality DTF print.
The Curing Process Perfected
With the extra powder shaken off, you're ready to cure the transfer. This step involves melting the powder until it forms a smooth, slightly rubbery sheet over the ink. This is what creates the final adhesive layer that will bond with the T-shirt fabric during pressing.
You’ve got a couple of options for curing:
- Using a Heat Press: You can hover the top platen of your heat press about 1-2 centimetres above the film, making sure it never actually touches. This works, but you have to watch it like a hawk to avoid scorching the film.
- Using a Curing Oven: For professional setups, a dedicated curing oven is the way to go. It gives you much more consistent and even heat, taking the guesswork out of the equation and seriously reducing the risk of errors.
Whichever method you choose, the aim is the same. You need to melt the powder until it takes on a slightly glossy, "orange peel" kind of texture. If you under-cure it, the adhesion will be poor. Over-cure it, and you can damage the film or burn the adhesive.
For anyone looking to produce transfers at scale, our guide on DTF transfers ready to press is packed with tips to make your workflow much more efficient.
The rise of versatile printing like DTF is part of a bigger picture in the UK's apparel industry. To give you some perspective, the UK's direct to garment (DTG) printing market—which DTF often complements—generated USD 130.8 million in 2024 and is expected to hit USD 274.0 million by 2030. This growth shows a clear demand for customised clothing and on-demand services, highlighting a massive opportunity for these technologies.
Once your transfer is cured, it’s finished and ready for the final, most exciting part: pressing it onto your T-shirt.
Pressing Your Design and Finishing the T-Shirt
This is where the magic happens. After all the prep work with your artwork and powder, you’re finally ready to bring your design to life on the T-shirt. The heat pressing stage is what transforms that cured transfer from a piece of film into a vibrant, permanent part of the garment.
Success at this point boils down to three things: temperature, time, and pressure. Nailing this trio is non-negotiable if you want a professional, durable print that won’t peel, crack, or fade after the first wash. Think of it like a recipe – if you get the ingredients wrong, the final result just won't be right.
The Essential Pre-Press Step
Before you even think about laying down your DTF transfer, there’s a quick but vital step you can't afford to skip: the pre-press. T-shirts, especially cotton ones, are like sponges for moisture in the air. If you try to press a design onto a slightly damp shirt, that trapped moisture turns to steam and can completely ruin the adhesive's ability to bond properly.
Just pop your T-shirt on the heat press, close it, and give it a quick press for about 5-10 seconds. You might even see a little puff of steam escape—that's a good sign! This simple action not only gets rid of any hidden moisture but also flattens out wrinkles, giving you a perfectly smooth surface to work on.
Positioning and Pressing Your Transfer
With the T-shirt pre-pressed and waiting, it’s time to position your transfer. Take a moment to get this spot-on. For a standard chest print, a good rule of thumb is to place the top of the design about three to four fingers' width down from the collar. I always use the T-shirt seams as a guide to make sure everything is perfectly centred.
Once you’re happy with the placement, it’s time to press. The ideal settings can vary a bit depending on the fabric, but for most cotton and poly-cotton blends, this is a solid starting point:
- Temperature: 150°C to 165°C (300°F to 330°F)
- Time: 10 to 15 seconds
- Pressure: Medium to firm
Getting your settings perfect for different materials is a game-changer. For a deeper dive, check out our complete heat press temperature guide to really master your technique across various fabrics.
A classic mistake I see people make is thinking more pressure is always better. Too much force can actually squeeze the adhesive out from under the design, leaving a thin, glossy outline and a weaker bond. You’re aiming for firm, even pressure—not trying to crush the T-shirt.
Hot Peel vs Cold Peel
Once that first press is done, you need to remove the PET film carrier. DTF films generally come in two main types: hot peel and cold peel. The name pretty much tells you what to do.
A hot peel film is designed to be peeled off almost immediately after the press opens, while everything is still hot. It’s fast and efficient, which is brilliant when you're knocking out a big batch of shirts. On the other hand, a cold peel film requires you to wait until the T-shirt and transfer have cooled down completely. This method often gives a slightly matter, smoother finish and can be a bit more forgiving for really detailed designs.
Whichever film you’re using, peel it back smoothly at a low, sharp angle. Don’t just rip it off; a steady, confident motion will always give you the cleanest result.
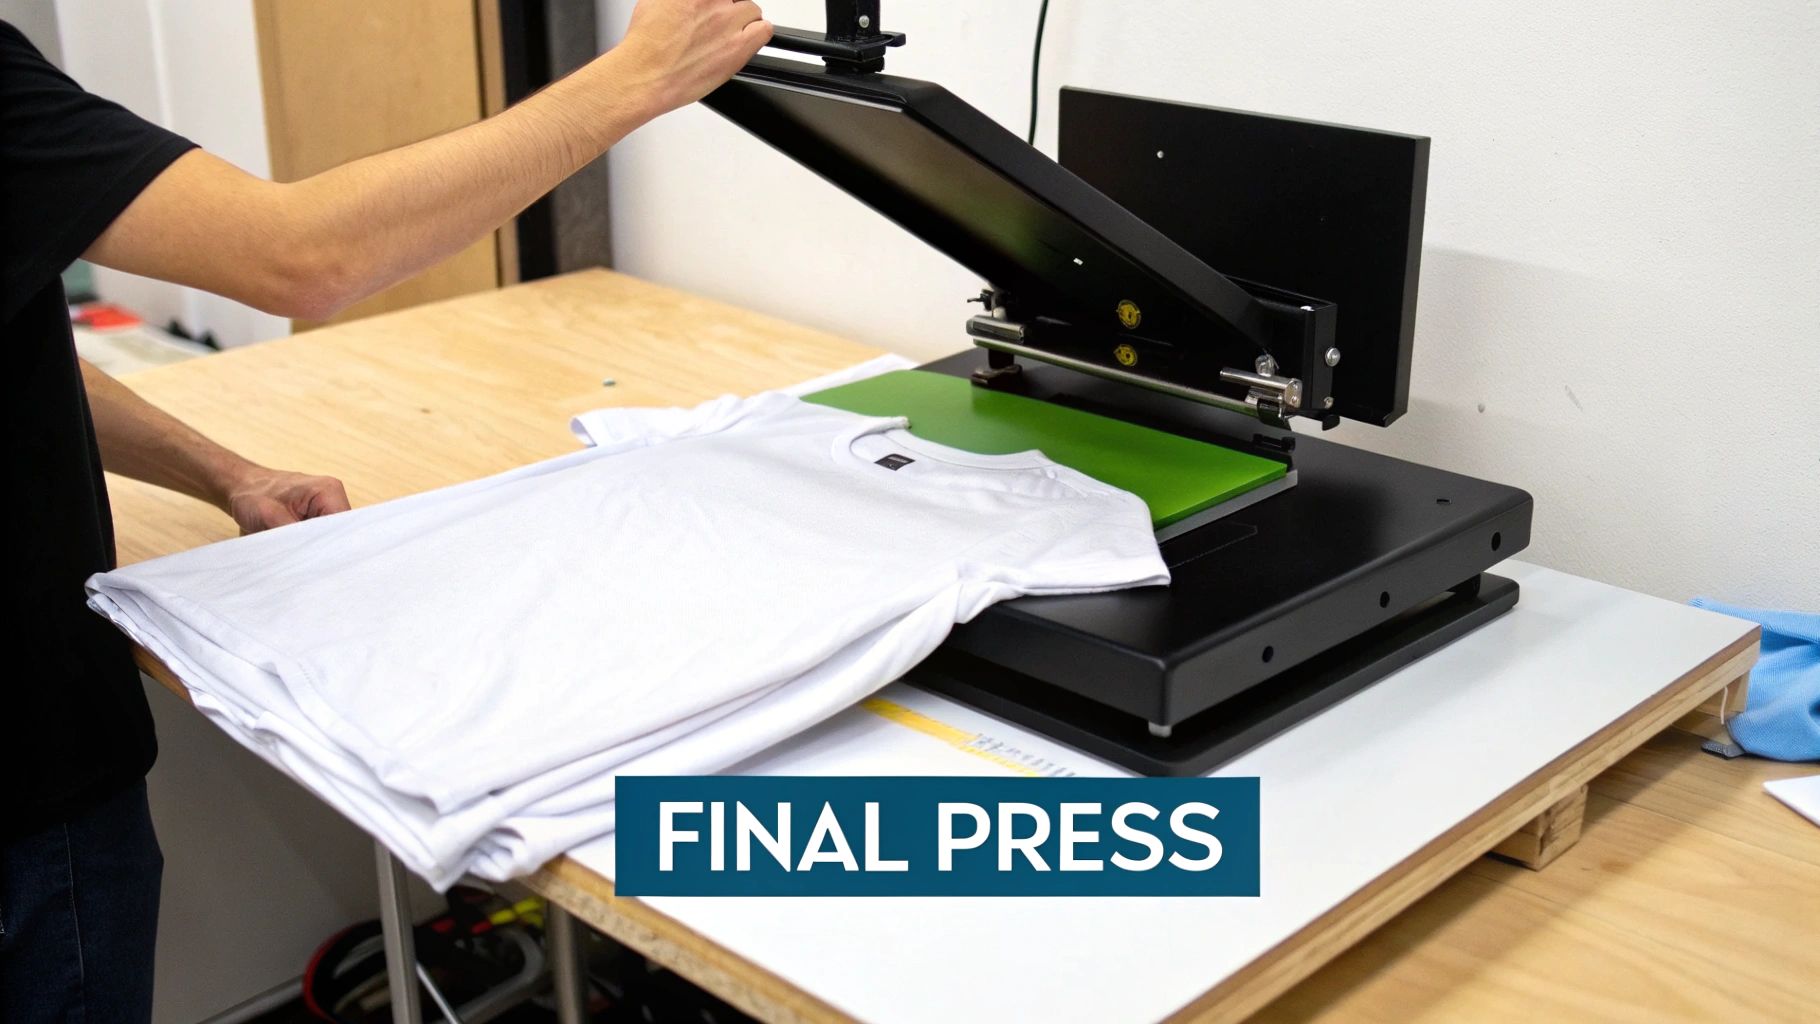
The Final Press for a Professional Finish
Your design is on the shirt, but don’t stop there. There’s one last step that truly separates a good print from a great one. The final press, or finishing press, is what gives your T-shirt that soft, professional feel by embedding the design deeper into the fabric's fibres.
Just place a sheet of finishing paper (parchment paper or a Teflon sheet works perfectly) over the design and press it again for another 5-10 seconds. This quick second press helps knock back any shine from the adhesive, makes the print more flexible, and seriously improves its wash durability. It’s a tiny step that makes a massive difference to the quality and hand-feel of your DTF t shirt printing project.
Having Trouble? Let's Troubleshoot Your DTF Prints
Sooner or later, even with the most organised setup, you're going to hit a snag. It happens to the best of us in DTF t shirt printing, whether you're just starting out or have been pressing shirts for years. Think of this section as your first-aid kit for those common frustrations, designed to get you back to producing perfect prints without the headache.
Every problem you solve is a lesson learned, making you a more skilled and confident printer. Let's walk through the most common issues and give you some clear, practical solutions to get you back on track.
Why Do My Colours Look Muted or Dull?
It’s a gut-wrenching moment: you peel back the film, and the colours on the shirt look flat and lifeless—nothing like the vibrant design you saw on screen. When this happens, it almost always comes down to a few usual suspects.
First things first, check your ink flow. Run a quick nozzle check from your printer's software. This simple test will instantly show you if any printhead nozzles are clogged, which is a major cause of poor colour mixing and dullness. Cheap, low-quality inks can also be the culprit, as they just don't have the pigment density to produce those rich, punchy colours.
Another thing to look at is your heat press. Are your settings right? Too much heat or too long a press time can literally scorch the inks, zapping the life right out of them.
-
Quick Fixes for Dull Colours:
- Run a nozzle check and, if needed, a head cleaning cycle on your printer.
- Make sure you're using high-quality DTF inks from a supplier you trust.
- Try knocking the temperature down by 5-10 degrees or shaving a few seconds off your pressing time. A small test print will tell you if you're on the right track.
Solving Transfer Adhesion Problems
There’s nothing worse than peeling the film away only to find bits of your design have been left behind. Patchy adhesion is a classic DTF problem, but thankfully, it’s usually an easy fix.
The number one cause? Uneven pressure or temperature from your heat press. Cheaper or older presses can develop cold spots on the platen, meaning some parts of your design aren't getting hot enough to properly activate the adhesive. Another common mistake is skipping the pre-press. Any moisture lurking in the fabric will turn to steam and actively push the transfer away.
When a transfer doesn't stick properly, it's almost always a preparation problem, not a faulty transfer. Always give the garment a good 5-10 second pre-press to wick out any moisture and smooth out wrinkles. This one step prevents the vast majority of adhesion failures.
Finally, think about your powdering technique. If the adhesive powder wasn't applied evenly, or if the ink started to dry before you got the powder on, you'll end up with weak spots in the adhesive layer. For a deeper dive into getting the film stage right, check out our guide to working with DTF transfers.
Dealing with Stray Powder or Oily Edges
Ever noticed a faint, oily-looking halo around your design, or tiny specks of white powder where they shouldn't be? This is a tell-tale sign of either static on your PET film or over-curing the transfer.
Static electricity is a magnet for loose powder, causing it to cling to the non-printed areas of the film. A good way to fight this is to maintain stable humidity in your workspace (around 40-60%) or give the film a quick wipe with an anti-static brush before printing. If the problem is more of an oily halo, you’re likely over-curing. This melts the adhesive and causes it to bleed past the edges of your design. Try dialling back your curing time or temperature just a little to keep it sharp and contained.
This method's accessibility is a key reason why so many are starting their own apparel businesses. For those launching a T-shirt printing business in the UK, using outsourced DTF transfers is an extremely profitable strategy, as it eliminates the high initial equipment costs while still delivering premium quality. As the UK's custom apparel market continues its strong growth, this approach allows new businesses to compete effectively. You can discover more about the profitability of DTF for UK startups and see how it works.
Ready to bring your unique apparel ideas to life without the hassle? At Psyque, we specialise in creating vibrant, durable, and professional DTF prints for your brand or personal project.
Explore our collections and custom printing services today!