
Mastering DTF Transfers Ready to Press
DTF transfers ready to press are exactly what they sound like: pre-made designs printed on a special film, all set for you to apply with a heat press. It’s a brilliant method that lets anyone – from weekend hobbyists to established businesses – create vibrant, tough, and professional-looking custom clothing without the hassle of complex printing gear.
Your Guide to Flawless Custom Apparel with DTF
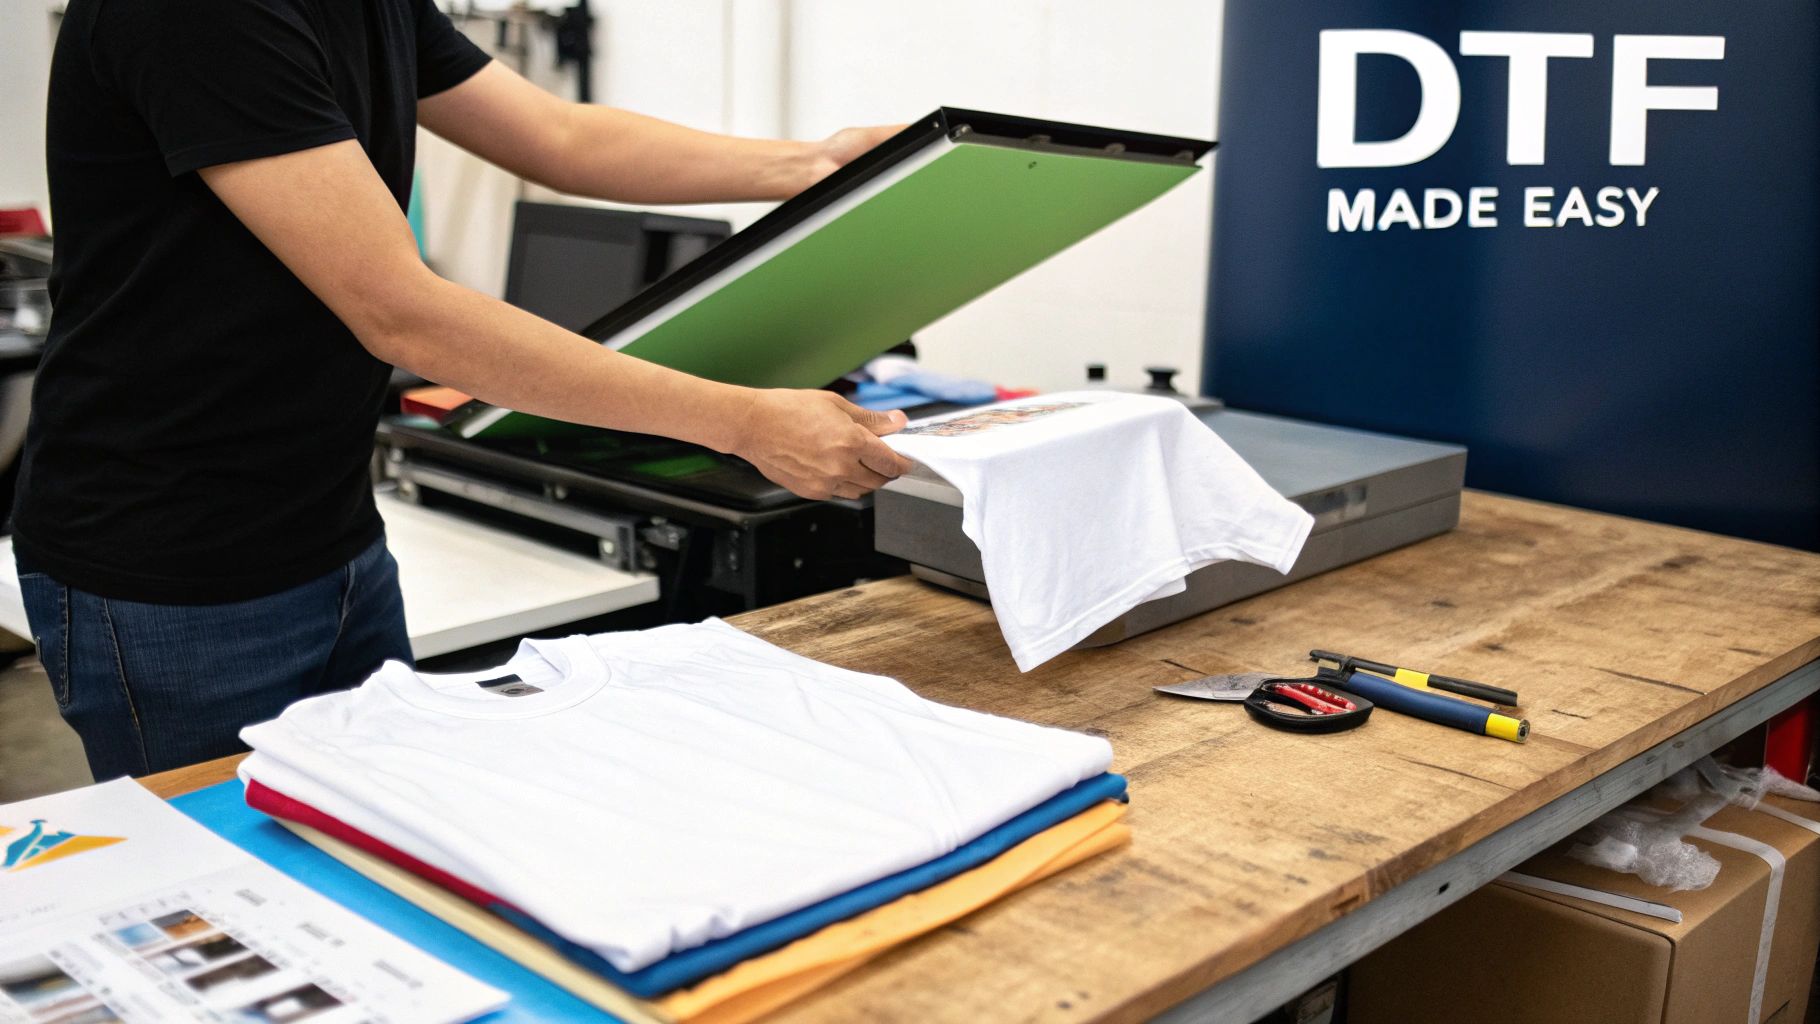
If you've been searching for a way to get professional-grade custom garments without the steep learning curve, Direct to Film (DTF) is your answer. These transfers show up ready to go, which means you get to skip all the messy bits of printing. No inks, no powders, and no special printers needed. You just position the design and press.
One of the biggest wins for DTF is its incredible versatility. Unlike some other printing methods that are fussy about fabrics, DTF transfers work beautifully on a huge range of materials. We're talking about:
- 100% Cotton and Ringspun Cotton
- Polyester and Polyester Blends
- Tri-blends and even some trickier synthetics
This kind of flexibility throws the doors wide open. You can create anything from branded workwear on durable poly-cotton to one-of-a-kind fashion pieces that nobody else has.
Why Is Everyone Talking About DTF?
The buzz around DTF comes down to its ability to produce stunningly detailed and colourful prints that are genuinely built to last. The ink bonds right into the fabric fibres, creating a finish that feels soft to the touch but stands up to wash after wash without cracking or fading. It’s a perfect match for the growing demand for unique, long-lasting apparel.
The only piece of equipment you absolutely cannot skimp on is a quality heat press. It provides the consistent heat and even pressure necessary for the transfer to properly adhere, ensuring a professional and permanent application every time.
In this guide, we’ll walk through the hands-on advice you need to feel confident before you even turn the press on, covering everything from prep to aftercare. If you're keen to dig a bit deeper into the basics, our detailed guide on custom T-shirt printing offers some great additional insights.
Setting Up Your Garment for a Perfect Press
A flawless DTF application starts long before you even fire up the heat press. Think of your garment as the canvas for your art; getting it properly prepped is non-negotiable if you want a professional, long-lasting print that truly bonds with the fabric.
First things first, let’s talk about your garment choice. While our DTF transfers ready to press are famously versatile, the fabric content still plays a huge role. A 100% cotton tee is going to react differently under heat compared to a 50/50 poly-cotton blend or a 100% polyester sports top. Always double-check the material so you can adjust your settings and technique.
If you want to go a bit deeper, our guide on personalised t-shirt printing explores fabric choices in more detail.
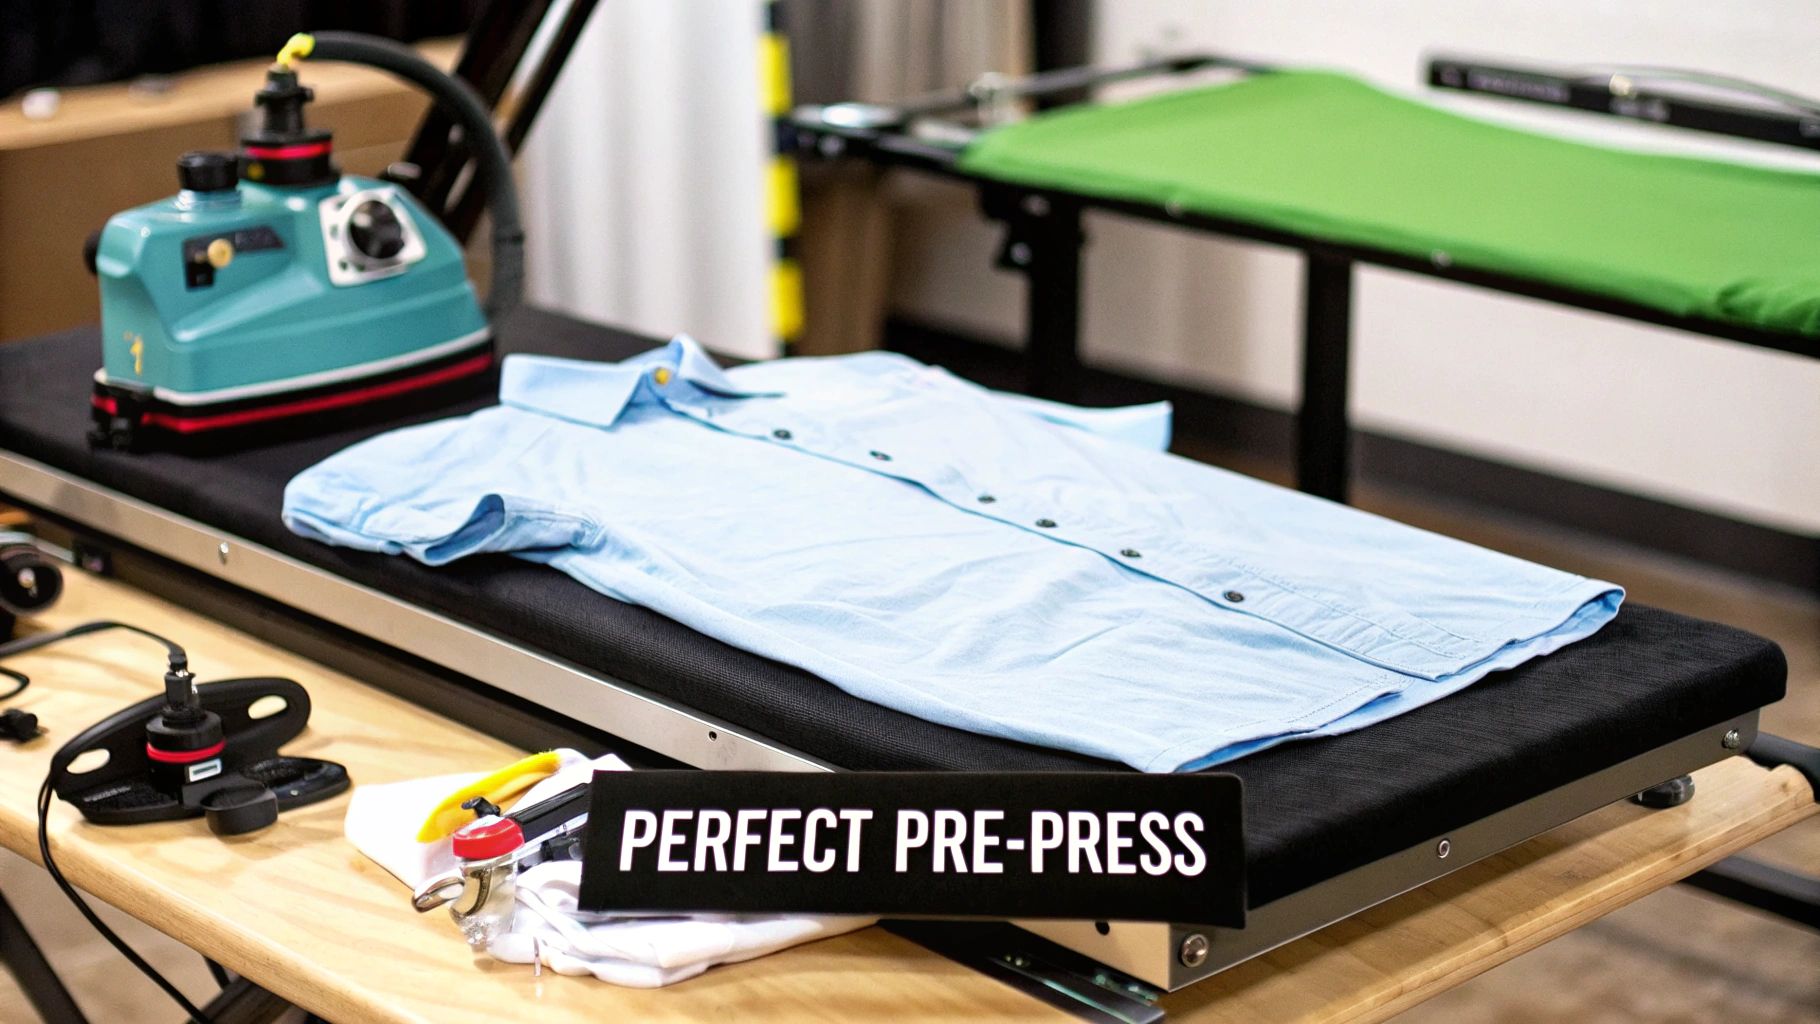
The All-Important Pre-Press
Once you've got your garment, the single most critical prep step is the pre-press. This just means pressing the empty garment for a few seconds before you even think about adding the transfer. It might seem small, but this quick step does two essential things: it smooths out any stubborn wrinkles and, crucially, gets rid of hidden moisture.
Moisture is the number one enemy of a good DTF press. A garment can feel bone dry to the touch but still hold enough ambient moisture to mess with the adhesive, leading to peeling or bubbling down the line. A quick pre-press turns that moisture into steam and sends it packing.
Pro Tip: Don't just guess your pre-press times. A solid rule of thumb is to press for 5-7 seconds for cotton and cotton blends. For heat-sensitive polyester, a slightly shorter 3-5 seconds is all you need. This creates the perfect dry, flat surface for your transfer.
After the pre-press, lay your garment flat and get your DTF transfer into position. Take your time here. Make sure it’s perfectly centred and straight. If you’re worried about it shifting when you close the press, use a bit of heat-resistant tape on the corners to lock it down.
This simple step is the difference between a professional-looking product and a skewed mess. With a smooth, dry, and perfectly aligned canvas, you’re ready for the main event.
Dialing In Your Heat Press for DTF Transfers
Getting your heat press settings just right is where the real magic happens with DTF transfers ready to press. This is the moment of truth that decides whether your print looks sharp and lasts, or becomes a peeling disappointment.
Success comes down to a perfect trifecta of settings: temperature, pressure, and time.
Think of it like baking a cake. Get one ingredient wrong, and the whole thing falls flat. Too much heat can easily scorch delicate fabrics like polyester, but too little means the adhesive won't activate properly. If the pressure is off, you'll get a patchy application. And if the timing's wrong, the print might not stick at all, or it could over-cure and feel like a stiff bit of plastic.
Nailing the Temperature and Time
Every fabric has its own sweet spot. A standard cotton t-shirt, for example, is pretty tough and can handle higher temperatures, usually around 150-165°C for 10-15 seconds.
But if you tried that with a heat-sensitive polyester garment, you'd be in trouble. For poly, you need to dial it back to the 135-145°C range and press for a shorter time, maybe 8-12 seconds, to avoid melting the fabric or causing that awful shiny discolouration.
Getting these details right is so important, which is why we’ve put together a comprehensive heat press temperature guide that dives deeper into settings for all sorts of materials. It's a great resource to keep bookmarked.
This infographic breaks down the core process for getting your press ready for any DTF job.
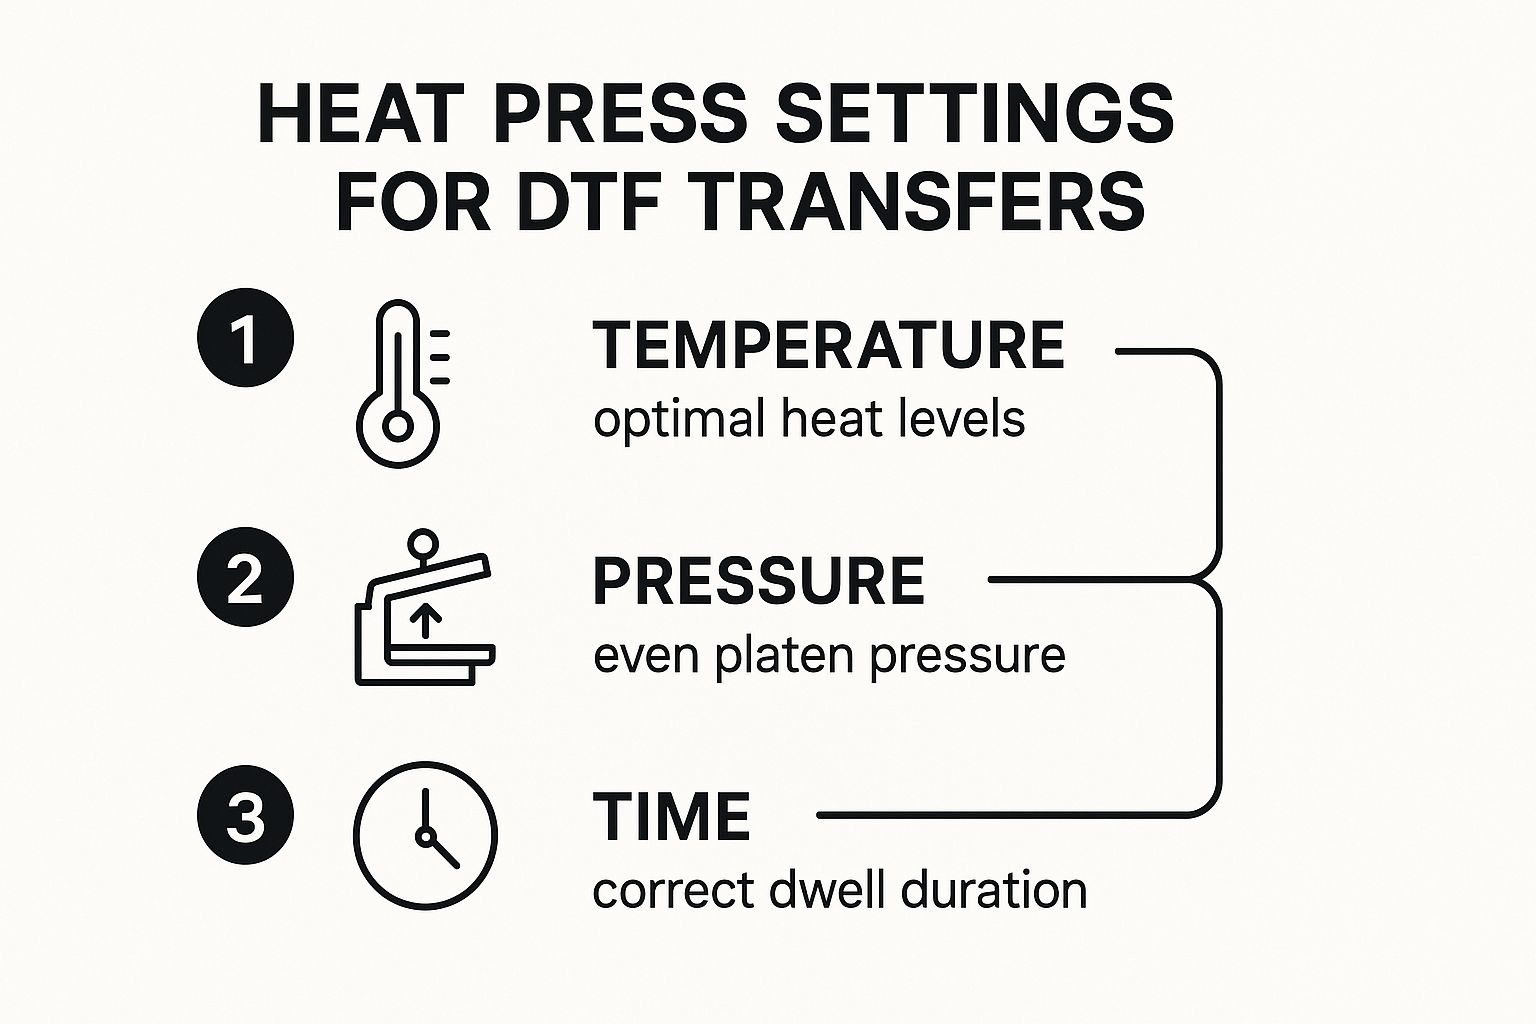
The key takeaway is that temperature, pressure, and time are all connected. You can't just change one without considering the others, and the specific garment you're working with dictates the entire recipe.
The Importance of Consistent Pressure
Pressure is the setting most people forget about, but it's just as vital as heat and time. What you're aiming for is firm, even pressure across the entire transfer.
A quick and easy way to check this is the "paper test." Just put a small piece of paper in each of the four corners of your bottom platen and clamp it down. If you can easily pull any of the pieces out, your pressure is uneven and needs to be adjusted.
Uneven pressure is one of the biggest reasons prints fail, especially with larger designs. It creates cold spots where the adhesive doesn't fully activate, leading to those frustrating lifted edges after the first wash.
To help you get started, we've put together a quick reference table with some reliable starting points.
Heat Press Starting Points for Common Fabrics
Use this as a guide for applying your DTF transfers. Always perform a test press, as equipment and materials can vary.
| Fabric Type | Temperature (°C) | Time (Seconds) | Pressure Level |
|---|---|---|---|
| 100% Cotton | 150-165°C | 10-15 | Medium to Firm |
| Polyester Blends | 140-150°C | 8-12 | Medium |
| 100% Polyester | 135-145°C | 8-12 | Light to Medium |
| Tri-Blends | 140-150°C | 10-12 | Medium |
Remember, every heat press has its own quirks. These are just starting points, so always do a quick test on a scrap piece of fabric or a hidden area of the garment first to make sure everything looks perfect.
Executing The Perfect Hot Or Cold Peel
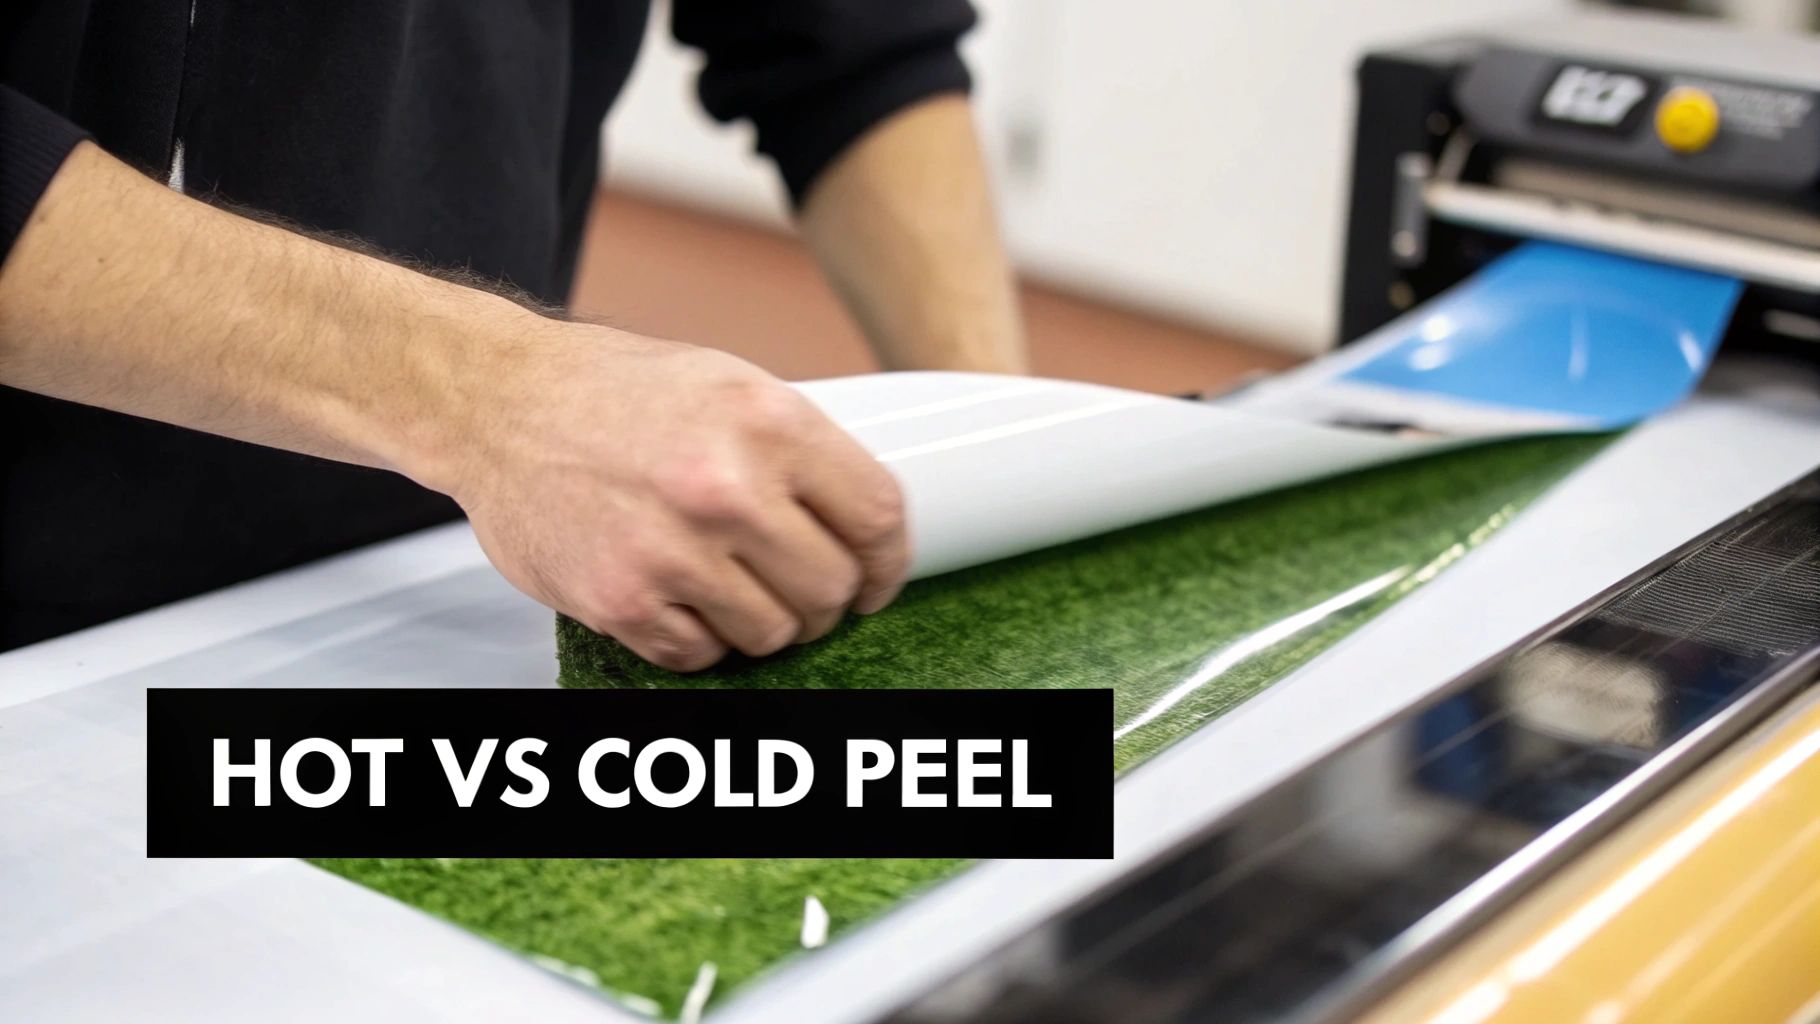
Right, the timer on your heat press has just gone off. What you do next is absolutely crucial, and it’s a moment that can make or break your final product. The way you peel the transfer film—either right away while it’s still hot, or after letting it cool down—determines the final texture and look of your design.
This isn't a random choice, mind you. It all comes down to the specific type of DTF transfers ready to press you're working with.
A hot peel transfer is meant to be peeled off immediately after the press opens. When you do this right, you’re often left with a softer, matte finish that feels beautifully integrated into the fabric, almost like it’s part of the weave itself. It's a fantastic choice for fashion apparel where that soft-hand feel is everything.
Then you have the cold peel. As the name suggests, this one requires a bit of patience. You need to let the garment cool completely to room temperature before even thinking about touching the film. The result is typically a slightly glossier, more robust surface texture that gives the design a bit more pop and a seriously durable feel.
The demand for unique, personalised printing has exploded in the UK, which has really fuelled the market for both types of transfers. In fact, custom t-shirts and other personalised gear nabbed a massive 41% revenue share of the global DTF market in 2024. It just goes to show how much we value one-of-a-kind garments, and DTF is brilliant at delivering durable, high-res prints on almost any fabric you can throw at it.
Mastering Your Peel Technique
Whether you're doing a hot or cold peel, your technique is what counts. You’re aiming for a smooth, confident, and consistent motion. Start at one corner and peel the film back on itself at a low, sharp angle—think almost parallel to the garment. Whatever you do, don't just yank it straight up, as that’s a sure-fire way to lift the edges of your design.
A Pro Tip: If you start peeling and notice the design is lifting along with the film, stop immediately. It usually means your press settings are slightly off. You can often rescue the print by covering it again with a Teflon sheet and giving it another press for just 3-5 seconds. This can give the adhesive that final bit of encouragement it needs to bond properly.
Getting the hang of these two methods is a huge part of the DTF printing journey. If you’re ever unsure which type of transfer you have, always double-check the instructions from your supplier. For a deeper dive into the different film types, our guide to DTF transfer sheets has some more great info.
Right, you’ve pressed the design and peeled away the film. Job done? Not quite. Don't skip this last, quick step—it's what separates a good print from a truly professional one.
The Finishing Press: Your Secret to Durability
This final press is all about locking the ink deep into the fabric's fibres. It’s a simple step, but it makes a massive difference to how well the design holds up in the wash.
It also transforms the feel of the print. That finishing touch gets rid of any leftover shine from the film and gives the design a much softer, more integrated texture. Just grab a sheet of parchment paper or a Teflon sheet, cover the design, and press again for just 5-7 seconds. You'll want to use the same temperature as before but ease off the pressure slightly.
Keeping Your Custom Apparel Looking Fresh
Once your garment is ready, proper care is everything. Whether you're making these for yourself or for customers, clear aftercare instructions are essential for keeping the design vibrant and preventing damage. It’s the best way to protect your work and, if you're selling, keep your customers happy.
For the best, longest-lasting results, stick to these simple rules:
- Washing: Always turn the garment inside out first. Pop it on a cool or cold water cycle and use a gentle detergent.
- Drying: Low heat is your friend here. Tumble dry on a low setting, as high heat is the biggest enemy of any printed garment. If you really want it to last forever, hang drying is the way to go.
- Ironing: If it needs an iron, make sure it’s still inside out. Never, ever iron directly over the DTF transfer—the heat will melt the ink and ruin the design completely.
Following these care instructions is non-negotiable. Good aftercare is the single most important factor in making sure the print lasts without cracking, peeling, or fading.
The massive growth of DTF transfers ready to press across the UK goes hand-in-hand with the boom in e-commerce and print-on-demand businesses. Small businesses, in particular, have really embraced the technology because it's so easy to use and produces incredible prints on everything from hoodies to promotional gear with very little waste. You can read more about the growth of the DTF printer market to get the bigger picture.
Troubleshooting Common DTF Transfer Issues
Even the most experienced pros run into a hiccup now and then. Don’t sweat it—most issues with dtf transfers ready to press are surprisingly easy to fix once you know what to look for. Let’s walk through some of the most common snags.
Why Is My DTF Transfer Not Sticking Properly?
This is the classic problem, and it almost always comes down to one of three things: pressure, temperature, or pesky hidden moisture.
First off, check your heat press. Is it delivering firm, even pressure right across the platen? Any weakness or unevenness is a prime suspect for failed adhesion.
Next, have a look at your temperature. Double-check that it matches the recommended settings for both the transfer and the garment you're using. A few degrees either way can really make a difference. But the most overlooked culprit? Moisture. Always, always pre-press your garment for 5-10 seconds to zap any dampness that could get in the way of a solid bond.
Your home iron just won't cut it here. Irons can't provide the consistent, heavy pressure and stable temperature needed for the DTF adhesive to properly cure. If you use one, you're almost guaranteed to see your print peel or crack after the first wash.
Hot Peel or Cold Peel? How Do I Know?
You can't guess this one—it's all down to the specific adhesive used on the transfer film.
Hot peel transfers are made to be peeled away almost immediately, and they tend to leave a softer, more matte finish. On the flip side, cold peel transfers need to cool down completely before you remove the film, which typically gives you a glossier result.
Get the peel method wrong, and you'll almost certainly ruin the whole application. If you want to dive deeper into the tech and processes behind it all, our comprehensive guide to DTF transfer printing is a fantastic resource. But the golden rule is simple: always check the instructions from your supplier.
Ready to create stunning custom apparel without the guesswork? At Psyque, we provide high-quality, ready-to-press DTF transfers that deliver professional results every time. Explore our collections and start your project today at https://psyque.co.uk.