
A Complete Guide to DTF Transfer Film Sheets for Custom Printing
DTF transfer film is the special coated PET film that acts as the carrier for your designs in the Direct-to-Film printing process. Think of it as the high-tech foundation where your vibrant ink and adhesive powder come together before being heat-pressed onto a garment.
The Heart of Modern Custom Apparel
Welcome to the world of Direct-to-Film (DTF) printing, a method that's quickly becoming a favourite for everyone from home-based crafters to large-scale production houses. At the very centre of this process is the DTF transfer film sheet—a seemingly simple but technically advanced material that holds the key to creating durable, full-colour designs on almost any fabric.
The best way to think about it is like a high-quality temporary tattoo for your clothes. The design gets printed onto this special film, coated with an adhesive powder, and then heat is used to permanently transfer the image onto a T-shirt, hoodie, or bag.
This carrier film is engineered to release the ink perfectly, leaving behind nothing but a crisp, flexible graphic that bonds directly with the textile fibres. It’s this unique process that really sets DTF apart and makes it such a powerful alternative to older methods.
Why Is DTF Film So Important?
The film itself is far more than just a piece of plastic; it’s a crucial component that dictates the quality of the final print. Its specialised coating ensures that the ink sits right on the surface without bleeding, allowing for incredibly sharp details and vibrant colours. This is a massive advantage over techniques where ink soaks directly into the fabric, which can sometimes lead to a duller finish.
The versatility offered by DTF transfer film is a major reason for the technology's rapid adoption. Unlike other printing methods that are limited to specific materials, DTF works beautifully on a huge array of fabrics:
- Cotton and organic cotton
- Polyester and performance wear
- Blended fabrics (poly-cotton, tri-blends)
- Even tougher materials like leather and denim
This kind of flexibility opens up a whole world of creative and commercial possibilities. The UK's custom apparel industry has certainly taken notice. The Direct-to-Film printing market in the UK is seeing significant growth, projected to expand at a compound annual growth rate (CAGR) of around 4.1% between 2025 and 2032. This trend highlights a broader shift towards more efficient digital printing solutions.
To get a better handle on the basics of this technology, check out our guide on what DTF stands for and how it works. This simple yet effective process is truly changing how businesses approach customisation.
How the DTF Printing Process Works
To really get your head around DTF transfer film sheets, it helps to understand the journey a design takes, from a simple digital file to a piece of wearable art. The whole thing is a fascinating sequence where each step builds on the last. It's less like your typical printing and more like creating a high-tech, durable sticker that literally becomes one with the fabric.
Let's break down this multi-stage process into a simple, step-by-step guide. We won't just cover the 'what' but also the crucial 'why' behind each action, giving you the complete picture of how your ideas spring to life.
This visual guide shows you the core stages of the DTF journey, from the initial design all the way to the final heat press.

The flowchart simplifies the workflow into three main phases, highlighting how the printer and heat press are the two key pieces of kit for turning a digital concept into a physical product.
Step 1: Printing the Design onto the Film
It all kicks off with a specialised DTF printer. This isn't your standard office printer; this machine is built to handle specific textile inks and the unique DTF film. First, it lays down the full-colour layer of your design (the CMYK colours) directly onto the matte side of the film.
Right after that, in the very same pass, it prints a layer of brilliant white ink directly on top of the colours. This white layer is absolutely essential for two big reasons: it acts as a solid, opaque base to make sure your design’s colours pop, even on the darkest fabrics, and it also serves as the foundation for the adhesive powder to stick to.
Step 2: Applying the Adhesive Powder
While the ink is still wet, the printed film moves on to the next critical stage: applying the powder. The film gets coated in a fine, granulated thermoplastic polyurethane (TPU) powder. Think of this white powder as the magic dust that turns your wet ink into a transferable graphic.
The powder sticks only to the wet ink, leaving the rest of the film completely clear. Any extra powder is then shaken off, which is vital for getting those clean edges and making sure no unwanted specks end up on the final garment. That precision is what separates a sharp, professional design from an amateur one.
Key Insight: This adhesive powder is much more than just glue. When it gets heated, it melts and cross-links with both the ink and the fabric’s fibres. This creates a powerful, flexible bond that can handle dozens of washes without cracking or peeling.
Step 3: Curing the Ink and Adhesive
Once it's powdered up, the DTF transfer film sheet is passed through a curing oven or placed under a heat press that's hovered just above the surface. The goal here isn't to transfer the design just yet—it's all about melting that adhesive powder.
This 'baking' process usually means heating the film to around 120-150°C for a couple of minutes. The heat transforms the grainy powder into a smooth, almost rubbery layer, effectively sealing the ink and getting the transfer ready for its final home. A properly cured transfer will have a slightly glossy, web-like look to it. For a deeper dive into this part of the process, our comprehensive guide to DTF printing has more detail.
Step 4: Heat Pressing onto the Garment
Here we go—the final and most satisfying step. The cured transfer is placed carefully on the garment, design-side down. A heat press then applies consistent heat and pressure, usually somewhere between 150-170°C for about 15-20 seconds.
This intense heat reactivates the cured adhesive, causing it to melt deep into the fabric's weave, while the pressure ensures a complete and even bond across the whole design. After pressing, the garment is left to cool down (for a 'cold peel' film) or the film is removed straight away (for a 'hot peel' film). What you’re left with is a vibrant, durable, and perfectly integrated design.
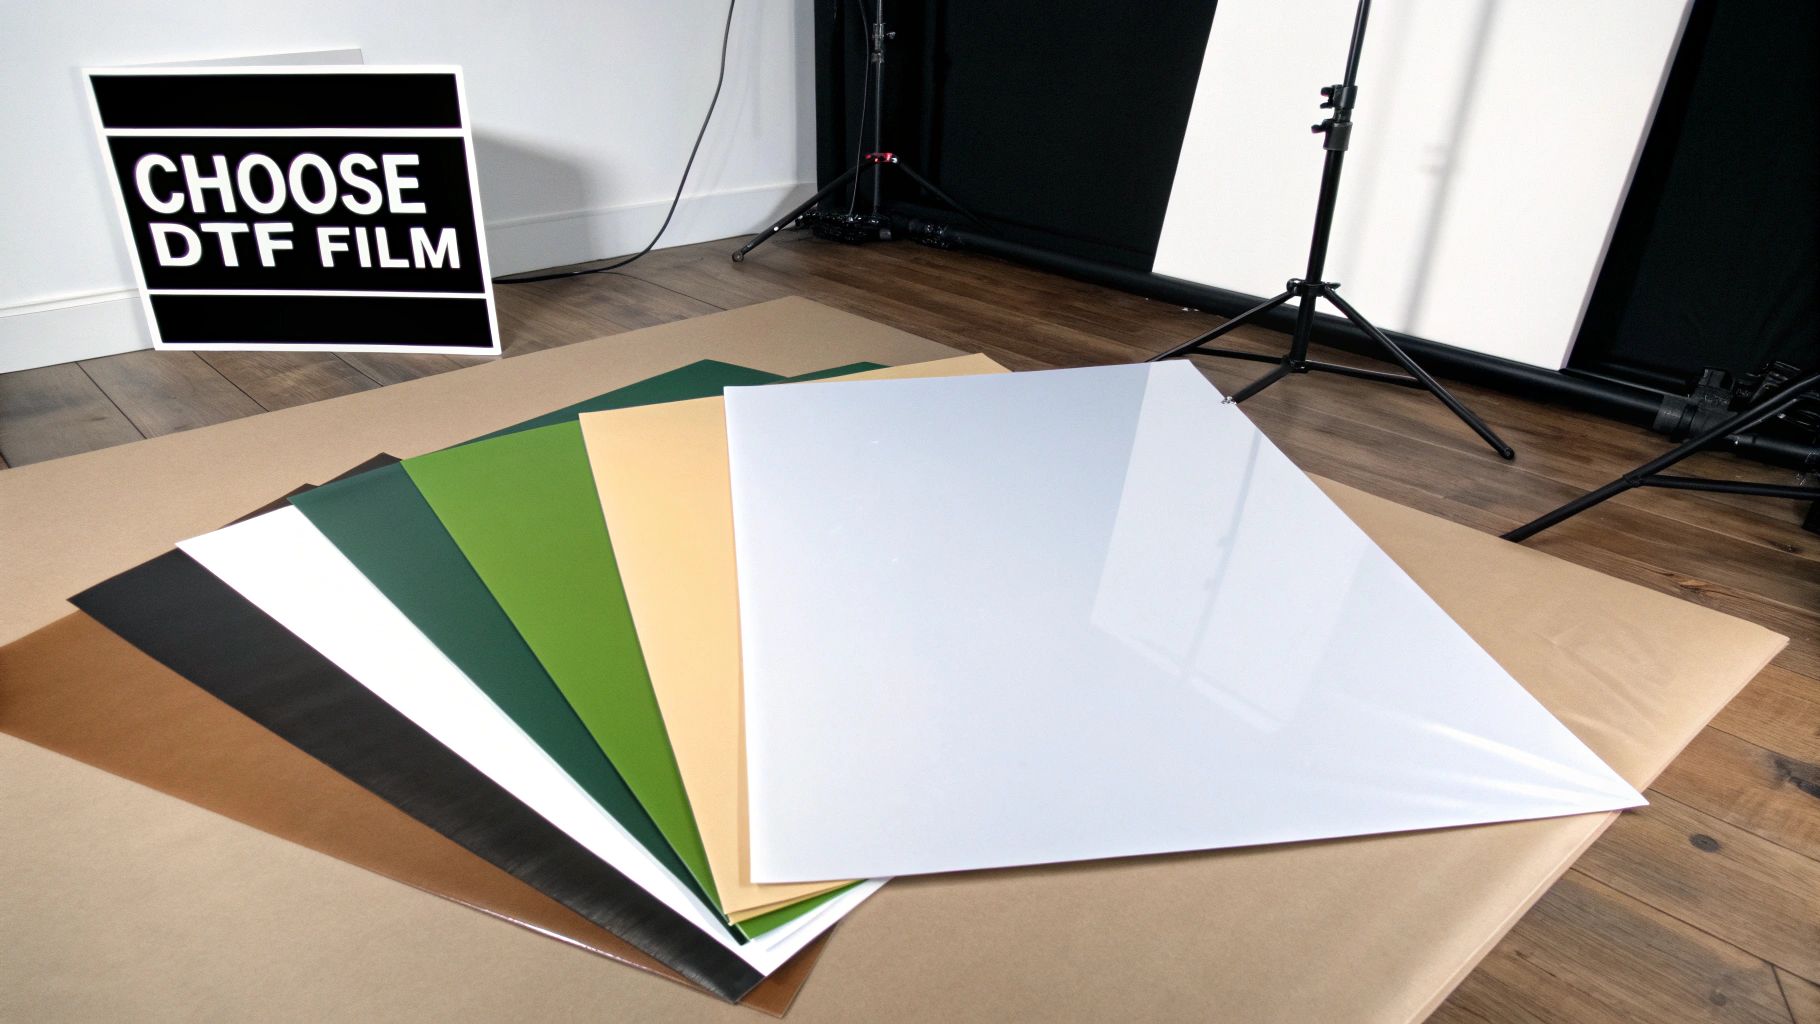
How to Choose the Right DTF Transfer Film
Not all DTF transfer film sheets are created equal, and honestly, picking the right one is probably one of the most critical decisions you'll make in the entire printing process. It's a bit like choosing the right paper for a photograph; the final look, feel, and how long it lasts all come down to this initial choice. Get it wrong, and you're in for some frustrating application issues and results that just don't pop.
This guide will walk you through the key differences, helping you navigate the options with a bit more confidence. The most important thing to get your head around is the difference between hot peel and cold peel films. This one choice impacts your workflow, how quickly you can get orders out, and the finished quality of your prints.
Hot Peel vs Cold Peel: The Main Event
When you're looking at DTF transfer film sheets, the biggest fork in the road is deciding between a "hot peel" or a "cold peel." These terms describe exactly when you remove the film from the garment after pressing it with a heat press. It might sound like a minor detail, but it completely changes your process and the final product.
To help you decide what’s best for your projects, let’s break down the key differences between the two.
| Feature | Hot Peel Film | Cold Peel Film |
|---|---|---|
| Peeling Process | Peel immediately after pressing, while the transfer is still hot. | Wait for the transfer to cool down completely before peeling. |
| Best For | High-volume production, simple designs, and quick turnarounds. | Intricate designs, fine details, and achieving maximum durability. |
| Finish | Tends to be softer and more matte as the ink sinks into the fabric. | Often results in a glossier, slightly raised finish with sharp details. |
| Workflow Speed | Very fast. Press, peel, and you're onto the next one. | Slower. Requires a 30-60 second cooling period per item. |
| Ease of Use | Can be less forgiving; requires good technique to avoid lifting details. | More foolproof for detailed designs as the adhesive fully sets. |
Ultimately, your choice depends on balancing speed with precision. Are you churning out a massive order of event T-shirts, or are you creating a premium garment with a complex, detailed logo? Your answer will point you in the right direction.
A Closer Look at Hot Peel Film
Hot peel film is all about speed and efficiency. The name says it all: you peel the film away from the garment the second the heat press opens, while everything is still piping hot. This makes it a fantastic choice for high-volume production runs where every second counts.
If you’re running a busy shop and churning out dozens of T-shirts for an event, hot peel film is your best friend. The ability to press, peel, and move straight on to the next item streamlines your entire operation.
The finish is often a bit softer and more matte, as the ink integrates more deeply into the fabric during that immediate release. The trade-off? It can be less forgiving with highly detailed or intricate designs. Those fine lines or tiny bits of text might lift or tear during the peel if your technique isn't spot-on.
Why Cold Peel Film is Worth the Wait
On the other side, we have cold peel film. This one requires a bit of patience, but it rewards you with exceptional detail and a durable, often glossy finish. After pressing, you must let the transfer cool down completely—usually for 30-60 seconds—before you can even think about removing the film.
Key Takeaway: That cooling period is non-negotiable for cold peel films. Peeling too early will absolutely ruin the transfer. The adhesive simply hasn't had time to properly grip the garment's fibres, and you’ll be left with a patchy, incomplete mess.
This method is the go-to for designs with complex details, sharp edges, and delicate lettering. The slower, cooler release ensures every last bit of the design stays perfectly in place, delivering those crisp, professional results that clients love. It’s no wonder that while hot peel films grab about 46% of revenue due to their speed, industry projections show cold peel films leading the global market, with an estimated value of USD 2.15 billion by 2032, all thanks to their superior durability and transfer quality.
Other Factors to Consider
Beyond the peel type, a few other characteristics can influence your final product. Keep an eye out for these when you're shopping for film.
- Finish (Matte vs Glossy): As a general rule, cold peel films produce a glossier, almost vinyl-like finish. Hot peel films, on the other hand, tend to result in a more matte look that feels softer to the touch.
- Thickness: Film thickness is measured in microns and affects both handling and durability. Thicker films are often easier to manage and more stable during printing, while thinner films can provide a softer feel on the garment.
- Single-Sided vs Double-Sided Coating: Some films are coated on both sides. This is a neat feature that helps prevent the film from curling under the heat and can also reduce static, making the powder application process cleaner and more efficient.
Making the right choice really just comes down to balancing the specific needs of your project with your production environment. If you'd like more guidance on finding the perfect materials, you might be interested in our article covering the best DTF transfers.
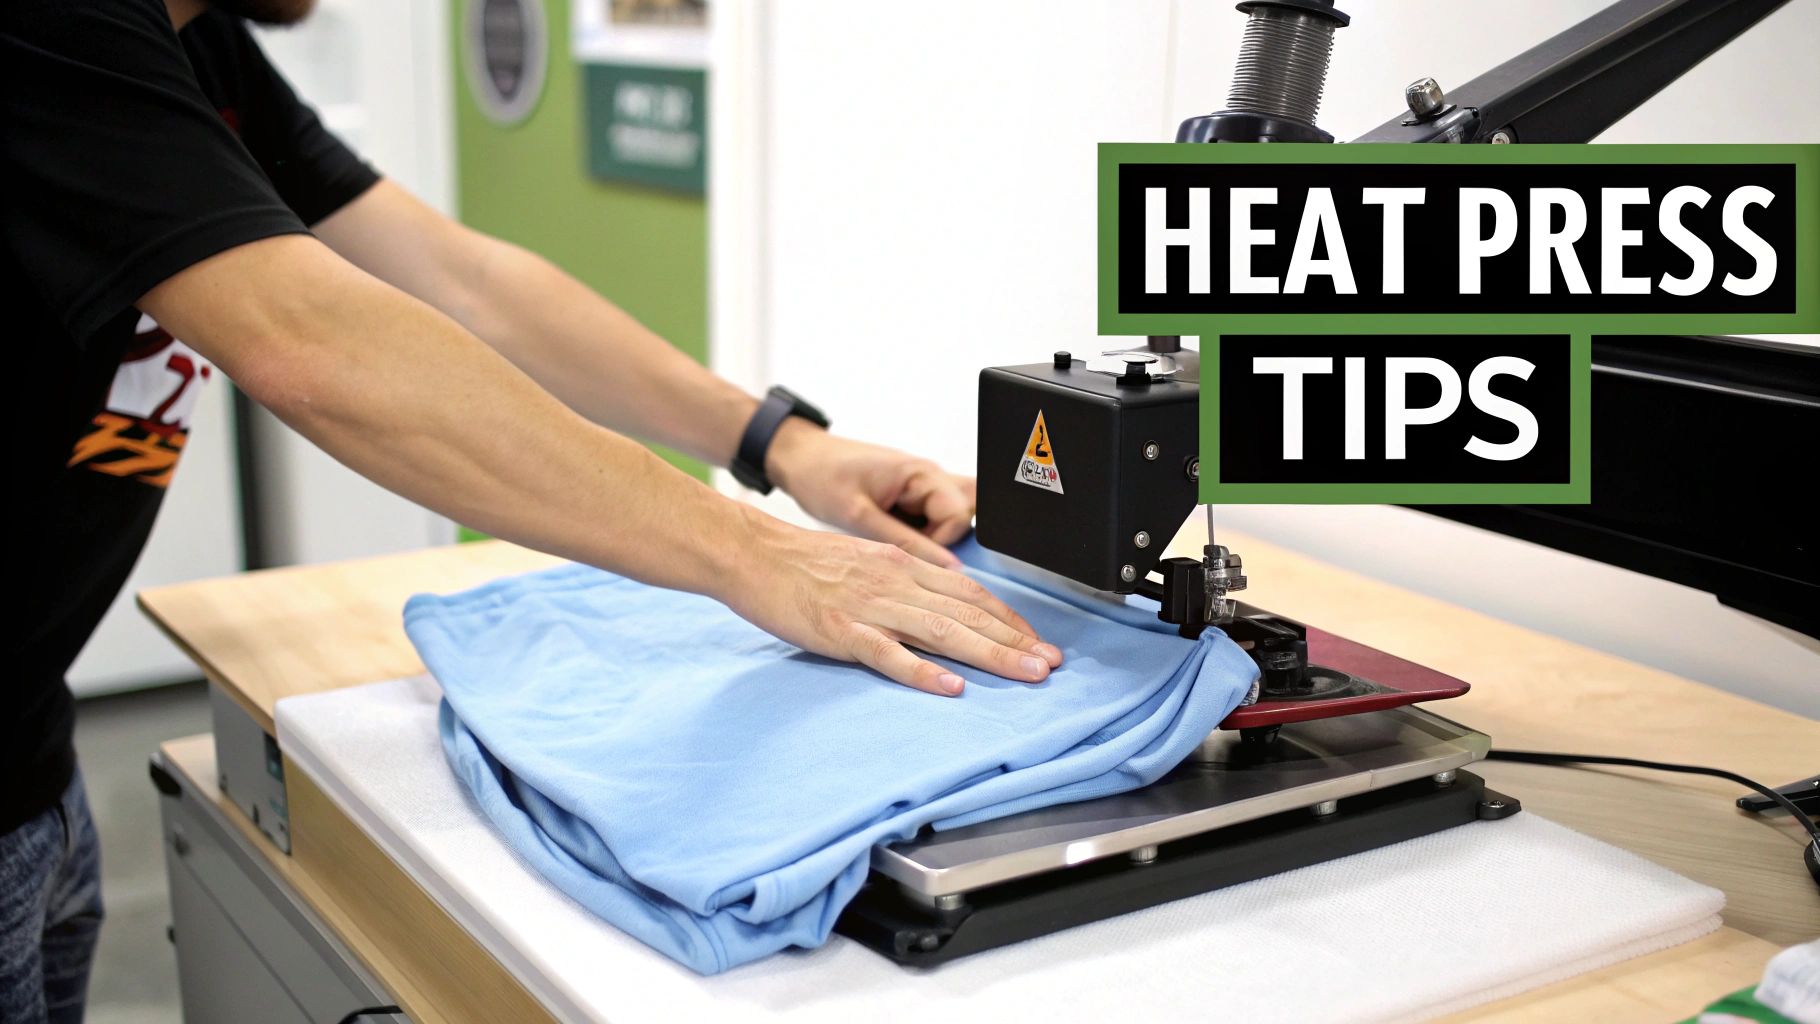
Mastering Your Heat Press Technique
This is where the magic really happens.All your prep work comes down to this moment, turning your digital design into a physical, wearable piece of art. Applying the cured DTF transfer film sheets with a heat press is the final, crucial step, and getting it right hinges on three key things: temperature, pressure, and time.
Nailing this trio is the secret to a print that’s not just vibrant but also built to last. Think of your heat press less like a machine and more like an instrument. Every setting needs to be perfectly tuned for the specific fabric you're working with to get the best result.
The Three Pillars of a Perfect Press
To achieve that flawless, professional-looking transfer every single time, you need precision. Let's break down the essential settings you have to get right.
- Temperature: The heat needs to be hot enough to melt the adhesive and bond it securely to the fabric, but not so hot that it scorches the material or messes with the ink. Different fabrics demand different heat levels.
- Pressure: Your press must apply firm, even pressure across the entire design. If it's too light, you'll get a weak bond that peels. Too heavy, and the ink can spread or leave a weird texture.
- Time: This is simply how long you press for. It has to be just long enough for the heat and pressure to do their thing, fully activating the adhesive for a permanent bond.
Getting these settings dialled in is what separates amateur work from professional results. If you really want to go deep, this external guide is fantastic for helping you master DTF transfer heat press settings.
Fabric-Specific Settings and the Pre-Press
Not all fabrics are created equal, and your settings need to respect that. A sturdy cotton can take a lot more heat than a delicate polyester. Here are a few solid starting points:
- 100% Cotton: Go for a temperature of 160-170°C for about 15-20 seconds.
- Polyester & Performance Wear: Drop the temperature to around 140-150°C for 12-15 seconds to avoid scorching the synthetic fibres.
- Poly-Cotton Blends: Find a happy medium. A good bet is 150-160°C for 15 seconds.
Now, before you even think about laying down that transfer, you need to do a pre-press. This is a non-negotiable step. Just press the blank garment for 5-10 seconds. This zaps out any hidden moisture and smooths away wrinkles, giving you a perfectly flat, dry canvas for the transfer. It’s the best way to prevent annoying issues like bubbling or patchy adhesion.
For a more comprehensive look at different materials, our own heat press temperature guide offers some great detailed recommendations.
Hot Peel vs Cold Peel Techniques
Which peeling method you use comes down to the specific type of DTF film you have.
- For Hot Peel Film: The moment your heat press pops open, you need to peel. Do it immediately in one smooth, confident motion. If you hesitate, you risk parts of the design cooling down and lifting improperly.
- For Cold Peel Film: This one is all about patience. After pressing, take the garment off the press and let it cool down completely. Once it’s cool to the touch, you can peel the film away. Peeling while it's still warm will absolutely ruin the transfer.
No matter which type you're using, always start peeling from a corner at a low, sharp angle. This technique puts the least amount of stress on the design and gives you that clean release you're looking for.
Pro Tip: If a tiny bit of the design starts to lift as you peel, don't panic. Stop what you're doing, lay the film back down, and give it another quick press for 5-7 seconds. That usually sorts out any minor adhesion hiccups.
The Final Touch: The Second Press
Want to know the secret to a truly professional, retail-quality finish? It’s the second press. After you've peeled the film off and your design is sitting proudly on the garment, you're going to press it one last time.
Just place a protective layer, like a Teflon sheet or parchment paper, over the design and press it again for 5-10 seconds. This simple move does a few amazing things:
- Improves Durability: It pushes the ink deeper into the fabric's fibres, locking it in for incredible wash resistance.
- Enhances Feel: It softens the print, getting rid of any stiff, plastic-like texture and making it feel much more natural and flexible.
- Creates a Professional Finish: It can knock back any extra gloss from a cold peel transfer, giving the design a more subtle, integrated appearance.
This quick extra step takes only a few seconds, but it dramatically boosts the quality and longevity of your DTF prints. It's what turns a good print into a great one.
Troubleshooting Common DTF Transfer Issues
Even when you're using the best gear and top-notch materials, you’ll eventually run into a hiccup with your DTF transfer film sheets. It just happens. Think of this section as your first-aid kit for those moments of frustration. We'll walk through the most common problems and give you clear, actionable solutions to get you back on track.
Most issues can be traced back to a handful of culprits, usually involving printer settings, powder application, or your heat press calibration. Learning how to spot these problems will save you a ton of time and materials, turning what could be a failed print into a valuable lesson.
Ink Is Not Sticking to the Film
One of the first hurdles you might hit is the ink refusing to stick to the film properly. You'll see it beading up, smudging, or leaving bald spots where it just won’t stick. The result? A patchy, unusable transfer.
Nine times out of ten, this is a simple mix-up: you're printing on the wrong side of the film. DTF film has one side—the matte side—that’s specially coated to grab and hold the ink. The other side is glossy and won't hold ink at all.
- Solution: Always double-check that you're printing on the matte, slightly rougher side of the DTF film sheet. It should feel a bit tacky to the touch compared to the smooth, glossy back.
Adhesive Powder Is Clumpy or Uneven
Ever notice your adhesive powder clumping together or creating a blotchy, uneven surface on your wet ink? The most likely villain here is humidity. The fine TPU powder is like a sponge; it soaks up moisture from the air, which makes it sticky and difficult to manage.
A smooth, even dusting of powder is absolutely crucial for a durable transfer that bonds correctly to the garment.
- Solution: Store your adhesive powder in a sealed, airtight container with a desiccant pack (like those little silica gel sachets) to keep it bone dry. If it's already clumpy, you can sometimes rescue it by gently breaking up the clumps and spreading it on a tray in a warm, low-humidity room for a few hours.
Colours Look Dull After Pressing
You've followed every step perfectly, but when you peel back the film, the colours on your T-shirt look faded or muted, nothing like the vibrant design on your screen. This is a common and totally fixable problem, usually down to your heat press settings or the garment itself.
An overly hot press can scorch the inks, causing them to lose their vibrancy, while insufficient pressure might prevent the ink from bonding fully with the fabric fibres, leading to a dull finish.
Here’s what to try to fix it:
- Check Your Temperature: Make sure your heat press isn't too hot for the fabric you're using. Try lowering the temperature by 5-10°C and run a test.
- Increase Pressure: Adjust your press to apply medium-to-firm pressure. The design really needs to be pushed firmly into the fabric's weave.
- Use a Second Press: After peeling the film, cover the design with parchment paper or a Teflon sheet and press it again for 5-10 seconds. This little trick often helps lock in the colours and makes them pop.
The growth of DTF printing in the UK is part of a much bigger European trend. In fact, the European market made up 36% of the global share in 2024, all driven by the demand for customisable and efficient digital printing. As more businesses get on board with this tech, knowing these troubleshooting steps becomes more and more important.
If you’ve got your prints sorted but need a quick refresher on applying them, our guide on DTF transfers ready to press is a great place to start.
Looking After Your DTF Printed Garments
A brilliant print is only brilliant for as long as it lasts. Once you’ve nailed the heat press process, the next challenge is making sure your creations stay looking sharp and feeling great, wash after wash. Good aftercare is what turns a one-hit wonder into a wardrobe favourite.
Slipping a little care guide in with your products is a fantastic touch. It shows you care about quality long after the sale is made and helps build a reputation for gear that’s built to last. These simple rules are all about protecting that bond between the ink, the adhesive, and the fabric itself.
The Golden Rules of Washing
The washing machine can be a rough place for printed clothing. A few simple tricks are all you need to protect your designs and keep them looking brand new. It's all about reducing friction and avoiding harsh chemicals.
Here’s what you need to do:
- Turn It Inside Out: This is the big one. Honestly, if you only do one thing, do this. Turning the garment inside out stops the print from rubbing against other clothes, zips, and buttons. It’s the number one defence against abrasion and peeling.
- Wash in Cold Water: Hot water is the enemy of the adhesive that holds your DTF print to the fabric. Stick to a cold wash – no more than 30°C – to keep the design flexible and firmly attached.
- Use a Mild Detergent: Aggressive detergents, especially those with bleach or strong whiteners, will wage a chemical war on your print. The colours will fade, and the transfer will start to break down. A gentle, colour-safe detergent is your best bet.
Crucial Tip: Whatever you do, steer clear of fabric softeners. They might make clothes feel lovely, but they work by coating the fibres in a waxy film. This coating can creep under the edges of your transfer, wrecking the adhesive and causing it to peel and crack way before its time.
Drying and Ironing Your DTF Garments
How you dry your garment is just as important as how you wash it. The intense heat of a tumble dryer can literally melt the adhesive, causing damage that you just can’t undo.
The best way to dry your prints is the old-fashioned way: air-dry them. Pop them on a washing line or lay them flat, preferably out of direct, harsh sunlight. This gentle approach avoids heat damage and stops the fabric from shrinking, which can warp and ruin the design. If you absolutely have to use a dryer, make sure it’s on the lowest heat setting you have, or a no-heat tumble option.
When it’s time to iron, never, ever let a hot iron touch the DTF transfer directly. It will melt in a split second, leaving a sticky mess that ruins both the shirt and your iron.
- Solution: Simple – iron the garment inside out. If you really need to press the front, lay a protective layer like a tea towel or a sheet of baking parchment over the design first. Use a low to medium heat, and don’t use the steam function anywhere near the print.
Your DTF Film Questions, Answered
Even when you've got the basics down, a few questions always seem to come up with DTF transfer film sheets. Let's clear up some of the most common ones so you can get back to printing with total confidence.
Can I Use My Normal Inkjet Printer for DTF?
In a word, no. You absolutely cannot use a standard home or office inkjet printer for DTF printing. The whole process hinges on a specialised printer that's been built or modified to handle thick, pigmented DTF inks—especially the all-important white ink layer.
Your average desktop printer just isn't equipped for the job. Its printhead technology and ink system would clog up almost instantly, leading to nothing but frustration and failed prints. DTF printers are specifically engineered to feed the PET film smoothly and lay down the colour and white inks in the correct sequence, a task your everyday printer simply wasn't designed for.
What's the Real Difference Between DTF and DTG Printing?
The biggest difference comes down to how the ink gets onto the fabric and what fabrics you can use. With DTG (Direct-to-Garment), the printer applies ink straight onto the clothing itself. This works brilliantly, but it means the garment needs to be pre-treated first and it's really only suitable for natural materials like cotton.
DTF, on the other hand, is a two-step dance. First, the design is printed onto a special transfer film. Then, this film is coated with an adhesive powder and heat-pressed onto the garment. This extra step is what makes DTF so incredibly versatile. You can print on almost anything—cotton, polyester, leather, blends, you name it—with no pre-treatment needed.
Key Difference: Think of it like this: DTG is like printing on paper, where the ink soaks right in. DTF is more like creating a super high-quality, flexible decal that fuses with the fabric, giving you far more freedom with materials.
How Long Do DTF Transfers Actually Last?
When they're applied correctly using good quality film, ink, and powder, DTF transfers are incredibly tough. You can expect them to hold up for 50-100 washes, often looking great long after the t-shirt itself has seen better days. The durability is right up there with traditional screen printing, and sometimes even surpasses it.
Of course, a little care goes a long way. To get the maximum lifespan out of your prints, just follow the simple rules: turn the garment inside out before washing, use a cool cycle, and steer clear of high-heat tumble dryers. Do that, and the design will stay vibrant and crack-free for years.
Ready to see what top-tier DTF printing can do for your designs? Psyque creates stunning custom apparel with vibrant, durable prints that last. Take a look at our collections or get in touch to start your own bespoke project at https://psyque.co.uk.