
A Guide to Dye Sublimation T Shirt Printing
So, you’re ready to dive into the world of vibrant, permanent custom apparel? Good choice. Dye sublimation t-shirt printing is a fantastic technique where special inks are heat-transferred directly into the fibres of polyester fabric. The result is a print that will never crack, peel, or fade.
This guide is designed to give you the practical, hands-on knowledge you need to turn blank t-shirts into professional-quality works of art.
Your Introduction to Flawless Sublimation Printing
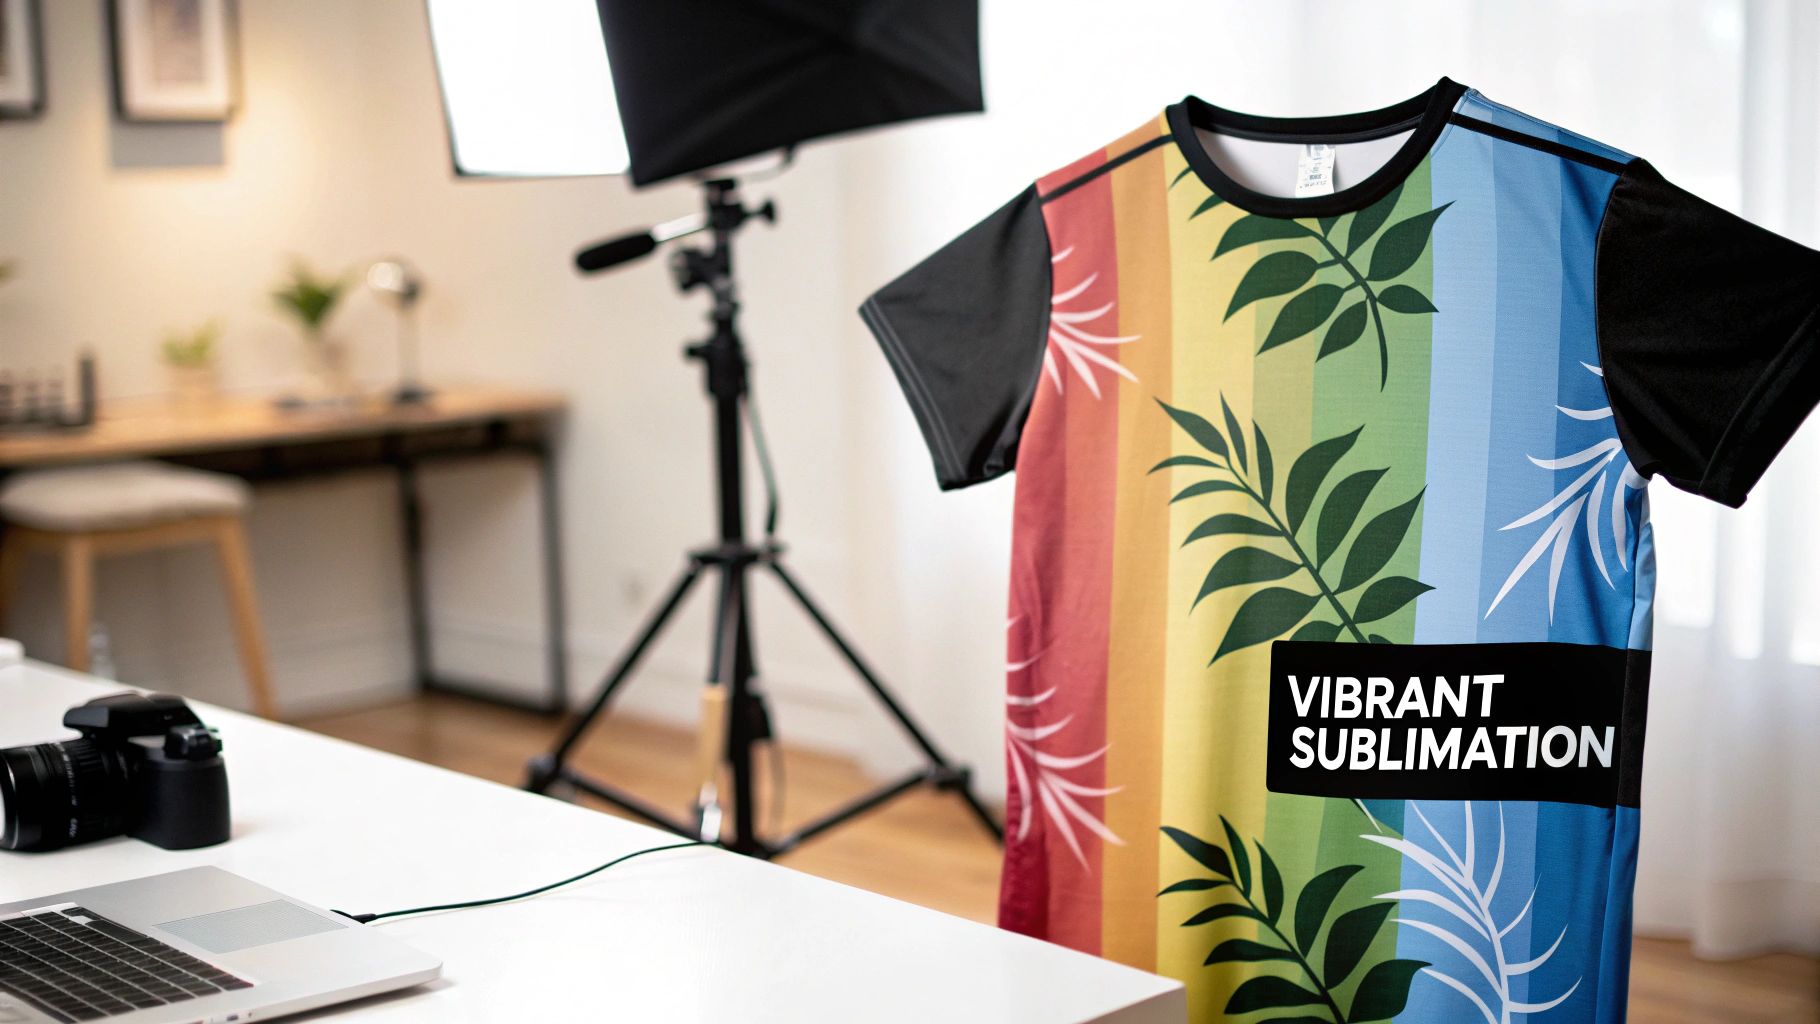
Unlike other printing methods that just lay ink on top of a garment, dye sublimation is in a league of its own. The process uses intense heat to turn solid ink straight into a gas, which then bonds permanently with the polyester fibres of the t-shirt. This creates an incredibly soft finish where the design literally feels like it’s part of the fabric itself.
This amazing durability and stunning colour reproduction are exactly why sublimation is catching on with so many small businesses and hobbyists. It's especially brilliant for:
- Sportswear: Perfect for creating breathable, full-colour team jerseys that can handle some serious wear and tear.
- Custom Fashion: Allows for those incredible all-over prints and photorealistic designs that really make a statement.
- Promotional Merchandise: Ideal for making high-quality, long-lasting branded apparel that people actually want to wear.
Why Choose Sublimation
The appeal of this technique goes way beyond its professional finish. The UK dye sublimation printing market is booming, with revenues hitting approximately USD 1.18 billion in 2024. Projections show this could nearly double by 2030, all thanks to the growing demand for top-notch inks and supplies. You can read more about the growth of dye sublimation printing in the UK market.
This surge highlights a real appetite for personalised, durable clothing. For anyone weighing up different decoration methods, getting a handle on the broader landscape of custom t-shirt printing can show you exactly where sublimation fits in.
Dye sublimation printing creates a truly premium product. Because the ink becomes one with the material, the design has zero texture, allowing the garment to retain its original feel and breathability—a key advantage for performance wear and fashion items.
This guide will walk you through the entire journey, from picking out your equipment and prepping your design to pressing that final, impressive product. Our goal is to give you the confidence to get started and create something amazing right away.
Gathering Your Essential Sublimation Toolkit
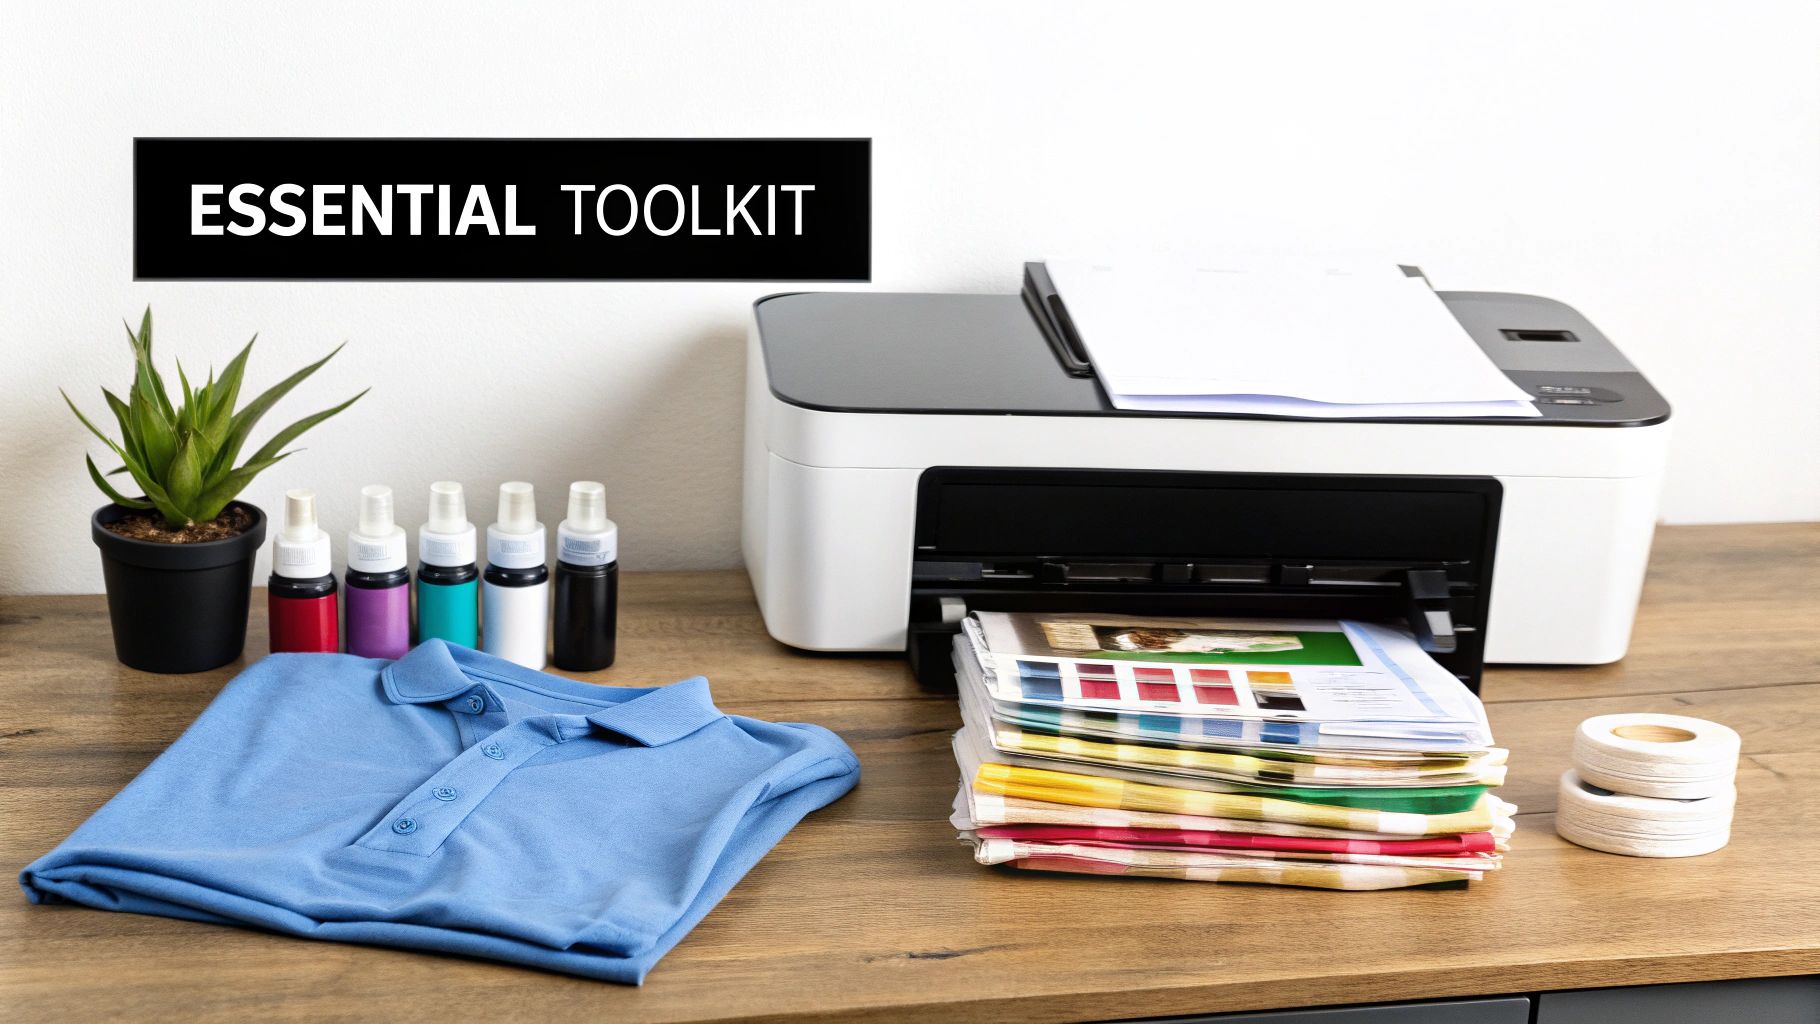
Before you can bring those vibrant designs to life, you’ll need to assemble the right gear. Think of it as setting up your own specialised workshop. Every tool plays a crucial role in the final quality of your dye sublimation t shirt printing projects, and choosing wisely from the start will save you a world of headaches later on.
The absolute heart of your operation is a dedicated sublimation printer. This part is non-negotiable. A standard inkjet or laser printer just won't cut it, as they can't handle the unique, heat-activated sublimation inks. When you're just starting out, it's really helpful for understanding different sublimation printer types to see what's out there. You’ll find that models from brands like Sawgrass are built for this from the ground up, while certain Epson printers are popular choices for conversion.
The Printer and Its Consumables
Once you’ve got your printer sorted, you need the right sublimation ink and sublimation paper. Trust me, these aren't areas to cut corners. High-quality inks are what give you those rich, accurate colours, while good paper ensures a clean release of the design during the pressing stage. If you opt for cheap supplies, you’re just asking for blotchy, faded, or inconsistent results.
This is especially true for small businesses here in the UK. Dye sublimation is getting more popular because it's so affordable for smaller production runs. With T-shirts making up a huge 26% of the dye sublimated apparel market, using quality gear is how you produce professional-grade products that actually sell.
The Power of the Heat Press
Next up is the most critical piece of machinery: your heat press. This machine delivers the precise temperature and pressure needed to turn the solid ink on your paper into a gas that bonds directly with the fabric fibres. You'll mainly come across two styles: the clamshell and the swing-away.
- Clamshell Press: This design opens like a mouth and is fantastic for smaller workspaces because it’s so compact.
- Swing-Away Press: The top platen swings completely away from the bottom, which gives you much better access and reduces the risk of accidentally burning your knuckles.
Your choice often comes down to space and budget, but consistency is king. A good press provides even heat and pressure right across the entire platen, which is vital for avoiding faded spots or patchy transfers. If you want to dive deeper, we've got a great guide on how to choose a heat press machine for t shirt printing.
Pro Tip: Always look for a heat press with a digital timer and temperature display. Manual controls can be inconsistent, but a digital readout ensures you can nail your settings and replicate them perfectly every single time.
Essential Accessories and Materials
Finally, don't overlook the smaller bits and pieces that complete your toolkit. You'll absolutely need heat-resistant tape to secure your design onto the T-shirt. This stops it from shifting and creating those annoying "ghosting" effects. You’ll also want protective paper (plain butcher paper works a treat) to place inside the shirt and over your transfer. This simple step prevents ink from bleeding through to the back of the garment or, even worse, onto your heat press platen.
And, of course, the T-shirts themselves! Remember, dye sublimation only works its magic on polyester or high-polyester blend fabrics. The ink needs to bond with the synthetic fibres, so a 100% cotton shirt just won’t work.
To make things even clearer, here's a quick rundown of all the gear you'll need to get started.
Essential Equipment for Dye Sublimation T-Shirt Printing
| Equipment | Purpose | Key Considerations |
|---|---|---|
| Sublimation Printer | Prints designs with special sublimation ink onto transfer paper. | Must be a dedicated sublimation printer or a compatible, converted inkjet model (e.g., specific Epson printers). Standard printers won't work. |
| Sublimation Ink | Special heat-activated ink that turns into a gas and bonds with polyester fibres. | Invest in high-quality inks for vibrant, accurate colours and to avoid printer clogs. Match the ink to your printer model. |
| Sublimation Paper | Coated paper that holds the ink and releases it cleanly during the heating process. | Look for paper with a high transfer rate. Different papers may be optimised for different substrates (e.g., fabric vs. hard surfaces). |
| Heat Press | Applies consistent heat and pressure to transfer the ink from paper to the T-shirt. | Choose between clamshell (space-saving) and swing-away (better access). Ensure it has even heat distribution and digital controls. |
| Polyester T-Shirts | The garment for your design. The ink can only bond with polyester fibres. | For best results, use 100% polyester for the most vivid colours. High-polyester blends (at least 65%) can work but may have a vintage look. |
| Heat-Resistant Tape | Secures the transfer paper to the T-shirt to prevent shifting and ghosting. | Must be able to withstand high temperatures without leaving residue. |
| Protective Paper | Prevents ink bleed-through onto the back of the shirt or the heat press platen. | Butcher paper or Teflon sheets work well. Use a fresh sheet for each press to avoid accidental ink transfer. |
| Design Software | Used to create or edit the designs you want to print. | Options range from professional software like Adobe Photoshop to more user-friendly programs like Canva. Ensure your software can handle high-resolution files. |
Having these items on hand before you begin ensures a smoother, more professional workflow from the very first press.
Preparing Your Design for a Perfect Print
Every amazing custom t-shirt starts its life on a computer screen. This digital prep work is the absolute foundation for your final product, and it's what makes the difference between a crisp, vibrant print and a blurry, disappointing mess. Cutting corners here is one of the most common mistakes I see people make, and it’s a surefire way to get pixelated results.
Your design software—whether it's Adobe Photoshop, Affinity Designer, or another pro-level tool—is where you set the stage for quality. The single most critical setting to get right is the resolution. Always, and I mean always, create your design file at 300 DPI (dots per inch). This is the industry standard for a reason; it guarantees your print will be sharp and clear, capturing every tiny detail without looking blocky. A 72 DPI file might look perfectly fine on your monitor, but it will look fuzzy and totally unprofessional once it's on a shirt.
Setting Up Your Canvas for Success
Beyond just the resolution, you need to get your colour profile right. For dye sublimation t-shirt printing, it's best to work in an RGB colour space. This is what most sublimation printers are calibrated to understand and interpret correctly. While a lot of professional printing uses CMYK, sublimation is a different beast—the printer’s own software handles the colour conversion to get the most accurate shades on polyester fabric.
Another step that is completely non-negotiable is mirroring your image before you hit print. It’s such a simple thing to do, but so easy to forget in the heat of the moment.
You must horizontally flip your entire design within your software. The image gets transferred face-down onto the shirt during pressing, so mirroring it ensures the final print appears the right way around. If you forget this step, any text or asymmetrical elements will be completely backwards.
Getting the technical side of the file sorted is only half the battle, though. You also need to think about the real-world sizing and placement. A design that looks brilliant as a small chest logo on a medium tee can look comically tiny or just plain odd on a 3XL. A good habit is to create a few different size templates or mock-ups to see how your artwork scales across different garments. Get a tape measure, check the actual printable area on your shirts, and adjust your design's dimensions to get that balanced, professional look.
Fine-Tuning Your Colours
Finally, you have to be ready for slight colour shifts between what you see on your screen and what ends up on the fabric. Your monitor is backlit, which naturally makes colours appear brighter and more luminous than they will on a t-shirt.
The best way to handle this? Do a small test press.
Print a little swatch of your most important colours onto a scrap piece of polyester fabric to see exactly how they come out. This little calibration step can save you a mountain of time, materials, and frustration down the line. It lets you tweak your digital file for a perfect colour match before you commit to printing a whole run of t-shirts. If you're experimenting with different transfer materials, understanding the role of various t-shirt printing papers can also give you a better idea of how your final colours will turn out.
Mastering the Heat Press Process
This is where the magic really happens. The heat press is the final, crucial stage in your dye sublimation t-shirt printing adventure, transforming a simple piece of printed paper into a stunning, permanent design that becomes one with the fabric. A bit of precision here makes all the difference between a good print and a flawless one.
First things first, before your design even touches the shirt, you need to pre-press the garment. Just place the blank t-shirt on your heat press and give it a quick press for about 5-10 seconds. This simple step is absolutely vital. It smooths out any wrinkles, but more importantly, it zaps any hidden moisture lurking in the fibres. If you skip this, that moisture can turn into steam during the transfer and leave you with blotchy, uneven colours.
With the shirt pre-pressed and still on the platen, it’s time to position your printed sublimation paper. Lay it face-down exactly where you want the design to be. Take your time with this—perfect alignment is key. Once you’re happy, use a few small pieces of heat-resistant tape to secure the corners of the paper to the shirt. This is your best line of defence against "ghosting," a frustrating flaw where the paper shifts slightly, creating a blurry shadow effect around your design.
Protecting Your Gear and Garment
To avoid any unwanted ink transfer, you’ll need to create a little protective sandwich. Start by sliding a sheet of protective paper (plain butcher paper is perfect for this) inside the t-shirt. This acts as a barrier, stopping the sublimated ink from bleeding through to the back of your garment.
Next, lay another sheet of protective paper over the top of your sublimation transfer. This second sheet is just as important, as it prevents any ink from gassing out and staining the upper platen of your heat press. Trust me, a stained platen is a surefire way to ghost old designs onto future projects you thought were completely unrelated.
The infographic below gives you a quick rundown of the simple but essential prep work that happens before you even think about printing.
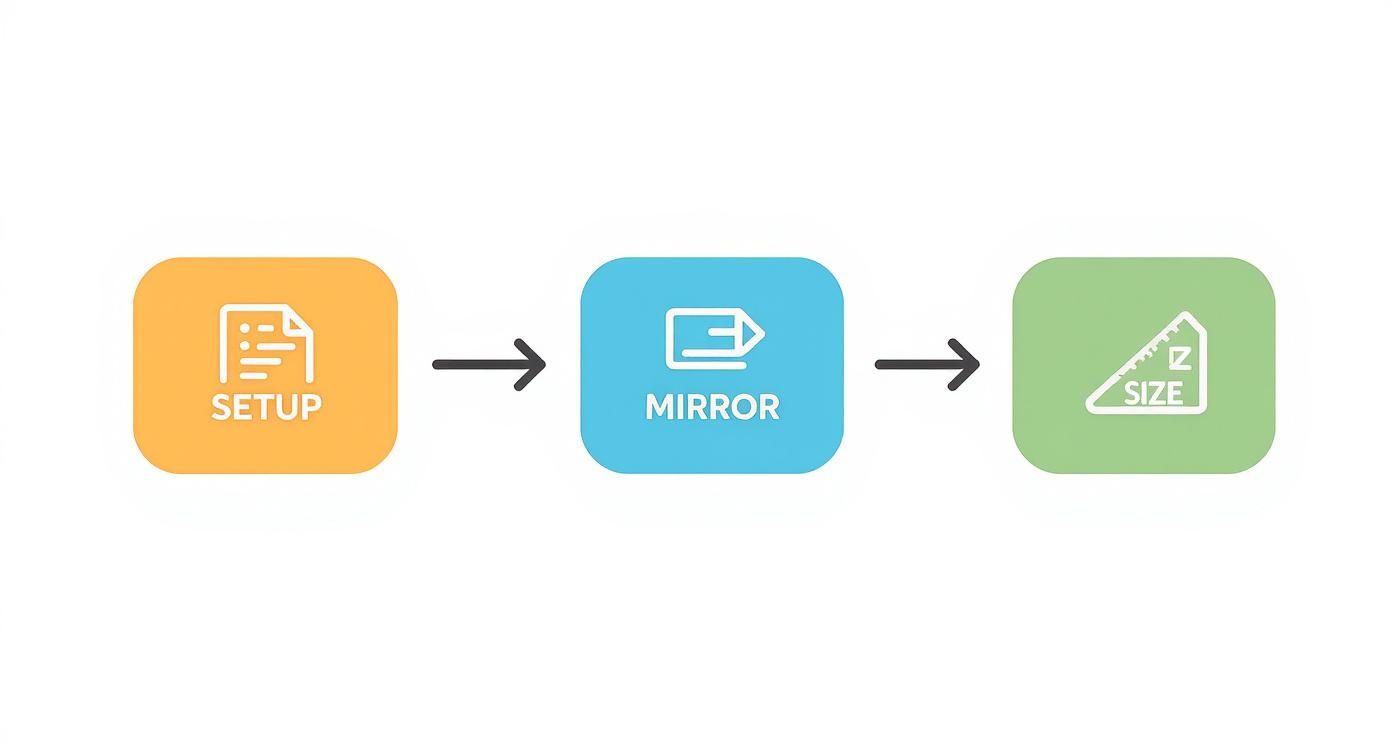
As you can see, getting the digital setup right from the start—including mirroring the image—is the foundation of a successful press.
Dialling In Your Heat Press Settings
Alright, it's time for the main event. The exact settings will always vary a little depending on your specific t-shirt blank and the sublimation paper you’re using, but a solid starting point is 200°C for around 45-60 seconds with medium pressure. It's always smart to check the manufacturer's recommendations for your garments, just in case. For a deeper dive into different materials, have a look at our comprehensive heat press temperature guide.
The demand for custom apparel is huge. In fact, in 2024, apparel made up nearly 63% of the UK dye sublimation market's revenue, largely driven by the fashion and sportswear industries. At the same time, ongoing innovations in inks and consumables—which account for over 46% of the market's revenue—are making the entire process more reliable and better for the environment.
Key Takeaway: Consistency is everything. A good digital heat press is your best friend here, giving you precise control over the three core variables—time, temperature, and pressure—for professional, repeatable results every single time.
As soon as the timer beeps, open the press. You’ll want to do what’s called a "hot peel," which means removing the transfer paper immediately while the t-shirt is still hot. Do this in one smooth, confident motion to prevent any last-second shifting or ghosting. Now, just set the shirt aside to cool down and take a moment to admire your work. You've just created a vibrant, permanent piece of custom apparel.
Troubleshooting Common Sublimation Mistakes
Even when you've done everything by the book, dye sublimation t shirt printing can sometimes throw a curveball. Don't panic. Almost every common hiccup has a straightforward solution, and with a bit of detective work, you can get your prints back to looking flawless.
One of the most common—and frankly, most annoying—issues is "ghosting." You'll know it when you see it: a faint, blurry shadow right next to your main design. This almost always happens because the sublimation paper shifted, even just a tiny bit, while the shirt was still hot.
To get rid of ghosting for good, make sure you’re using heat-resistant tape to properly secure the transfer paper to the T-shirt. When the time is up, open your press and lift it straight up, then peel the paper off in one smooth, confident movement. Any hesitation can let the paper slide while the ink is still a gas, resulting in that dreaded blurry mess.
Why Do My Colours Look Faded or Dull?
If your final print looks washed-out and lifeless instead of vibrant, it's time to investigate. It's rarely a single cause, so checking a few key things one by one is your best bet.
First, go back to your heat press settings. Are they correct? Not enough temperature, time, or pressure means the ink won't transfer fully, leaving your colours looking weak. A good starting point is usually around 200°C for 45-60 seconds, but always defer to the manufacturer's guidelines for your specific blank T-shirt.
If the settings are right, take a look at your materials.
- Fabric Content: Are you definitely using a 100% polyester shirt? Sublimation ink only bonds with polyester fibres. If you're printing on cotton or a low-poly blend, you're always going to get a faded, vintage-style look.
- Moisture: Did you pre-press the garment before applying the transfer? Any moisture trapped in the fabric will turn to steam under the heat, interfering with the ink transfer and causing blotchy, dull results. A quick 5-second pre-press makes all the difference.
Faded colours often point to a simple process issue, not faulty equipment. By methodically checking your time, temperature, pressure, and materials, you can nearly always pinpoint and fix the problem without splashing out on new gear.
Dealing With Unwanted Marks and Lines
Ever peel back your transfer to find thin, faint lines running through your print? These are often called "pizza wheels" because they’re left by the small, star-shaped wheels in your printer that guide the paper. They can pick up a tiny bit of wet ink and leave little tracks behind. Using a high-quality sublimation paper and making sure your printer settings are optimised for it can really help minimise them.
Another frustrating problem is finding tiny, random coloured dots scattered across your otherwise perfect design. This is almost always caused by dust, lint, or loose fibres on your T-shirt or the transfer paper itself. Before you press anything, give the garment a good once-over with a lint roller. It’s a super simple step that can save a print from the bin.
If you find that your transfer is uneven—looking great in some areas but faded in others—it might be a sign that your heat press isn't heating consistently. Older or cheaper presses can develop "cold spots" across the platen. You can diagnose this by doing a temperature test with an infrared thermometer across the surface. For a deeper dive into different transfer techniques, our guide on how to print heat transfers has some extra valuable tips.
To help you quickly diagnose and solve these issues, here's a quick-reference guide.
Sublimation Problem and Solution Guide
| Common Issue | Potential Cause | How to Fix It |
|---|---|---|
| Ghosting or Double Images | Transfer paper moved during or after pressing. | Use heat-resistant tape to secure the paper. Lift the press straight up and peel the transfer in one smooth motion. |
| Faded or Dull Colours | Incorrect time, temperature, or pressure. Low polyester content. Moisture in the garment. | Check press settings against manufacturer specs. Use 100% polyester shirts. Always pre-press the garment for 5 seconds. |
| "Pizza Wheel" Lines | Printer's guide wheels are picking up wet ink. | Use high-quality sublimation paper. Adjust printer settings to reduce ink saturation or use a "high speed" setting. |
| Random Coloured Dots | Dust, lint, or loose fibres on the shirt or transfer. | Use a lint roller on the garment right before pressing. Keep your workspace and transfer paper clean. |
| Uneven or Blotchy Prints | Uneven pressure or "cold spots" on the heat press platen. | Check for worn-out platen pads. Test the platen temperature with an infrared thermometer to identify cold spots. |
Hopefully, this table gives you a clear path to follow next time a print doesn't come out quite right. With a little practice, troubleshooting becomes second nature
Common Questions About Sublimation Printing
Getting into dye sublimation printing is exciting, but it definitely throws up a few questions along the way. Even when you think you’ve got the hang of the main process, some of the finer points can be a bit confusing. Let’s clear up a few of the most common queries I hear, so you can press on with confidence.
Can I Sublimate on Cotton or Dark T-Shirts?
This is probably the number one question people ask, and the short answer is a hard no to cotton. Dye sublimation ink is a special kind of beast; it’s designed to chemically bond with polyester fibres. When you try it on a natural material like cotton, the ink has nothing to grab onto. The result is a sad, faded print that will wash out almost immediately.
For those incredibly vibrant, pop-off-the-shirt results that last forever, 100% white or light-coloured polyester is your best friend. It’s the perfect canvas.
That brings us to the next common hurdle: printing on dark tees. Because sublimation inks are transparent, they dye the fabric itself instead of sitting on top like a layer of paint. Think of it like using a watercolour on coloured paper – the paper’s colour will always show through. If you print on a black T-shirt, your design will simply disappear. Sublimation needs that light background to truly shine.
What’s the Durability and Feel Like?
Will my design crack or peel off after a few washes? Absolutely not, and this is where sublimation really pulls ahead of the pack. The ink becomes part of the fabric, so the design will last as long as the T-shirt does. You’ll never see it crack, peel, or fade.
Better yet, the print has zero texture. Run your hand over a sublimated design, and you won’t feel a thing. It’s as smooth and breathable as the rest of the shirt, which is why it’s the go-to method for sportswear and performance gear where comfort is everything.
The magic of sublimation is that the final print is completely undetectable by touch. Unlike vinyl or screen printing, it doesn't change the original soft feel of the fabric, which gives it a really premium finish customers love.
Taking Your Craft to the Next Level
So, you’ve nailed the technique and you're turning out brilliant T-shirts. What's next? Many printers start thinking about turning their new skill into a proper business. If that's you, it's worth checking out some expert tips for selling clothes online to get a head start.
This printing method is perfect for creating those unique, high-quality items that really catch the eye in a busy market. Whether you're making one-of-a-kind custom pieces or starting a small production run, understanding these key details will set you up to produce amazing garments from your very first press.
Ready to bring your own apparel ideas to life without the hassle of printing yourself? Explore the custom collections at Psyque - DTF Print & Press and see how our vibrant, durable prints can elevate your designs. Visit us at https://psyque.co.uk to get started.