
Your Guide to T Shirt Printing Papers
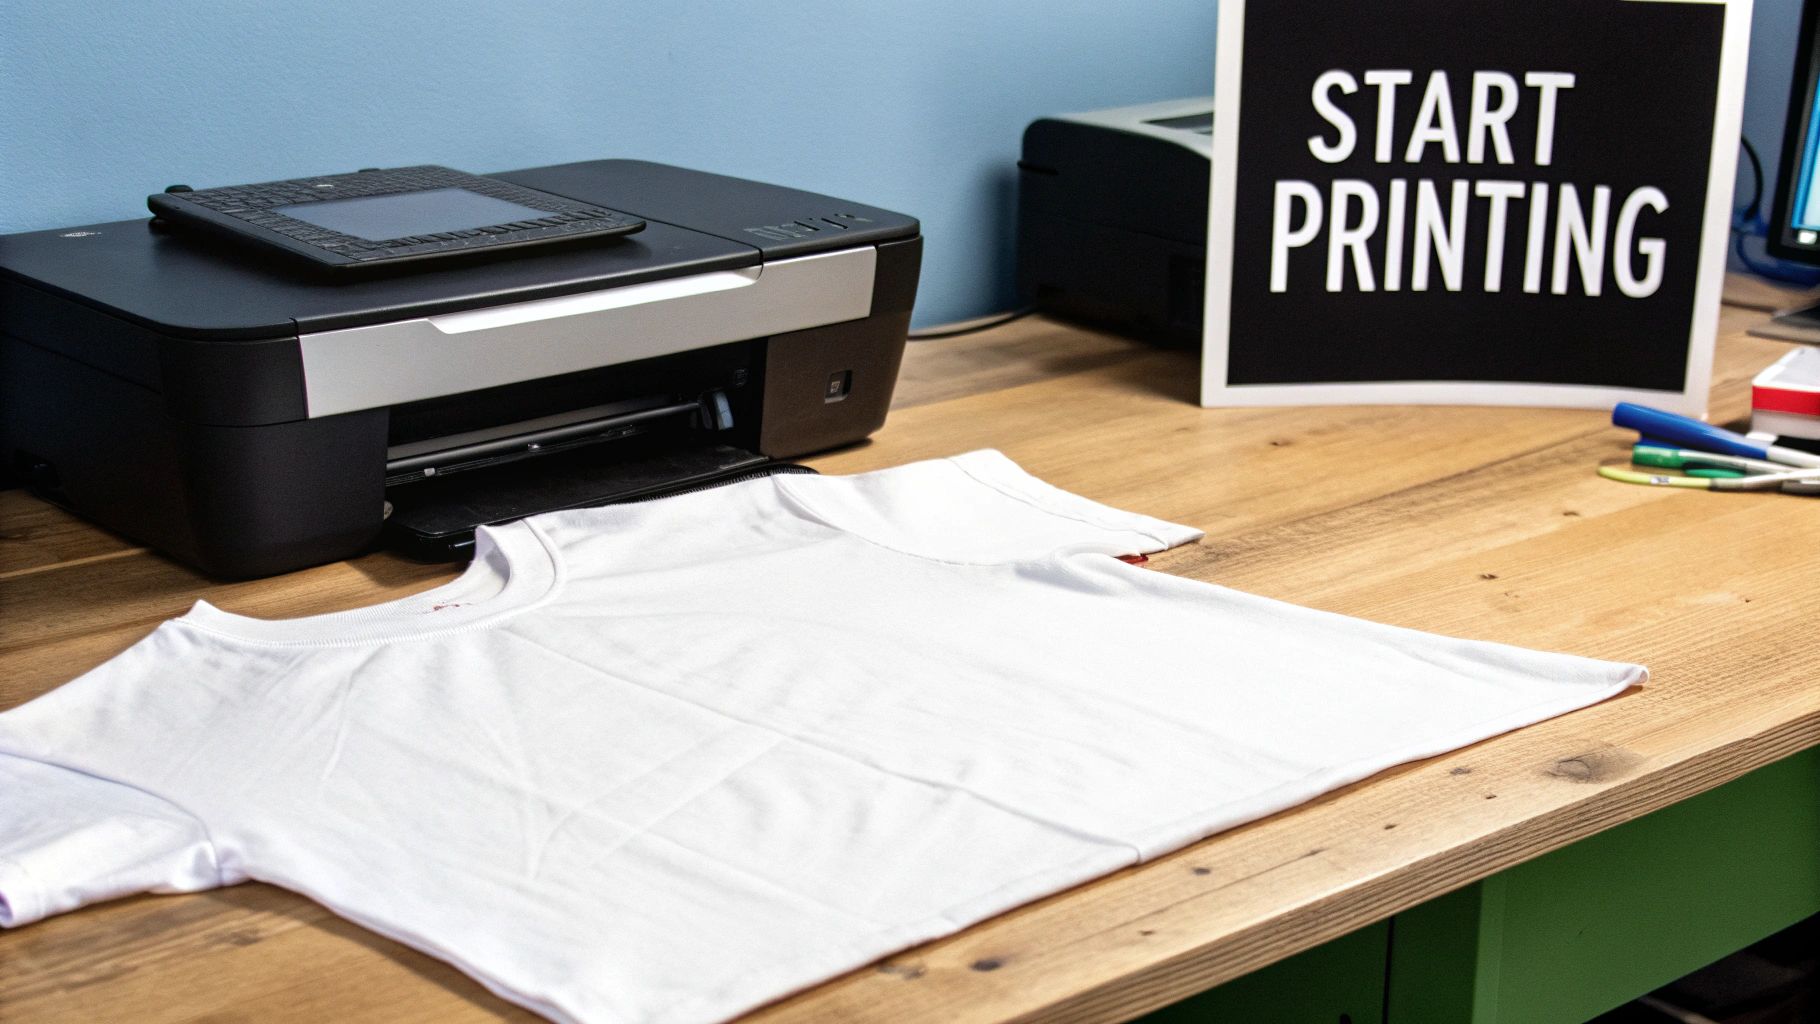
So, you’ve got a brilliant T-shirt idea. How do you get it from your screen onto a wearable piece of art? The magic lies in t-shirt printing paper.
Think of it as the crucial bridge between your digital design and a real-life, custom garment. You simply print your design onto this specialised paper, then use heat to press it onto a T-shirt. It’s a game-changer for hobbyists and small businesses alike.
The concept is straightforward, but the results are fantastic. Each sheet has a heat-activated coating. When you apply heat and pressure—either with a standard iron or a proper heat press—that coating gets to work, releasing the ink and bonding it permanently into the fabric’s fibres.
Key Factors to Consider First
Before you rush out and buy a stack of paper, you need to answer two quick questions. Getting these right will narrow down your options instantly and save you a lot of headaches.
- What kind of printer are you using? Papers are made specifically for either inkjet or laser printers. They are not interchangeable, so be sure to get the right one!
- What colour is your T-shirt? You’ll find papers designed for light-coloured fabrics and different ones made for darks. This is a critical distinction.
This whole world of custom apparel is more than just a fun creative outlet; it's a booming industry. The UK custom T-shirt printing market was valued at USD 200.1 million in 2023 and is expected to almost double by 2030. That tells you just how much people love personalised gear.
At its heart, transfer paper makes fashion personal. It gives anyone with a printer the power to become a designer, turning plain old garments into canvases for self-expression or branding.
This guide will give you a solid foundation, cutting through the jargon to explain your options clearly. If you want to dive even deeper, check out our complete guide to custom T-shirt printing. You’ll soon have all the confidence you need to pick the right materials and get pro-level results every time.
Getting to Grips with Different Transfer Papers
Diving into the world of T-shirt printing papers can feel a bit overwhelming at first, but it all boils down to four main types. Think of each one as a specific tool in your kit, designed for a particular printer and fabric. Get the choice right, and your results will look fantastic.
The hunger for custom gear is really shaking things up in the printing world. In fact, the UK’s custom T-shirt market is projected to shoot up from USD 366.63 million in 2024 to a massive USD 1,004.13 million by 2033. It just goes to show how popular these methods are becoming for everyone, from hobbyists to businesses. You can find more stats on the UK custom T-shirt scene over at deepmarketinsights.com.
So, let's break down the four key players you'll be working with.
Inkjet Transfer Paper for Home Creators
This is the go-to for most people starting out. Inkjet transfer paper is super accessible and designed to work with the standard inkjet printer you probably already have at home.
Picture it like this: the paper has a plain backing and a special polymer film on top. Your printer lays ink onto that film. When you press it with heat, the film lifts away from the backing and bonds straight onto the T-shirt. It’s almost like a very thin, flexible sticker that becomes one with the cotton.
- Best for: Cotton and cotton-blend fabrics.
- Feel: The design sits on top of the fabric, so you can feel a thin layer.
- Ideal Use: Brilliant for one-off projects, stag do T-shirts, or just trying out a design without spending a fortune.
Laser Transfer Paper for Durability
Next up is laser transfer paper, inkjet’s tougher cousin. As the name suggests, it’s made specifically for laser printers, which use dry toner instead of liquid ink.
The process is pretty similar, but laser transfers generally give you a more durable, wash-resistant finish. Instead of a film sitting on top, think of it more like a baked-on enamel. The toner fuses tightly into the fabric under the heat, meaning the print can handle a lot more wear and tear. It's a solid step up for small businesses aiming for a more professional feel.
Sublimation Paper for Polyester Fabrics
This is where the real magic happens, but it has some very specific rules. Sublimation doesn't just stick a layer onto the fabric—it actually dyes the fibres themselves.
Here’s an analogy: inkjet and laser are like painting a wall, whereas sublimation is like staining wood. Special sublimation inks turn into a gas when heated, and this gas permeates the polyester fibres of the shirt. The design becomes a permanent part of the material, leaving absolutely no texture or "hand feel."
Key Takeaway: Sublimation creates prints you literally can't feel. The catch? It only works on light-coloured, polyester-based fabrics (or items with a special polymer coating).
Direct to Film (DTF) Transfers
Last but not least, we have Direct to Film (DTF) transfers. This is a newer method that's incredibly versatile, taking the best bits from other techniques. A special printer prints your design onto a clear film, a sticky powder is added, and it’s all cured with heat. This creates a ready-to-press transfer that’s good to go.
If you're exploring different heat-applied methods, our guide on printed vinyl heat transfer covers some similar ground you might find useful.
DTF is like the universal key of T-shirt printing. It works on cotton, polyester, blends, and on both light and dark fabrics. The result is a vibrant, detailed, and stretchy print that’s seriously durable.
How to Choose the Right Paper for Your Project
Picking the right T-shirt printing paper is probably the single most important decision you’ll make to get a brilliant result. Think of it like this: you wouldn't use watercolour paint on a canvas primed for oil, right? The same logic applies here. Matching the paper to your printer, fabric, and desired look is absolutely everything.
Your choice really just boils down to a few simple but critical factors. Get these right, and you’re already halfway to a professional-looking custom tee.
Analyse Your Fabric Type and Colour
First things first, take a good look at the T-shirt itself. Is it cotton or polyester? A classic black tee or a bright white one? These two details will instantly start narrowing down your paper options.
For instance, sublimation paper is fantastic for creating incredibly soft, permanent prints that feel like part of the fabric. The catch? It only works on light-coloured polyester fabrics. If you try to press a sublimation print onto a 100% cotton shirt, the ink simply won't bond. It’ll look faded from the start and wash right out. On the flip side, standard inkjet transfer papers are cotton’s best friend, creating a solid bond on natural fibres.
The garment's colour is just as crucial. Paper designed for light fabrics is transparent, so the shirt’s colour shows through in any unprinted areas of your design. But if you're printing on a dark tee, you need a paper with an opaque white base. This layer ensures your design’s colours pop instead of getting swallowed up by the black or navy background.
The rule is simple: the fabric dictates the technology. A polyester sports jersey has completely different needs from a classic cotton band tee, and there's a specific paper designed for each scenario.
Match the Paper to Your Printer
Your printer is the next key piece of the puzzle. You simply cannot use inkjet transfer paper in a laser printer, or the other way around. It’s not just a suggestion—it won’t work and could damage your machine. The two technologies use completely different methods to get the image onto the paper, and the papers themselves are engineered to work with one or the other.
- Inkjet Printers: These use papers designed to absorb liquid ink and hold it within a special polymer film.
- Laser Printers: These require papers that can withstand intense heat and fuse properly with dry toner.
This handy decision tree shows exactly how your printer type guides your paper choice from the get-go.
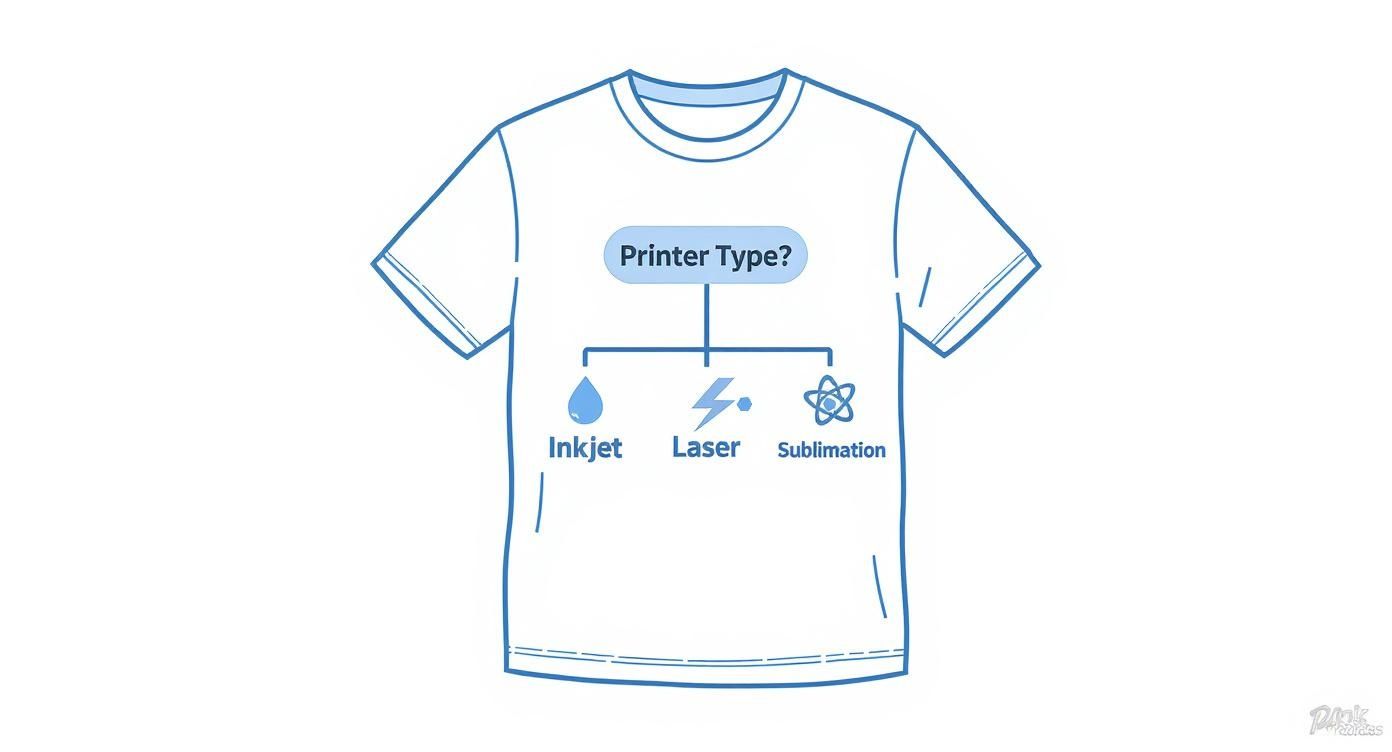
As the chart shows, knowing what printer you have is the first major fork in the road, pointing you toward the right family of papers for your gear.
Consider Your Desired Final Result
Finally, what kind of look and feel are you going for? Do you want an image that’s so soft you can’t even feel it, or is maximum durability for something like workwear your top priority?
Sublimation offers that amazing zero-feel finish on polyester, while most inkjet and laser transfers create a thin layer that sits on top of the fabric. This layer can range from very soft and flexible to a bit more noticeable, depending on the brand and type.
For the ultimate versatility across all fabric types and colours, many creators are now turning to pre-made transfers. For example, understanding the benefits of DTF transfer sheets can open up a whole new world of possibilities, letting you print on almost any garment with vibrant, stretchy, and long-lasting results.
T-Shirt Printing Paper Selection Guide
To make things even clearer, we've put together a quick comparison table. Use this as a cheat sheet to quickly identify which paper aligns with your project's needs.
| Paper Type | Best For Fabric | Works on Dark Colors? | Printer Needed | Feel on Shirt | Durability |
|---|---|---|---|---|---|
| Inkjet | Cotton, Cotton Blends | Yes (with specific paper) | Inkjet | Slight film, can be soft | Good |
| Laser | Cotton, Blends, Poly | Yes (with specific paper) | Laser | Varies, often thinner feel | Very Good |
| Sublimation | 100% Polyester (light) | No | Sublimation | No feel, ink is in fibre | Excellent |
| DTF | Cotton, Poly, Blends | Yes | DTF Printer | Soft, stretchy, thin film | Excellent |
By carefully thinking through these points—fabric type, fabric colour, your printer, and the final feel—you can confidently pick the perfect T-shirt printing paper every single time and avoid any costly or frustrating mistakes.
The Step-by-Step T-Shirt Transfer Process
Seeing your digital artwork come to life on a T-shirt is an incredibly satisfying moment. With the right t shirt printing papers and a clear game plan, you can get professional-looking results right from your home. This simple walkthrough will guide you through each stage, from prepping your image to that final, satisfying peel.
Following these steps in order is the best way to dodge common pitfalls like washed-out colours or transfers that don't quite stick. Each part of the process builds on the last, ensuring you get a strong, durable bond between your design and the fabric.
Preparing and Printing Your Design
The journey from idea to T-shirt starts on your computer. Before you even think about hitting 'print', you need to get your artwork ready for the real world. The most important step here all comes down to the type of paper you're using.
- Mirror Your Image (for light transfers): This is a classic rookie mistake. If you're printing onto paper designed for light-coloured fabrics, you must flip your design horizontally. This ensures that when you press it face-down onto the shirt, any words or logos look the right way around. For dark fabric papers, you can skip this step.
- Tweak Your Printer Settings: Don’t just rush to print. Dive into your printer's settings and crank the quality up to the highest option, which is usually labelled 'Best' or 'Photo Quality'. You should also tell the printer you’re using a special paper, like 'Glossy Photo Paper', so it knows to lay down enough ink for deep, vibrant colours.
Once your settings are dialled in, go ahead and print your design. Try to handle the transfer sheet by the edges to avoid leaving fingerprints on the special coating.
Pro Tip: Always do a test print on a regular piece of paper first. It’s a simple check that lets you confirm the size, colours, and layout without wasting a precious sheet of transfer paper.
Pressing the Design onto the Garment
With your design printed and ready, it’s time for the main event: the heat transfer. This is where getting the temperature, pressure, and timing just right is absolutely crucial for a print that lasts.
First thing’s first, prep your T-shirt. Give it a quick pre-press for about 5-10 seconds. This little step removes any moisture and smooths out wrinkles, giving you a perfectly flat canvas to work on.
Next, carefully position your printed design on the shirt. Whether you’re using a proper heat press or just a household iron, the key is consistent heat and pressure. For smaller, more intricate jobs, a tool like the Oliso M3 Pro mini iron can give you brilliant precision. Always follow the manufacturer's instructions for the exact temperature and pressing time.
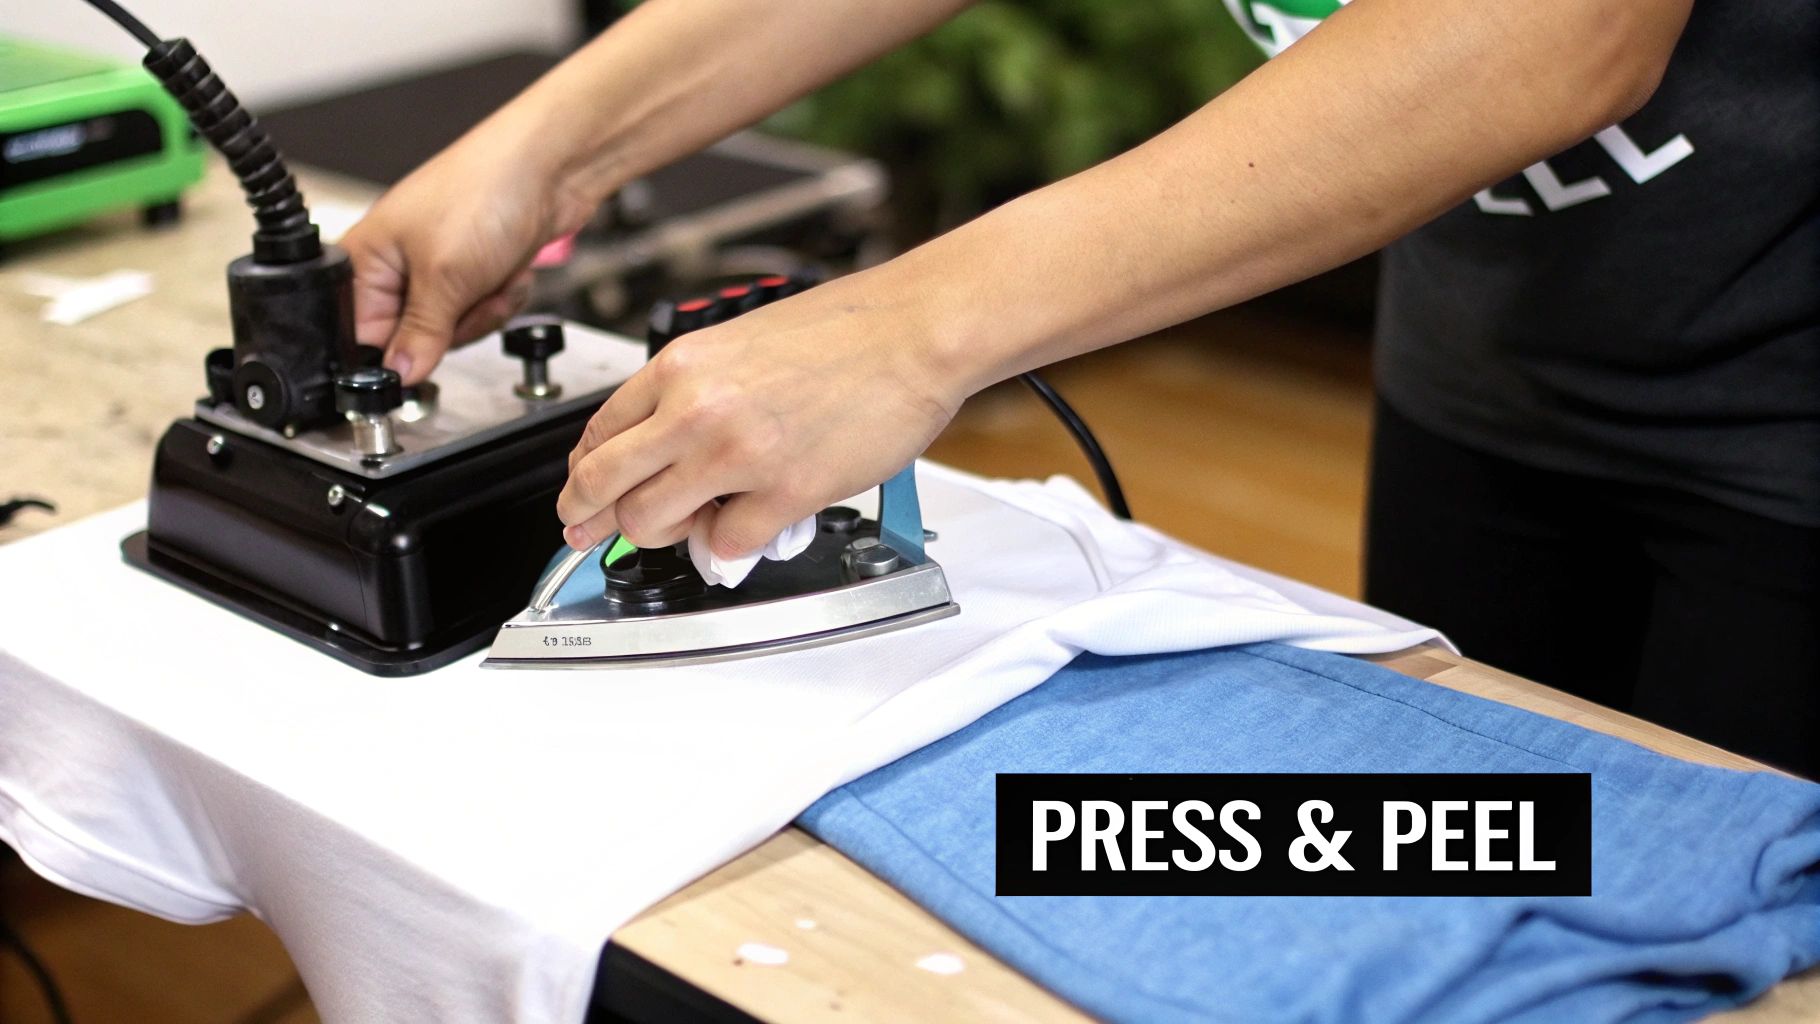
The Final Peel
The last step is peeling away the paper backing, and it's a make-or-break moment. This will either be a 'hot peel' (done straight after pressing) or a 'cold peel' (after it has cooled down completely). The method you use changes the final texture—hot peels often feel softer and more integrated into the fabric, while cold peels can leave a glossier finish.
Check your paper’s instructions to see which peel to use. Peeling the wrong way can completely ruin an otherwise perfect design. For a more detailed guide, you can learn how to print on transfer paper in our in-depth article.
How to Fix Common T-Shirt Printing Problems
Even when you follow the instructions to the letter, things can still go wrong. It happens. Don’t panic—most T-shirt printing paper problems are surprisingly easy to fix once you know what’s causing them.
Think of this as first aid for your custom apparel projects. We’ll walk you through the most common frustrations, from peeling designs to faded colours, and give you clear, straightforward solutions to get things back on track.
Solving Cracking and Peeling Designs
There's nothing more frustrating than pulling your freshly-washed T-shirt out of the machine only to see your masterpiece cracking or peeling off. This is almost always a bonding issue, meaning the transfer didn't properly fuse with the fabric in the first place.
It usually boils down to one of these culprits:
- Not Enough Heat: The temperature was too low to properly activate the adhesive on the t shirt printing papers.
- Uneven Pressure: If you're using a hand iron, it's really easy to press harder on one spot than another, creating weak points in the bond.
- Too Little Time: You might have lifted the heat press or iron too soon, cutting the bonding process short before it could fully work its magic.
The fix is all about your application technique. Double-check that your heat press is set to the right temperature for your specific paper. If you’re using an iron, put your body weight into it and keep it moving to spread the heat and pressure evenly across the whole design. For more specific settings, our heat press temperature guide is a great resource.
Key Takeaway: Consistent heat and firm, even pressure are the secret sauce for a durable print. In fact, uneven pressure is the number one reason transfers fail for beginners.
Fixing Faded or Dull Colours
Did your design come out looking washed-out and dull instead of vibrant and punchy? This is typically a problem that starts at the printer, not the press. It simply means the ink didn't lay down on the paper with the richness it needed.
This usually happens for a couple of reasons. First, you might have forgotten to tweak your printer settings. You should always select the highest quality print option (often called 'Best' or 'Photo Quality') and tell the printer you're using special paper, like 'Glossy Photo Paper'. This tells it to use more ink for a richer, more saturated result.
The second common mistake is a simple mismatch. Using inkjet paper in a laser printer (or vice-versa) is a recipe for a faded, disappointing print. Always double-check that your paper is designed for your type of printer.
Avoiding the Dreaded 'Transfer Box' Outline
Sometimes you press your design perfectly, only to notice a faint, shiny box outlining your artwork. This is the edge of the transfer paper’s clear film making an impression on the fabric, and it tends to be more noticeable on papers for light-coloured garments.
Luckily, the solution is simple: get trimming! Before you press, use a sharp craft knife or a small pair of scissors to cut as close as you can to the edge of your actual design. This removes all that extra, unprinted film, so there’s no "box" left to transfer onto the T-shirt. A little bit of careful trimming makes all the difference for a clean, professional finish.
Frequently Asked Questions About T-Shirt Paper
Dipping your toes into the world of custom apparel can throw up a few questions, especially when you're just starting out. To help you get going with confidence, we’ve put together clear, straightforward answers to some of the most common queries about t-shirt printing paper.
Can I Use Regular Paper for T-Shirt Printing?
In a word: no. You absolutely must use specialised t-shirt transfer paper. This isn't just regular paper; it has a special heat-activated coating that’s designed to fuse the ink into the fabric when you apply heat.
Trying to use standard office paper will only end in disappointment. Not only will the design fail to transfer, but you could also end up damaging your iron or heat press. Think of transfer paper as a kind of high-tech glue for your ink that only works when heat is applied—a feature that normal paper just doesn't have.
Do I Need a Special Printer for Transfer Paper?
For the most part, you don't need a special printer, but you do need to make sure your paper matches the printer you have. Inkjet transfer paper is made specifically for standard home inkjet printers, which use liquid ink. Laser transfer paper, on the other hand, is built for laser printers that work with dry toner.
These two types of paper are not interchangeable, and using the wrong one will give you a poor-quality, messy result. The one big exception here is sublimation printing, which demands its own dedicated sublimation printer and special inks to work its magic. Always double-check the packaging to confirm the paper is compatible with your setup.
A simple way to remember is that the paper's chemistry is precisely engineered to work with a specific type of ink or toner. Getting that match right is the key to a vibrant, lasting transfer.
Why Did My Design Crack After the First Wash?
Ah, the dreaded cracked design. This is a classic sign that the transfer didn't fully bond with the t-shirt fabric, and it's almost always down to one of three things during the application stage.
- Not Enough Heat or Pressure: This is the most common culprit. If your iron or press isn't hot enough, or if you don't apply firm, even pressure across the whole design, the adhesive won't melt properly and fuse into the fabric’s fibres.
- Stretching It Too Soon: Give your new transfer about 24 hours to fully cure and set. If you stretch the t-shirt before that time is up, you can easily weaken the fresh bond and cause tiny cracks to appear.
- Washing It Wrong: To give your custom shirt a long and happy life, turn it inside out, wash it on a cool, gentle cycle, and let it hang dry. The high heat from a tumble dryer can slowly break down the transfer over time.
What Is the Difference Between Paper for Light and Dark Fabrics?
The real difference is all about the background of the transfer film itself. Paper designed for light-coloured fabrics has a transparent film. This means only the inked parts of your design show up, letting the white or light colour of the t-shirt act as the background. Because of this, you have to mirror your image before printing.
Paper made for dark fabrics, however, has an opaque, white background. This entire white layer transfers along with your design, creating a solid base that makes your colours pop on a darker shirt. Since you're transferring the whole printed area like a sticker, you don't need to mirror the image.
Ready to bring your unique designs to life with professional-quality results that last? At Psyque, we specialise in vibrant, durable DTF prints that work on any fabric. Explore our collections or get in touch for a custom order at https://psyque.co.uk.