
A Practical Guide to Print on Transfer Paper
So, you want to print on transfer paper? The core idea is pretty simple: you load a special sheet into your everyday inkjet or laser printer and print your design directly onto it. The magic happens when you mirror your image first, then use a heat source—like a household iron or a proper heat press—to transfer the design from the paper right onto the fabric.
It’s one of the most accessible ways to create custom apparel right from your home.
Your First Steps in Transfer Paper Printing
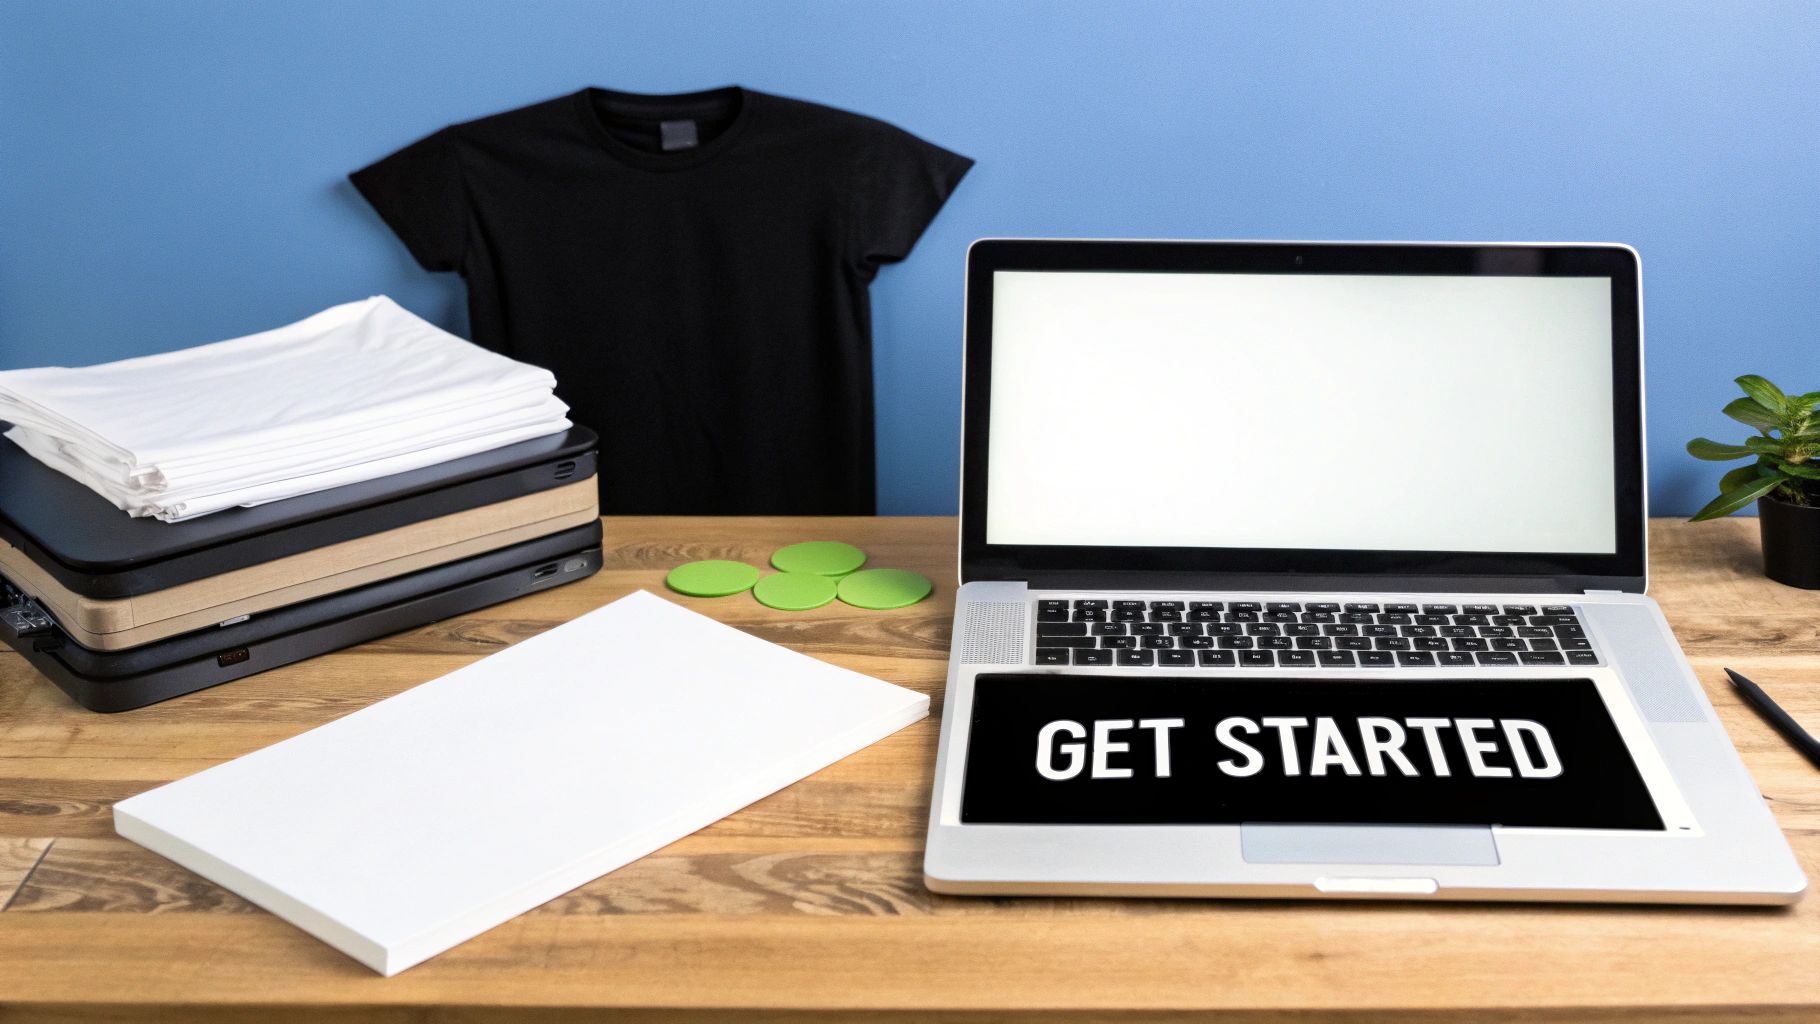
Welcome to the vibrant world of custom printing. Taking a design from your screen and bringing it to life on a t-shirt or tote bag might sound complicated, but transfer paper really breaks down the barriers. It’s a huge hit with hobbyists and small businesses for a few good reasons: it’s cost-effective, refreshingly straightforward, and you don’t need a ton of specialised gear to get going.
At its heart, the process is all about printing your artwork onto a special coated paper. This sheet acts as a carrier, holding the ink until you apply heat and pressure, which then releases it onto your fabric. That’s what makes it so appealing. You don’t need a massive workshop; a standard home printer and an iron are often enough to start your journey.
This accessibility has fuelled its growth, especially within the UK’s booming market for personalised goods. The global market for printing transfer paper is expected to climb from USD 12.94 billion in 2024 to USD 17.44 billion by 2032.
Understanding the Basics
Before you dive in, it’s worth getting your head around a few key concepts. Nailing these will set you up for success right from the start.
There are two main types of transfer paper you'll come across:
- Paper for Light-Coloured Fabrics: This stuff has a transparent transfer layer. Any unprinted areas of your design will just show the fabric's natural colour through.
- Paper for Dark-Coloured Fabrics: This type has an opaque, white background. It’s designed to make your colours pop, ensuring they look bright and true even on black or navy garments.
Picking the right one is your first critical decision. You’ll also find that papers are made specifically for either inkjet or laser printers—trust me, they are not interchangeable, so always double-check the packaging.
For those keen to get into the nitty-gritty of heat application, our detailed guide on heat transfer printing is a great next read.
The real magic of transfer paper is its ability to turn a digital concept into a tangible, wearable piece of art with relative ease. It democratises customisation, allowing anyone with a creative idea to produce professional-looking items.
And once you’ve created your masterpieces, showing them off is the next step. If you’re building a small brand, you might find these t-shirt product photography tips incredibly useful for making your finished creations look their best online. This guide will walk you through the whole journey, from that first spark of an idea to a final, durable product you can be proud of.
Choosing Your Materials and Equipment
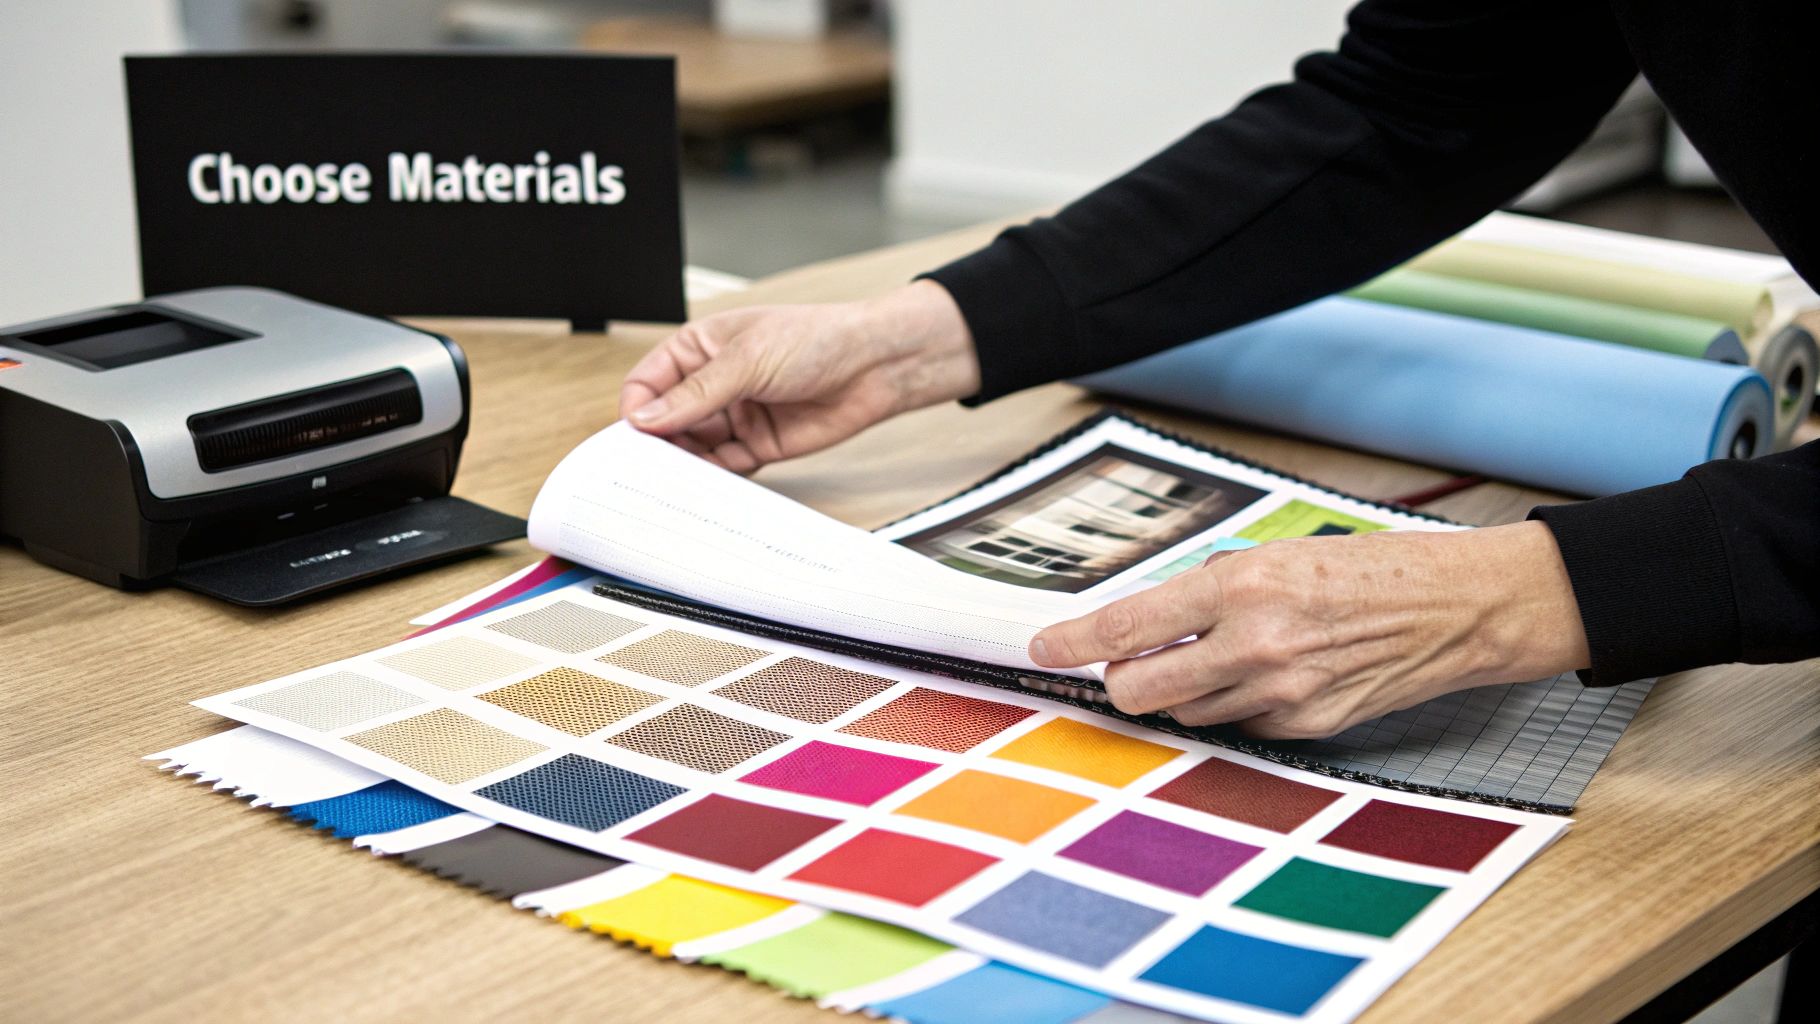
The quality of your final print isn’t just about the design itself; it’s deeply rooted in the materials and tools you start with. Getting this right from the beginning saves you time, money, and the all-too-common frustration of a lacklustre result. Think of it like cooking: the right ingredients are non-negotiable.
Your first big decision is the transfer paper. This is definitely not a one-size-fits-all situation, and the colour of your fabric is the main thing that will guide your choice.
Selecting the Right Transfer Paper
The fundamental divide in transfer paper comes down to whether you're printing on light or dark fabrics. You have two main options, and they work in completely different ways.
- For Light Fabrics: This paper uses a transparent polymer film. When you press the design, only the inked areas transfer over. Any blank space in your design stays clear, letting the t-shirt's natural colour show through.
- For Dark Fabrics: This type comes with an opaque, white background. This is crucial because it creates a solid base for your colours to pop, ensuring they look vibrant and true instead of getting lost in the dark material.
It’s also critical to match the paper to your printer. Shoving inkjet paper into a laser printer (or the other way around) is a recipe for disaster. It won't work, and you could even damage your machine. Always, always check the packaging to confirm compatibility.
To make things easier, here's a quick breakdown to help you pick the right paper every time.
Transfer Paper Selection Guide
| Paper Type | Best For | Printer Compatibility | Key Feature |
|---|---|---|---|
| Light Transfer Paper | White, pastel, or light-coloured fabrics | Inkjet or Laser | Transparent background allows fabric colour to show through |
| Dark Transfer Paper | Black, navy, or any deeply coloured fabric | Inkjet or Laser | Opaque white backing ensures colours appear bright and true |
Ultimately, having both types on hand is the best way to be prepared for any project that comes your way.
Choosing Your Fabric and Printer
Next up is your garment. While you can technically print on various materials, 100% cotton or high-quality poly-cotton blends deliver the most reliable and durable results with standard transfer papers. Polyester can be tricky, as it’s more sensitive to the high heat needed for a good transfer.
Your printer matters, too. Most home inkjet printers are perfectly capable of producing fantastic transfers. Just make sure you use the manufacturer's genuine inks. I’ve seen third-party inks fail to bond correctly with the paper's special coating, leading to prints that wash out after one cycle.
The pros know this method works. In the UK, custom garments accounted for nearly 47% of total heat transfer paper applications in 2024. Globally, the heat transfer paper market was valued at around USD 550 million in 2023 and is projected to nearly double by 2033. It’s a huge, growing industry, and you can explore the full research on datahorizzonresearch.com to see just how big it's getting.
Heat Press vs a Household Iron
This is the final, critical piece of the puzzle. A household iron might seem fine when you’re just starting out, but it has some major drawbacks. Irons have hot and cool spots, making it nearly impossible to apply consistent heat and pressure. This often leads to patchy, peeling transfers that just don't last.
For anyone serious about getting professional, long-lasting results, a dedicated heat press is a non-negotiable investment. It provides the consistent temperature and even pressure that are essential for a perfect bond.
A quality heat press guarantees your designs are not only vibrant but also tough enough to handle plenty of washes. If you’re thinking about taking your craft to the next level, our guide on choosing a heat press machine for t-shirts is packed with great advice to help you find the right model. It's an investment that pays for itself in quality and reliability.
Getting Your Design Ready For Print
Right, this is where the magic really begins—taking your awesome design from a digital file on your screen and getting it ready for its new life on a T-shirt. Nailing the prep and printing is probably the single most important part of the whole process. If you get this right, you're setting yourself up for a design that looks sharp, vibrant, and perfectly placed.
Before you even think about hitting that print button, your artwork needs a bit of TLC. The quality of your digital file directly dictates the quality of your finished shirt. Think of it like cooking; if you start with poor ingredients, you can't expect a Michelin-star meal.
First up, let's talk about clarity. For a print that looks crisp and professional, you absolutely need your image resolution to be at least 300 DPI (dots per inch). That standard 72 DPI you see on web images just won't cut it here—it'll end up looking pixelated and blurry once it's on the fabric.
Prepping Your Digital File
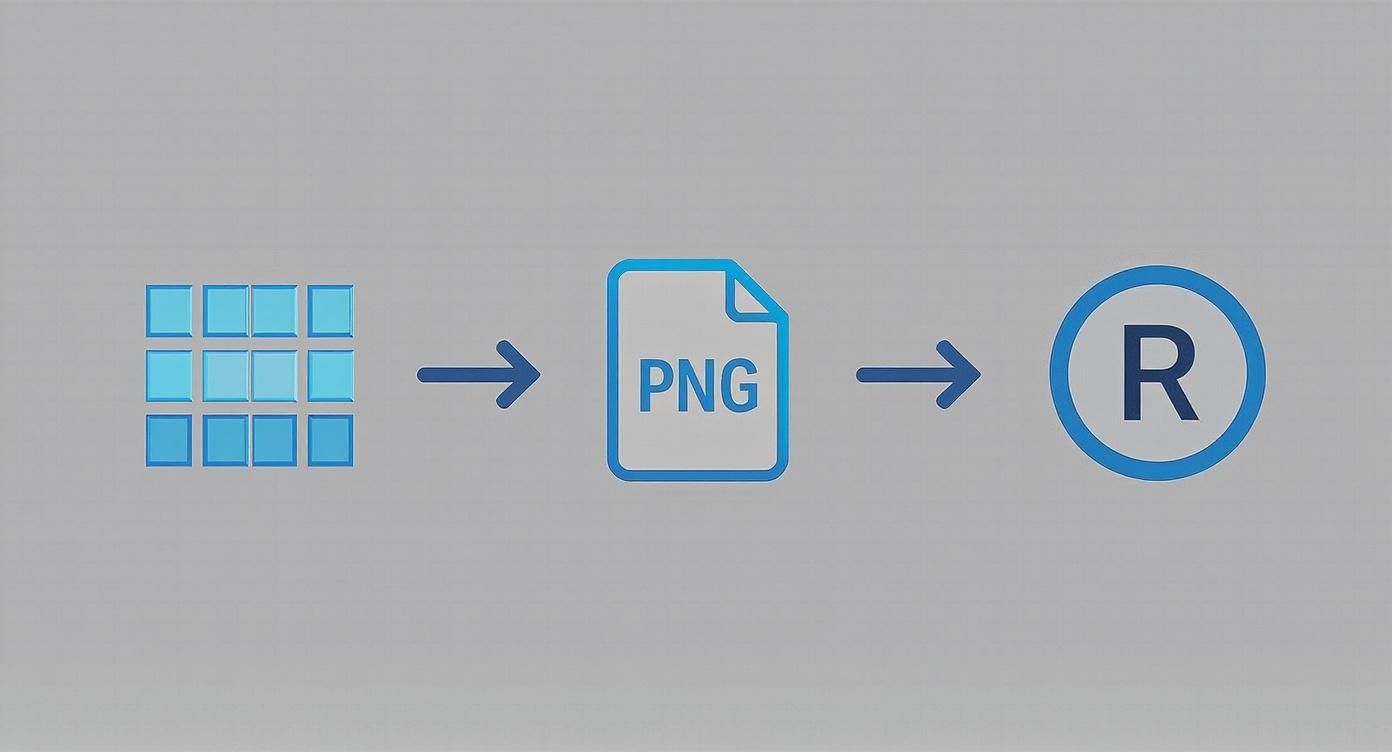
Choosing the right file format is your next big decision. JPEGs are everywhere, but they have one massive drawback for T-shirt design: they don’t support transparency. This means any white space around your design will print as a solid white box. Not a good look.
For any design with complex edges, floating text, or a non-rectangular shape, PNG is your best friend. It keeps the background transparent, so only the actual design gets printed. This is a game-changer, especially when you're working with coloured shirts where a clunky white box would stick out like a sore thumb.
Here’s a quick mental checklist for your design file:
- Resolution: Make sure your canvas is set to 300 DPI.
- File Type: Save the final version as a PNG with a transparent background.
- Colour Mode: Stick with RGB, as that's what most desktop inkjet printers are set up for.
Getting a professional-looking result, no matter what you're printing, often boils down to getting these small details right. For anyone keen on mastering the jump from screen to print, these tips for flawless print outcomes have some great insights that are broadly applicable.
Mirroring and Printer Settings
Okay, listen up, because this next part is absolutely crucial, especially for light transfer paper: you have to mirror your image. Don't skip this. When you press the design onto the fabric, it transfers as a reverse of what's on the paper. Forgetting this step means any text or logos will be completely backwards on the final shirt.
Trust me on this one—I've made this mistake before, and it's soul-crushing to waste a good sheet of transfer paper. Most printer software has a simple checkbox for "mirror image" or "t-shirt transfer". Always, always double-check it's ticked. Do a quick test print on normal paper first to be safe.
Once your image is flipped, it’s time to get your printer settings sorted. Dive into the 'Advanced Settings' or 'Print Properties' dialogue box. You're looking for the paper type setting. The best option is if your printer has a dedicated "T-Shirt Transfer" or "Iron-On" mode.
If you can't find that, "Matte Photo Paper" or a "High-Quality" setting is the next best thing. This tells the printer to use more ink, which gives you those rich, saturated colours that will really pop and hold up better in the wash.
Ultimately, the core principles of creating custom clothing are the same across different methods. If you're enjoying this process, you can explore more ways to create your own unique look in our guide to personalised t-shirt printing. By taking the time to carefully prep your file and dial in your printer, you're making sure the design you imagined is the one you actually create.
Mastering the Heat Application Process
Right, this is the moment of truth. You’ve prepped your design, printed it perfectly, and now it’s time to bring it all together. A successful heat application is what separates a homemade-looking shirt from a professional, durable piece you can be proud of. It all comes down to three things: heat, pressure, and time.
Whether you're using a dedicated heat press or a household iron, the core principles don't change. You’re aiming for a perfect bond between the transfer’s ink layer and the fabric fibres. Get this right, and your design won’t crack, peel, or fade after the first wash.
The following visual breaks down the essential prep steps leading up to this crucial stage.
As you can see, getting the resolution right, choosing the proper file format, and mirroring your image are all things that happen before you even think about switching the heat press on.
Preparing Your Garment and Press
First things first: always pre-press your garment for 5-10 seconds. Don't skip this. It's a simple step, but it zaps any hidden moisture and smooths out wrinkles, creating a perfectly flat, dry surface for your transfer. Trapped moisture is the number one enemy of a good application—it turns to steam and stops the adhesive from bonding properly.
Once pre-pressed, carefully position your transfer paper, design-side down, onto the garment. If you're worried about it shifting, a small piece of heat-resistant tape at the edges will hold it securely in place.
Next, get your heat source ready. A proper heat press is a game-changer because it gives you precise control. If you're using a home iron, make sure the steam function is off and crank it up to the highest temperature, which is usually the cotton or linen setting.
A common mistake is thinking hotter is always better. It isn't. Every transfer paper has an ideal temperature range recommended by the manufacturer. Go too far beyond it, and you risk scorching the fabric or melting the transfer itself.
For a deeper dive into finding the perfect settings for different materials, our comprehensive heat press temperature guide has specific recommendations to get you started.
Hot Peel vs. Cold Peel Technique
After pressing for the right amount of time, the final step is removing the backing paper. This is where the type of paper you’re using really matters.
- Hot Peel: This means exactly what it sounds like. You have to remove the backing paper immediately after the press opens, while it's still piping hot. The key is to do it in one smooth, confident motion. If you hesitate, parts of the design can cool down and lift off with the paper.
- Cold Peel: With this type, you need to let the garment cool down completely before you even think about touching the backing paper. Peeling it while it's still warm will almost certainly ruin the transfer. Patience is your best friend here.
This whole process is a cornerstone of the personalised apparel industry. The demand for customised gear has seen the UK textile transfer paper market grow steadily, with a forecasted growth rate of around 5.94% annually between 2023 and 2033. It just shows how much people want unique fashion pieces.
Nailing the heat application process is a skill. It might take a few practice runs to get your technique down, especially with a home iron. But by focusing on solid preparation, consistent pressure, and the correct peeling method, you’ll be turning out brilliant, long-lasting results every time.
Looking After Your Creation (and Fixing Things When They Go Wrong)
Creating a stunning custom garment is one thing, but making sure it lasts is another challenge entirely. Proper aftercare is what turns a one-wash wonder into a wardrobe favourite. The first rule? Patience. You absolutely must wait at least 24 hours after pressing before you even think about washing your new item.
This waiting period is non-negotiable. It gives the ink and adhesive time to fully cure and properly bond with the fabric fibres, creating a finish that's built to last. Rushing this step is the single biggest reason I see for premature cracking and peeling.
Washing and Drying: The Dos and Don'ts
To get the most life out of your transfer paper print, a gentle touch is always the best approach. Just a few small tweaks to your laundry routine can make all the difference.
- Turn It Inside Out: This is the golden rule. It shields the printed surface from getting roughed up by other clothes, zips, and buttons in the machine.
- Keep It Cool: Always wash in cold water (no more than 30°C) on a gentle or delicate cycle. Hot water is the enemy—it weakens the transfer's adhesive, which leads to a faded or cracked design.
- Go Mild on Detergent: Steer clear of harsh detergents, bleach, and fabric softeners. These chemicals can break down both the ink and the transfer film itself.
When it's time to dry, air drying is king. Lay the garment flat or hang it on a line, but keep it out of harsh, direct sunlight. If you're in a pinch and must use a tumble dryer, pop it on the lowest heat setting you can and pull the item out while it's still a tiny bit damp to finish air drying. And whatever you do, never, ever iron directly over the transfer.
One of the most common frustrations for beginners is that faint, boxy outline you sometimes see from the transfer paper's edge. This 'transfer box' is usually a sign of too much heat or pressing for too long. You can minimise it by trimming as close as you can to your design before you press it.
Tackling Common Transfer Problems
Even when you do everything right, things can still go sideways. Don’t panic—most issues are fixable and are actually great learning opportunities. One of the most common headaches is a design that cracks or starts peeling, which nearly always points back to not enough heat or pressure during the application. Often, a quick re-press with a sheet of parchment paper over the design can help it re-bond to the fabric.
Another frequent problem is seeing dull or faded colours after that first wash. This is a classic sign that the transfer wasn't pressed long enough for the ink to really set into the fabric. For your next project, try adding just a few extra seconds to your press time.
The techniques for getting a durable finish here are similar to other methods. If you want to broaden your knowledge, you can learn a lot by checking out our guide on printed vinyl heat transfers. Understanding how different materials behave can seriously improve your overall game. By learning to troubleshoot these common hitches, you’ll quickly get your technique down for flawless results every time.
Got Questions? We've Got Answers
Even after walking through the whole process, it's totally normal to have a few questions buzzing around your head. Sometimes, a quick answer is all you need to dodge a common mistake and get back to the fun part—creating something awesome. Let's clear up some of the most common queries that pop up for beginners.
What's the Best Printer for Transfer Paper?
Honestly, you probably already have what you need. Most modern inkjet printers do a fantastic job with transfer paper. The secret isn't some fancy, expensive model; it's about using the manufacturer's genuine inks and choosing the right print settings. Look for options like "Matte Photo Paper" or, if you're lucky, a dedicated "T-Shirt Transfer" mode to get those rich, saturated colours.
While you can use laser printers with the right kind of paper, inkjets are far more common for at-home projects and deliver brilliant results without the extra fuss.
Can I Just Use an Iron Instead of a Heat Press?
Yes, you absolutely can! When you're just dipping your toes in, a household iron is a great way to get started on your first few projects.
Just be realistic about the results. An iron simply can't provide the consistent, even pressure and rock-steady temperature of a dedicated heat press. This can sometimes mean your transfers aren't as durable and might start to peel or crack after a few washes. If you're aiming for professional, long-lasting quality, a heat press is an investment that pays for itself.
Quick Takeaway: An iron is perfect for experimenting, but a heat press is the real deal for consistent, professional-quality results that will survive the washing machine. This is a non-negotiable if you plan on selling your creations.
Help! Why Is My Transfer Cracking After I Wash It?
Ah, the classic question. This is a super common headache, and it almost always boils down to one of three culprits:
- Not Enough Heat: The temperature wasn't quite hot enough for the transfer's adhesive to properly melt and fuse with the fabric fibres.
- Patchy Pressure: If the force you applied was inconsistent, you'll end up with weak spots where the transfer hasn't fully bonded. This is a common issue when using a household iron.
- Washing Too Soon: This is a big one. You have to give the garment a full 24 hours to cure before it ever sees the inside of a washing machine. The adhesive needs time to set completely.
Double-check that your heat source is set to the correct temperature for your specific transfer paper and really focus on applying firm, even pressure. But above all, be patient and let your masterpiece rest for a full day before its first wash.
At Psyque - DTF Print & Press, we ditch the guesswork and focus on creating vibrant, durable custom clothing with professional-grade techniques. See the difference for yourself by exploring our collections at https://psyque.co.uk.