
Your Guide to Textile Transfer Paper for Custom Designs
Ever wondered how you can get a design from your computer screen onto a t-shirt? One of the most popular ways to do it, especially for DIY projects, is with textile transfer paper. Think of it as a temporary tattoo for your clothing—a special coated paper that holds your design just long enough to transfer it permanently onto fabric using a bit of heat and pressure.
So, How Does This Magic Paper Actually Work?
At its heart, textile transfer paper is the bridge between your digital idea and a piece of wearable art. It’s a carrier sheet, designed to hang onto your printed ink until you’re ready to press it onto its final home: the fibres of a garment. The real transformation kicks off when the heat is turned up.
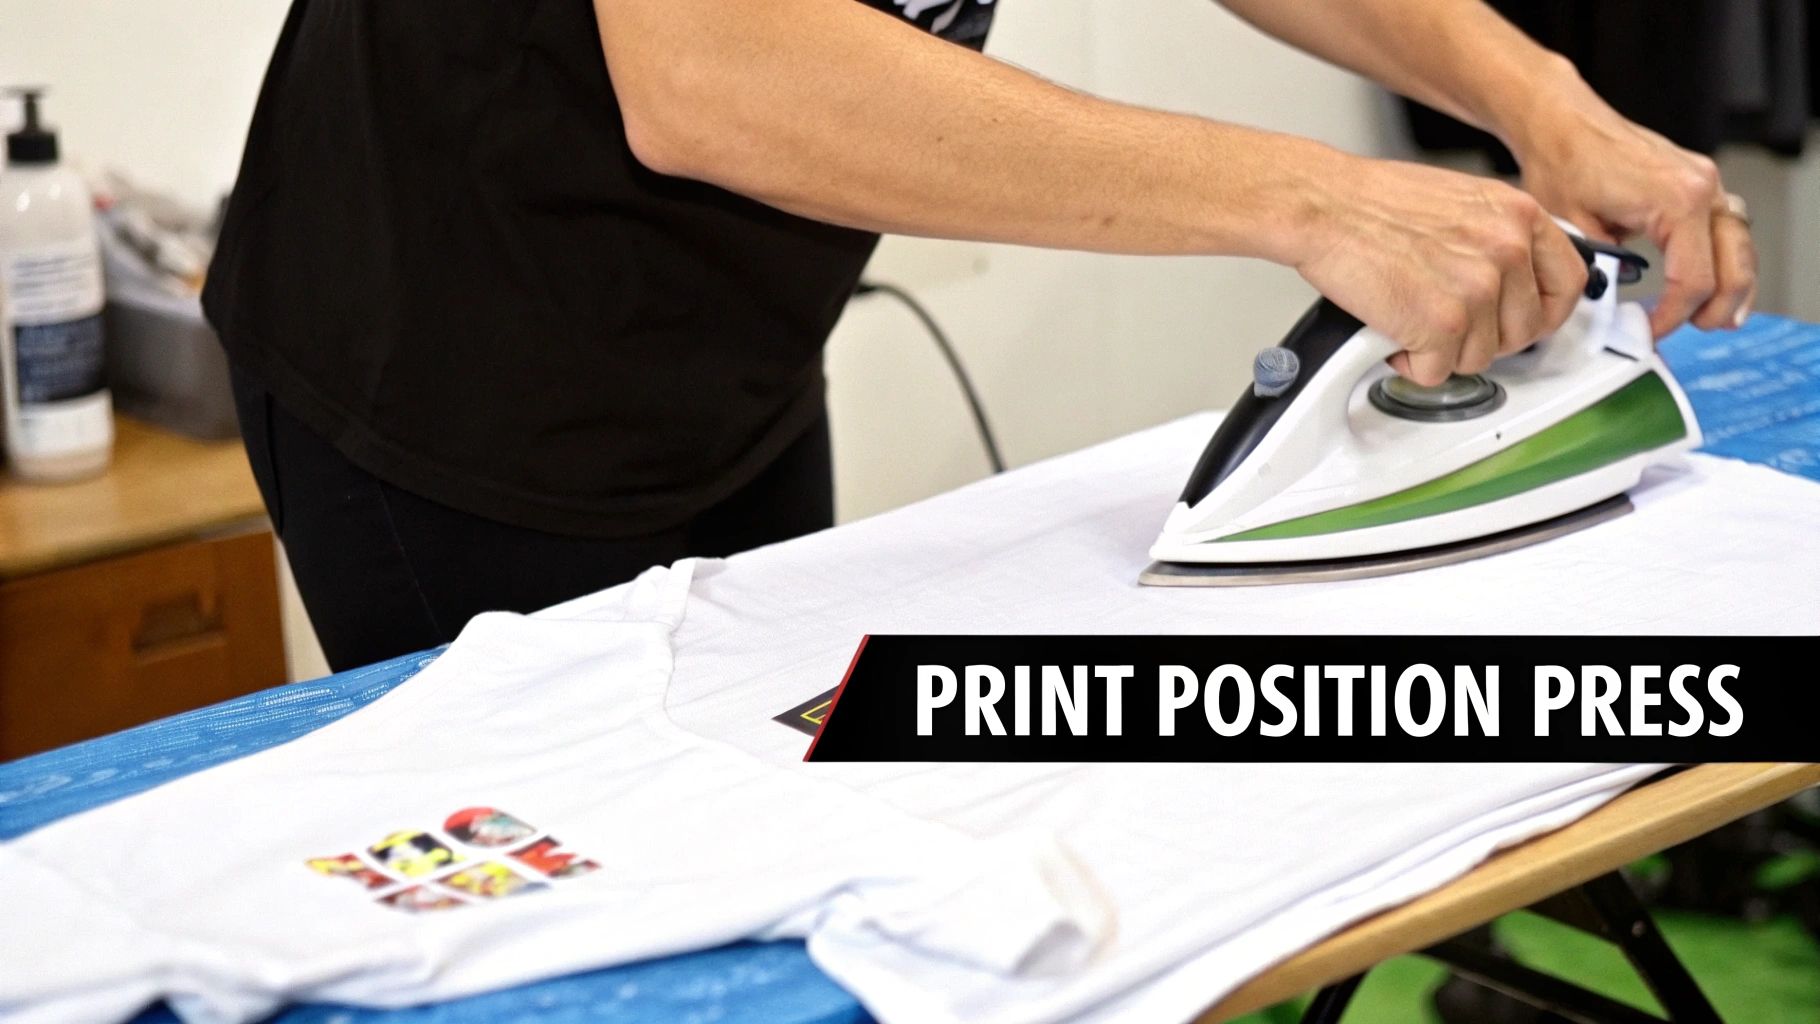
The whole process is beautifully simple and can be broken down into three key steps: Print, Position, and Press.
- Print: First up, you print your design onto the specially coated side of the transfer paper. You can use a standard inkjet or laser printer for this.
- Position: Next, you carefully place the printed paper face-down onto your garment, making sure it’s lined up exactly where you want it.
- Press: Finally, you apply heat and even pressure. This can be done with a regular household iron or, for much better results, a dedicated heat press.
This last step is where the science happens. The heat activates an adhesive coating on the paper, which tells the ink to let go of the carrier sheet and bond permanently with the fabric's threads. The pressure is just as important, as it ensures the design embeds smoothly and evenly, creating a durable finish that will hold up in the wash.
Your Basic Toolkit for a First Project
The great thing about getting started with transfer paper is that you don't need a massive, expensive setup. This accessibility is what makes textile transfer paper a firm favourite for hobbyists, small businesses, and anyone wanting to dip their toes into custom apparel.
Here’s a quick list of the essentials you’ll need:
- A Computer and Printer: Any standard home inkjet or laser printer will do the job.
- The Right Transfer Paper: You'll need to make sure the paper is compatible with your printer and the colour of your fabric (papers are made specifically for light or dark materials).
- Your Design: Need some inspiration? You can find some fantastic unique graphics using royalty-free AI image generator tools.
- A Garment: A simple cotton or poly-cotton blend t-shirt is the perfect canvas for your first go.
- A Heat Source: While a household iron works for small, simple projects, a heat press is the real game-changer, giving you far more consistent and professional results.
The Ever-Growing Appetite for Custom Gear
This method isn’t just for home crafters; it’s a cornerstone of the modern custom apparel world. In the UK, the textile sector is a major economic player, with over 4,200 manufacturing businesses relying on decoration methods just like this one.
With the industry producing materials worth around £5.8 billion every year, the demand for high-quality, reliable transfer papers is always strong. If you're keen to understand the mechanics behind the press, our deep dive into heat transfer printing is a great next step.
Diving Into the Main Types of Transfer Paper
Once you start looking into custom apparel, you'll quickly realise that "textile transfer paper" isn't a one-size-fits-all solution. Picking the right type is probably the most critical decision you'll make, as it directly impacts how your final project looks, feels, and holds up in the wash. Let's walk through the main categories, starting with the most common options and working our way up to the professional stuff.
Our journey begins with the most beginner-friendly and widely available option: heat transfer paper (HTP). This is the stuff you'll find in most craft shops, designed to play nicely with the standard printer you already have at home.
Heat Transfer Paper for Inkjet and Laser Printers
With HTP, the first big choice is dictated by the colour of your fabric. You have to buy paper made specifically for either light or dark garments because they work in completely different ways.
-
Paper for Light Fabrics: This paper has a transparent polymer coating. When you print, you absolutely must print your design as a mirror image. Why? Because you'll place the paper face-down on the shirt, and the heat press transfers both the ink and a very thin, clear film onto the fabric. Any bits you didn't print on remain transparent, letting the shirt's light colour show through.
-
Paper for Dark Fabrics: Think of this paper as more like a high-tech sticker. It has an opaque white backing, which is essential for making your design's colours pop on a dark t-shirt. You print your image the right way around (no mirroring needed!), peel it off the backing sheet, place it face-up on the garment, and press it—usually with a protective sheet over the top. The design looks great and vibrant, but be warned: any unprinted areas will stay bright white unless you trim them away very carefully.
Key Takeaway: The golden rule for beginners is pretty simple. If you're printing on a white or pastel-coloured shirt, grab the "light" transfer paper and remember to mirror your design. For a black, navy, or any other dark or brightly coloured shirt, you'll need "dark" transfer paper and should print your design just as you see it on screen.
Sublimation Paper: A Different Beast Entirely
Taking a step up in the world of printing, we find sublimation paper. It's so important to understand this isn't just another kind of heat transfer paper; it's part of a totally different scientific process. Sublimation printing uses special ink that, when heated to a high temperature, transforms directly from a solid into a gas.
This gas then infuses and permanently dyes the polyester fibres of the garment. The ink literally becomes part of the fabric itself, rather than sitting on top as a separate layer.
The results are incredible—unbelievably vibrant, completely permanent, and with zero "hand," meaning you can't feel the design at all. But here's the catch: sublimation only works its magic on light-coloured fabrics with a high polyester content. It's a non-starter for cotton. To really get your head around the process, check out our in-depth guide to sublimation t-shirt printing.
Direct-to-Film Transfers: The Professional Choice
Finally, we arrive at Direct-to-Film (DTF), the technology that beautifully bridges the gap between home-crafting methods and high-end commercial printing. While it still uses a transfer sheet (it's a special film, not paper), its versatility is unmatched. DTF uses specialised water-based inks and an adhesive powder to create a transfer that can be applied to almost any fabric you can think of—cotton, polyester, blends, you name it, and in any colour.
A DTF transfer feels much softer and more flexible than the traditional paper for dark fabrics, and its durability is in another league. For any business or serious creator who needs vibrant, highly detailed, and long-lasting designs across a huge variety of garments, DTF is simply the superior choice.
You can see this shift happening in the UK's textile industry. Projections show the textile transfer paper market is expected to grow by around 5.9% annually through 2033. There's a clear trend towards more robust materials, particularly in the 60-90 GSM range, that minimise tearing and deliver better results. This really highlights a market that's starting to value the kind of reliability that advanced methods like DTF offer. You can dig into these market trends and projections on Future Market Insights if you're curious.
Comparing Transfer Methods and Fabric Compatibility
Diving into the world of custom printing can feel a bit like learning a new language. You've got heat transfer paper, sublimation, DTF... and they all promise great results. But the secret to a project you'll be proud of is picking the right method for the right material from the get-go.
After all, the fabric you'd choose for commercial printed tablecloths is worlds away from a simple cotton tee, and each requires a different touch. Let's break down how these popular methods really stack up, so you can choose the perfect fit for your vision.
Matching the Method to Your Material
The biggest fork in the road is fabric compatibility. Get this right, and you're halfway there.
Standard heat transfer paper is the undisputed champion for beginners and hobbyists. It's designed for cotton and poly-cotton blends, making it the perfect choice for classic t-shirts, hoodies, and tote bags. It’s accessible, affordable, and gets the job done.
Sublimation, on the other hand, is a bit more exclusive. It only truly works its magic on polyester. The process is fascinating—the ink turns into a gas under heat and permanently dyes the fabric fibres. This creates a stunning, vibrant design that you literally can't feel. It’s the go-to for athletic wear and other synthetic performance gear.
Then there's Direct-to-Film (DTF), the versatile all-star of the group. It confidently steps in where the others can't, working beautifully on cotton, polyester, blends, and even trickier fabrics. This incredible flexibility is why so many growing brands and professionals rely on DTF for consistently brilliant results across all kinds of products.
Picking the right transfer method is just as crucial as the artwork itself. If you're wondering about the creative side of things, our guide on how to get my design on a t-shirt is packed with practical steps to bring your ideas to life.
Comparison of Fabric Printing Methods
To make things even clearer, here’s a straightforward comparison of the three methods across the factors that matter most. This table should help you quickly weigh the pros and cons based on what your project demands.
| Feature | Heat Transfer Paper | Sublimation Paper | DTF Transfers |
|---|---|---|---|
| Best Fabrics | Cotton, Poly-Cotton Blends | 100% Polyester (or high-poly) | Cotton, Polyester, Blends, Various Others |
| Fabric Colour | Works on light or dark (requires specific paper) | Light-coloured fabrics only | Works on any colour fabric |
| Feel of Design | A noticeable layer on the fabric surface | Zero feel (ink is part of the fabric) | Soft, flexible, and thinner than HTP |
| Durability | Good (can crack/fade over time) | Excellent (permanent, will not crack or peel) | Excellent (highly durable and stretch-resistant) |
| Colour Vibrancy | Good to very good | Excellent (exceptionally bright and vivid) | Excellent (vibrant with a wide colour range) |
| Initial Cost | Very low (ideal for beginners) | Moderate (requires specific printer/ink) | High (professional equipment needed) |
As you can see, each method has its own distinct strengths. The best choice really comes down to the specifics of what you're trying to create.
For a quick visual guide when using heat transfer paper, this simple decision tree is a great starting point.
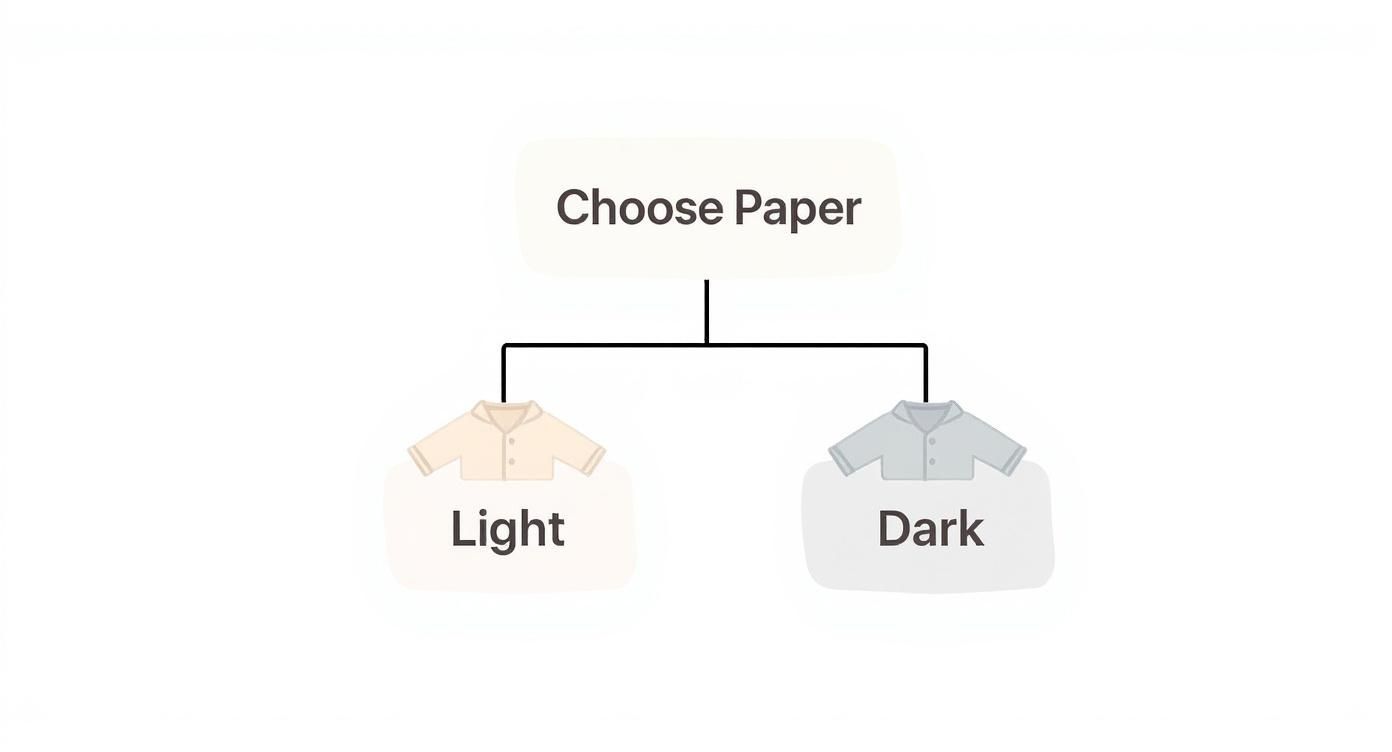
It really is that simple: the first question you need to ask for any heat transfer project is whether your garment is light or dark, as that dictates the type of paper you'll need.
Making the Final Choice
So, what's the verdict? Your decision really boils down to a balance of budget, the quality you're after, and the fabric you've chosen.
- For a one-off cotton t-shirt project for a family reunion or a fun hen party, standard inkjet heat transfer paper is easily the most wallet-friendly and straightforward option.
- If you're creating bold, full-colour designs for sportswear or personalised polyester gear, sublimation is the only way to achieve that professional, permanent, zero-feel finish.
- When you need top-tier, durable designs that work across a huge range of fabrics and colours—especially if you're building a brand—DTF is the superior choice, offering unmatched quality and versatility.
Your Step-by-Step Guide to a Perfect Transfer

Alright, you've picked out the right paper, and now it's time for the fun part: bringing your digital design to life on fabric. This is where your idea stops being pixels on a screen and becomes something you can actually wear.
Think of it like following a recipe. You've got your ingredients—the design, the paper, the garment. Now you just need to follow the instructions for heat, time, and pressure. Get one of those wrong, and you might end up with a soggy-bottomed cake, or in this case, a peeling design. But follow the steps, and you'll create something brilliant.
Let's walk through the process using standard textile transfer paper, breaking it down so it's simple, straightforward, and gets you a great result every time.
Stage 1: Preparing Your Design and Printer
Before you even think about plugging in a heat press or iron, your success starts on the computer. Getting the digital prep work right is absolutely non-negotiable if you want a crisp, vibrant print.
First, lock in your artwork. To avoid a blurry or pixelated mess, make sure your image has a resolution of at least 300 DPI (dots per inch). This is a golden rule for sharp results.
Next up is the most common pitfall for beginners using paper for light fabrics: you have to mirror the image! Flip your design horizontally in your software. If you forget this, any text or logos will be completely backwards on your shirt. Trust me, it's a classic mistake, so double and triple-check it before you hit print.
Pro Tip: Dive into your printer's settings. Most have a "T-Shirt Transfer" or "Mirror Image" box you can tick. It's the easiest way to get it right without manually flipping your design file.
Finally, tweak your printer settings for the best possible output. Choose the highest quality option you can find, often called "Photo Quality" or "Best." You also need to tell the printer it's handling special paper—look for settings like "Glossy Photo Paper" or, if you're lucky, a dedicated "T-Shirt Transfer" option. This makes sure it lays down enough ink for a really rich, saturated colour.
Stage 2: Prepping Your Garment and Workspace
With your design perfectly printed, it's time to set the stage for the main event. A few minutes of prep here makes all the difference between an amateur job and a professional finish.
Get your garment ready first. It’s always best to pre-wash your tee without any fabric softener, which can leave a residue that stops the transfer from sticking properly. Once it's clean and dry, give the garment a pre-press for 5-10 seconds. This zaps out any hidden moisture and smooths out every wrinkle, giving you a perfectly flat canvas to work on.
Now for your pressing surface. If you're using a home iron, do not use a regular ironing board. They're too padded and just won't give you the firm pressure you need. You want a hard, flat, heat-resistant surface, like a sturdy table with a pillowcase laid over it.
For those with a heat press, simply dial in the temperature and time recommended by the transfer paper's manufacturer. These instructions can vary wildly between brands, so always, always follow what's on the packet. Getting that perfect combo of heat, pressure, and time is the secret sauce, a topic we cover in more detail in our full guide on how to print heat transfers.
Stage 3: The Pressing and Peeling Process
This is the moment of truth. Everything is prepped and ready to go.
- Trim Your Design: Carefully cut around your print. Leaving a small border of about 3-5mm is fine. If you're using paper for dark fabrics, it's really important to trim away any unprinted white background unless you want a white box around your art.
- Position the Paper: For light-coloured fabrics, you'll place the transfer paper with the design facing down onto the shirt. For dark fabrics, you usually peel the design off its backing first and place it facing up.
- Apply Heat and Pressure: With an iron, make sure the steam is off and crank it to the highest cotton setting. Press down firmly, keeping the iron moving constantly over the whole design for the required time (usually 1-3 minutes). Don't forget the edges! If you have a heat press, just lower the lid and let the machine work its magic.
- The Peel: This final step is critical and depends entirely on the paper you bought. Some are "hot peel," meaning you rip the backing off immediately. Others are "cold peel," where you have to wait for it to cool down completely. Peeling at the wrong temperature can wreck the whole thing, so check the instructions to ensure a clean, perfect finish.
How to Choose the Best Quality Transfer Paper
The quality of your textile transfer paper is the single biggest factor in how your finished garment looks, feels, and holds up over time. Trust me on this one: choosing a cheap, poor-quality paper is a false economy. It only leads to frustrating application, dull colours, and designs that crack and peel after the first wash.
Making a smart choice from the start ensures all your creative effort pays off. A great transfer should feel like it's part of the garment, not just a sticker slapped on top. This all begins with understanding a few key things that separate the best papers from the rest.
Decoding Paper Thickness and Weight
One of the first specs you'll come across is the paper's weight, measured in GSM (grams per square metre). It might sound like a tiny detail, but it’s actually a pretty solid indicator of quality.
- Thicker Papers (Higher GSM): These are generally much easier to handle. They’re less likely to tear while you're working with them and can often hold more ink, which translates to richer, more vibrant colours in your final design.
- Thinner Papers (Lower GSM): While they can sometimes give you a softer feel, really thin papers can be a nightmare to work with. They're notorious for curling or even jamming up in certain printers.
This is all part of a bigger picture in the UK paper industry. While domestic production of some paper types is changing, our consumption is still high, meaning the UK imports a lot to meet demand. In 2022, the UK produced around 3.46 million metric tonnes of paper and board, but its reliance on imports creates a complex supply chain that can affect specialty products like high-quality textile transfer paper. You can learn more about the challenges facing the UK's modern paper industry on pulpapernews.com.
Evaluating the 'Hand' of the Design
Beyond the technical numbers, the "hand" of a design is a massive quality factor. In simple terms, this just means how the transferred design feels on the fabric's surface. The goal is always a soft, flexible finish that moves with the garment, not against it.
A low-quality paper, especially one designed for dark fabrics, can leave a thick, stiff, plastic-like patch that feels awful and is just waiting to crack. On the flip side, premium papers are engineered to produce a much softer hand, blending more smoothly into the fabric's natural texture for a result that looks and feels professional.
Always check user reviews for comments on the "hand" or "feel" of the finished product. Real-world feedback is your best guide to avoiding that undesirable plastic-patch effect.
Your Essential Pre-Purchase Checklist
To avoid that sinking feeling of buyer's remorse, just ask yourself a few key questions before you click "buy". Running through this simple checklist can save you a world of time and frustration later.
- Is it compatible with my printer? Always double-check if the paper is made for an inkjet or a laser printer. Using the wrong one simply won't work.
- What are the washing instructions? A reputable brand will have clear care instructions. If the guidelines suggest it can't handle a normal wash cycle, it’s probably not very durable.
- Does it have strong user reviews? Look for what real people are saying about ease of use, colour vibrancy, and how the design holds up after a few washes. This is gold dust.
Considering these factors will help you make an informed choice and invest in a product that delivers the goods. For a deeper look at the different options out there, have a look at our complete guide on t-shirt printing papers to compare specific types.
Troubleshooting Common Transfer Paper Problems
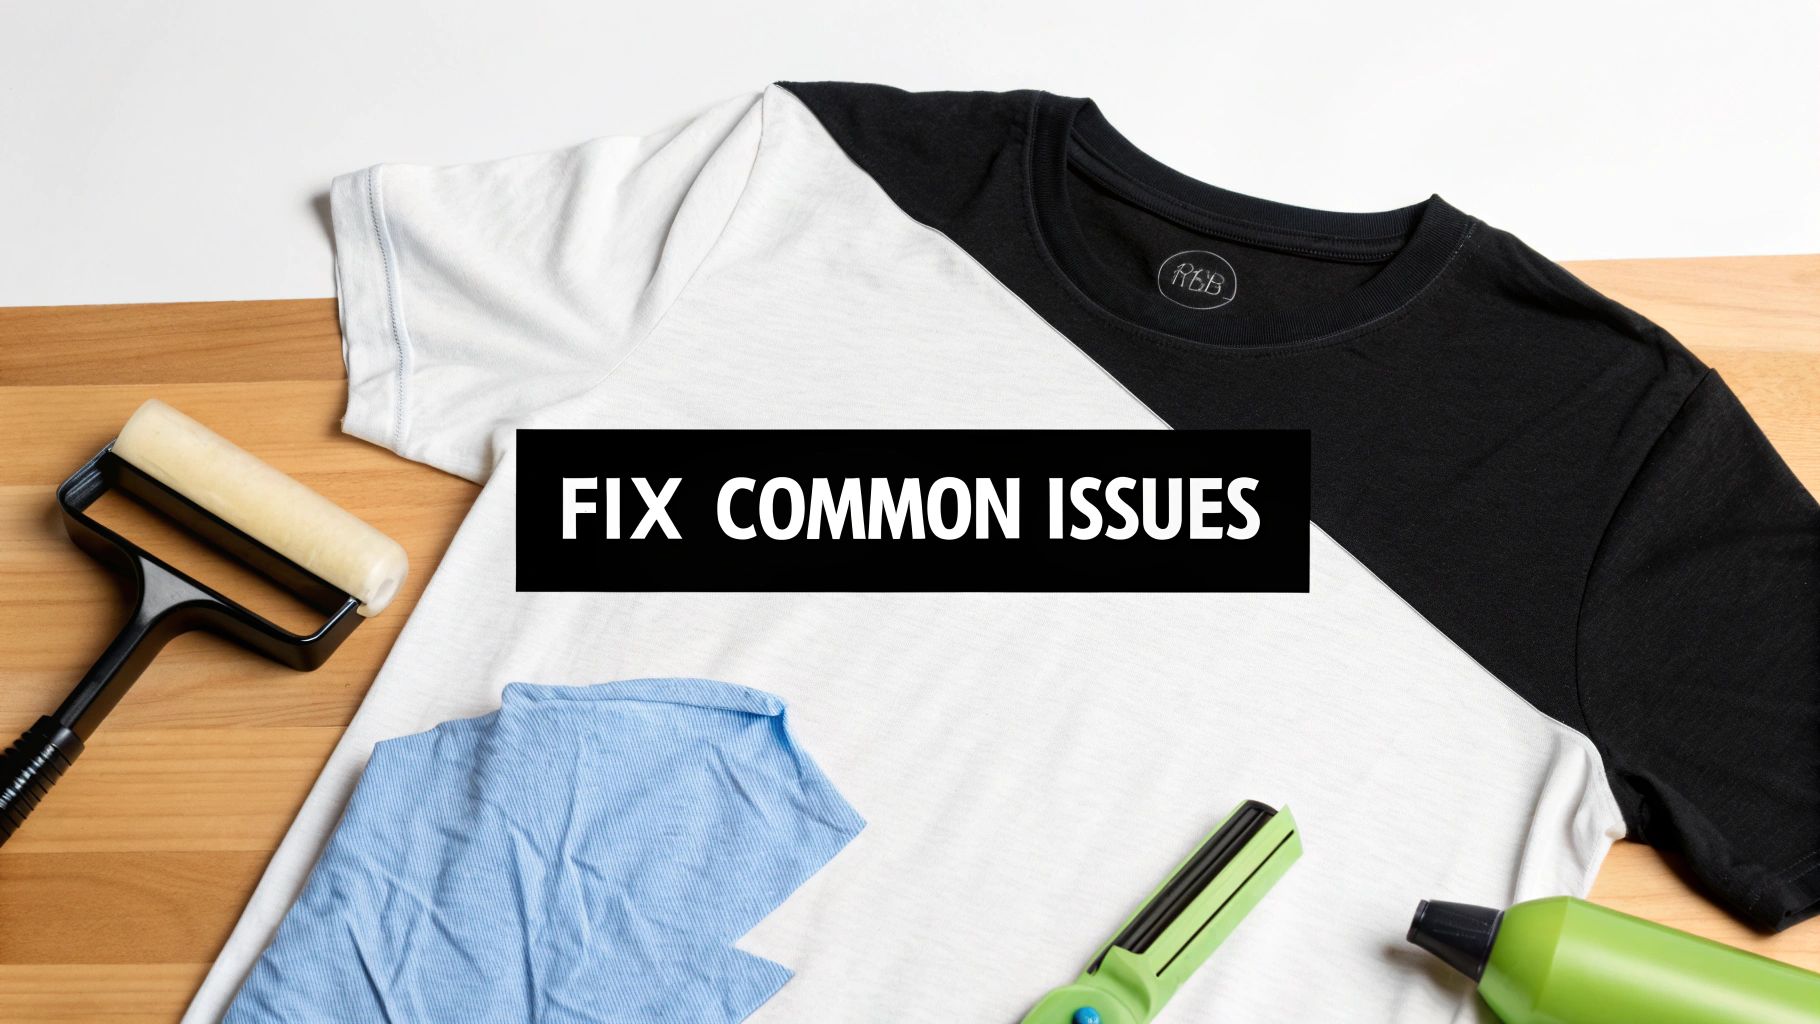
Even when you follow the instructions to the letter, you might still hit a few snags with your textile transfer paper project. It happens to everyone, so don't get discouraged! This is all just part of the learning curve.
The good news is that most of these common headaches have surprisingly simple fixes. Think of this as your go-to guide for figuring out what went wrong and how to make it right.
Problem One: Why Your Design Is Cracking or Peeling
There's nothing more disheartening than seeing your brilliant design start to crack and peel away after only a wash or two. It's probably the most common frustration for beginners, but thankfully, it's almost always preventable.
When this happens, the root cause is usually a poor bond between the transfer and the fabric. This weak connection often comes down to one of three things: not enough pressure, not enough heat, or not giving the garment enough time to set.
Solutions to Try:
- More Pressure, Please: If you’re using a standard home iron, you need to put some real muscle into it. We're talking firm, even pressure across the entire design. A proper heat press is a game-changer here, as it delivers the consistent force needed for a rock-solid bond.
- Check Your Heat: Too little heat is a classic culprit. Without it, the transfer's adhesive just won't activate properly. Go back and double-check the recommended temperature settings for your specific brand of paper.
- Give It Time to Cure: This one is crucial. You have to let the garment rest for at least 24 hours after pressing. This "curing" time allows the transfer to fully bond with the fabric fibres before you put it through the stress of a washing machine.
Problem Two: Colours Look Dull or Faded
You printed a design that was bursting with vibrant colour on your screen, but the finished shirt looks flat, dull, and washed out. If this happens straight off the press—before it's even been washed—the issue is definitely in your printing or pressing stage.
Typically, this is down to the wrong printer settings or simply not applying enough heat. Without the right combination, the ink just can't transfer over with the punchy vibrancy it's supposed to have.
A very common slip-up is just hitting 'print' without adjusting the settings. You need to tell your printer that you're laying down a lot of ink for a rich, saturated image that's meant for textile transfer paper.
Quick Fixes for Faded Colours:
- Tweak Your Printer Settings: Before you print, dive into your printer's properties menu. Look for the highest quality option, often labelled "Best" or "Photo Quality," and tell it you're printing on "Glossy Photo Paper" or a similar high-quality medium.
- Crank Up the Heat: Make sure your heat press or iron is actually reaching the temperature it needs to. The inks in the transfer require a specific amount of heat to fully "bloom" and fuse with the fabric.
- Don't Skimp on Paper: Better quality transfer paper is designed to hold more ink and then release it more completely during pressing. Sometimes, just switching to a more reputable brand can instantly solve your colour vibrancy problems.
Got Questions About Transfer Paper? We've Got Answers
Right, let's get into the nitty-gritty. To wrap things up, we’ll tackle some of the most common questions that pop up when you're starting out with textile transfer paper. Getting your head around these practical details will help you dive into your first project with confidence.
How Long Do Designs Made with Transfer Paper Last?
This is the big one, isn't it? The lifespan of your design really comes down to the quality of the paper you use and how you look after the garment. A good quality transfer, applied properly, can easily handle 20-30 washes before you start to see any serious fading or cracking.
But to get anywhere near that, proper care is an absolute must.
- Always, always wash the garment inside out.
- Stick to a cold wash cycle and use a gentle detergent.
- Forget the tumble dryer – let it air dry naturally.
- Never iron directly over the design itself. A hot iron is the fastest way to ruin your hard work.
Can I Use a Regular Home Iron for My Transfer?
Yes, you absolutely can! Most transfer papers designed for hobbyists and home crafters are made to work perfectly well with a standard household iron. It's a great way to get started without splashing out on more gear.
The real challenge, though, is getting consistent heat and pressure across the whole design. A dedicated heat press is brilliant at this, giving you precise control and a much more durable, professional finish. If you’re sticking with an iron, just remember to press down hard on a solid, heat-resistant surface – your padded ironing board won't cut it here.
Why Did My Design Transfer Backwards onto the Shirt?
Ah, the classic rookie mistake! Don't worry, pretty much everyone does this at least once. The solution is all about which type of paper you're using.
For transfer paper meant for light-coloured fabrics, you have to print your design as a mirror image. That’s because you place the paper face-down on the shirt. When you apply the heat, the image flips over to its correct orientation.
Most printer software has a "mirror image" or "t-shirt transfer" setting to make this dead simple. On the other hand, for papers made for dark fabrics, you almost always print the design the right way around. With these, you peel the design off the backing and place it face-up, so no mirroring is needed.
Ready to skip the DIY learning curve and get straight to professional-quality custom clothing? At Psyque, we use industry-leading DTF printing to create stunningly vibrant and durable designs on a huge range of garments. See the difference for yourself by exploring our collections at https://psyque.co.uk.