
A Practical Guide to White Printing Ink for Textiles and DTF
White printing ink is what separates amateur-looking prints from professional, vibrant designs on anything that isn't a plain white tee. Think of it as a painter's primer but for fabric. It lays down an opaque white base that lets your coloured inks pop, instead of getting lost and looking dull against the garment.
Why White Ink Is the Foundation of Great Textile Printing
Ever wondered how a bright yellow sun can look so punchy and vivid on a black t-shirt? The secret isn't some super-powered yellow ink—it's the brilliant layer of white printing ink hiding right underneath it. Without this crucial base, your colours would just sink into dark or coloured fabrics, looking muddy, washed out, and completely losing their impact.
It’s just like trying to paint a bright colour straight onto a dark wall. That dark background is going to soak up the light, making your new colour look murky and faded. A smart painter always puts down a coat of white primer first to create a neutral, bright surface. White ink does the exact same job in textile printing. It’s the essential underbase.
The Underbase Advantage
This foundational layer is especially vital in modern printing methods. For techniques like Direct-to-Film (DTF), the entire process hinges on a perfectly applied white layer.
- Opacity and Vibrancy: A solid white underbase physically blocks the fabric's colour from peeking through. This is what guarantees your final design is truly opaque and the colours are as bright as you intended.
- Colour Accuracy: It gives you a neutral canvas to work on, which means the colours you print will be true to what you see on your screen. No more guesswork.
- Durability and Feel: In DTF, the white ink also has a second job. It bonds with the adhesive powder, creating a transfer that's not only durable but also flexible and feels great to the touch on the finished garment.
A classic rookie mistake is underestimating just how important that white layer is. It's the number one reason for prints that lack punch and look unprofessional. Getting your white ink application right is the first real step toward making high-quality, sellable products.
At the end of the day, it doesn't matter if you're working with cotton, polyester, or tricky blends—a well-laid white ink layer is simply non-negotiable. To see how this all comes together in the real world, check out our complete guide to the DTF printing process, which breaks down how each layer builds on the last to create stunning apparel. White ink truly is the invisible hero that makes sure your designs get seen and remembered.
Understanding Opacity and Key Ink Formulations
When we talk about white printing ink, it all comes down to one thing: opacity.
Think of opacity as the ink's hiding power—its ability to completely mask the colour of the fabric it’s printed on. A truly opaque white ink lays down a solid, bright base, almost like a painter priming a canvas. This base is what makes every other colour you print on top pop, looking vibrant and exactly how you designed it.
But if your white ink has low opacity? The shirt's colour will bleed through, leaving your design looking faded, washed out, or even tinted. Imagine printing a brilliant red logo on a navy t-shirt. Without a solid white underbase, that red will likely turn into a dull, muddy maroon. Getting that crisp, professional look hinges entirely on the opacity of that first white layer.
This flowchart shows exactly how white ink acts as a primer, creating that opaque foundation for vibrant colours to sit on.
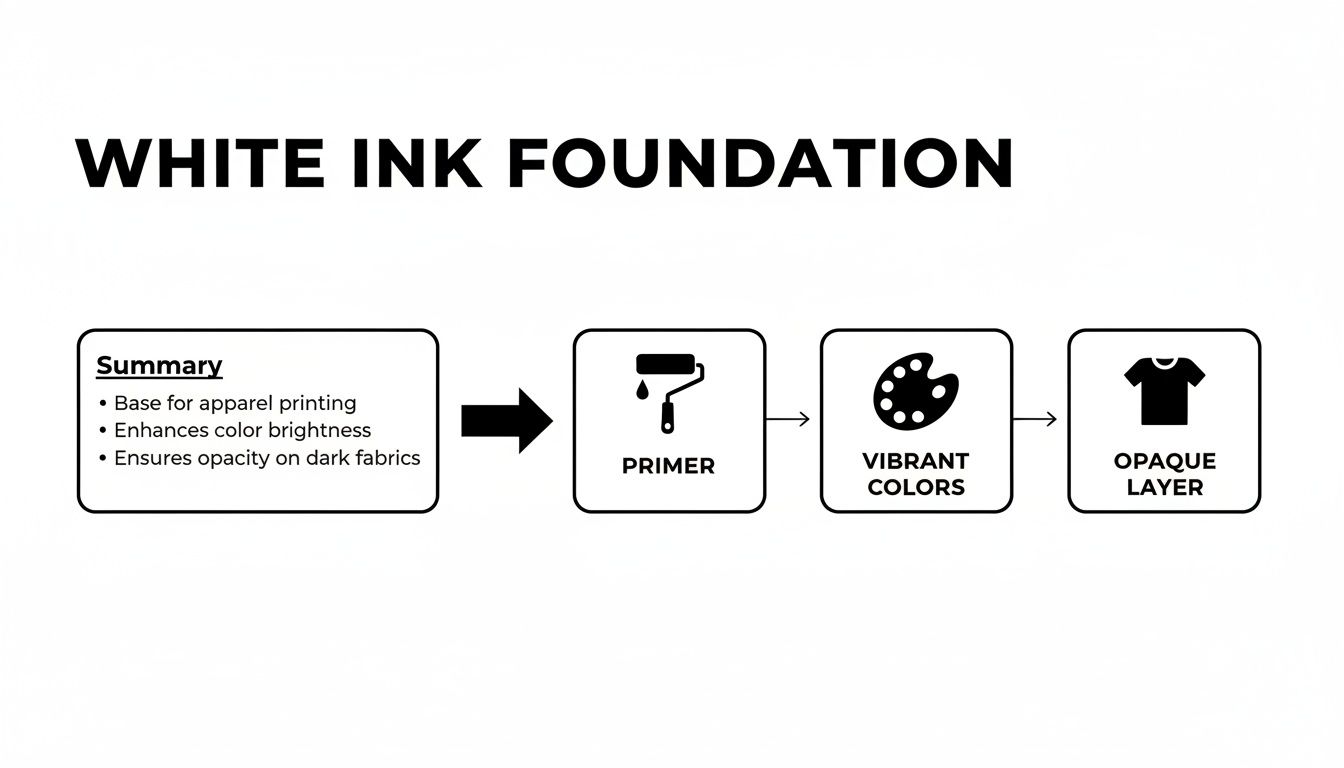
As you can see, the white underbase isn't just an optional extra; it's the critical first move before any colour is applied. It guarantees the final print is bright and solid. The secret ingredient doing all the heavy lifting here is titanium dioxide, a brilliant white pigment that gives the ink its incredible covering strength.
Exploring Different Ink Families
Not all white inks are the same. They come from different chemical families, and each has its own unique personality, strengths, and ideal use case. Getting to grips with these formulations is the key to picking the right ink for your project and your printer.
There are three main types you'll come across in the printing world:
- Water-Based Inks: These inks use water as their main solvent. They're loved for creating a super-soft, breathable feel because the ink soaks right into the fabric fibres. The trade-off? Achieving high opacity can be tricky and often requires a few layers.
- Plastisol Inks: A long-time favourite in the screen printing world, plastisol is a PVC-based ink that sits on top of the fabric instead of soaking in. This gives it fantastic opacity and colour vibrancy, though it can feel a bit thicker or heavier on the garment.
- UV-Cured Inks: These are the speed demons of the ink world, drying almost instantly when hit with ultraviolet (UV) light. They offer incredible durability and stick to a huge range of materials, making them a popular choice for more advanced digital and industrial printing setups.
For a really detailed look at the science of DTF inks, which is essential for understanding opacity in white ink, check out this excellent guide to DTF printer ink for vibrant prints.
Comparing White Ink Formulations
To make things clearer, let's break down how these three ink types stack up against each other. Each one has a distinct profile that makes it better suited for certain jobs.
| Ink Type | Key Characteristics | Best For | Curing Method |
|---|---|---|---|
| Water-Based | Soft feel, breathable, soaks into fabric, eco-friendlier. | Light-coloured garments, vintage or soft-hand feel prints. | Heat (heat press, tunnel dryer). |
| Plastisol | High opacity, vibrant colour, sits on fabric, durable. | Dark garments, bold graphics, screen printing. | Heat (requires reaching a specific temperature to cure). |
| UV-Cured | Instant drying, excellent durability, adheres to many surfaces. | High-volume industrial printing, non-textile items, rigid surfaces. | Exposure to ultraviolet (UV) light. |
Choosing the right formulation isn't just about the final look; it directly impacts everything from the print's feel and durability to the kind of printer for clothes you'll need. Each type interacts with fabrics and curing methods differently, so matching the ink to your technology and the product you want to create is non-negotiable.
How to Choose the Right White Ink for Your Print Method
Picking the perfect white printing ink isn't a one-size-fits-all deal. It's less about finding a single "best" bottle and more about matching the ink's personality to your specific printer and the fabric you're working with.
Get this right, and your designs will pop with vibrant colour and stand up to countless washes. Get it wrong, and you're looking at a cracked, peeling mess or a design that just looks dull and lifeless from the start.
The first big question is your printing method. Direct-to-Film (DTF) and screen printing are both titans of the textile world, but they need completely different things from a white ink to get the job done right. A great DTF ink needs to be stretchy, while a screen printing ink is all about having the right consistency to push through a mesh screen.
For Direct-to-Film (DTF) Printers
With DTF, the game is all about flexibility and teamwork. That white ink layer isn't just a colour; it's the very foundation that bonds your entire design to the garment when it hits the heat press.
When you're shopping around, look for a white printing ink made specifically for DTF. You're looking for a few key traits:
- High Elasticity: The ink absolutely must be able to stretch with the fabric. If it can't, it'll crack and peel apart the first time it's worn. This is non-negotiable for stretchy stuff like sportswear or anything with elastane in the blend.
- Strong Powder Adhesion: After printing, that wet white layer needs to grab onto the hot-melt adhesive powder and hold on tight. A good DTF white creates a perfectly uniform surface for the powder to stick to, which is the secret to a clean, durable transfer.
- Printer Compatibility: Always, always check that the ink is formulated for your specific printhead model. The pigments in white ink are notoriously thick, and using the wrong kind is the fastest way to get frustrating, and potentially expensive, clogs.
For Screen Printing Setups
Screen printing is a much more hands-on process, and the physical properties of the ink are everything. The main thing you need to worry about here is matching the ink's viscosity to your screen's mesh count.
Viscosity is just a fancy word for how thick an ink is. Think of the difference between treacle (high viscosity) and water (low viscosity). It’s all about how easily it flows.
If you're using a low mesh count screen—the kind with bigger holes for laying down a thick, opaque base layer—you'll need a thicker, high-viscosity white ink. On the flip side, a high mesh count screen for capturing fine details needs a thinner, low-viscosity ink that can actually squeeze through those tiny openings. Use the wrong combo, and you’ll either get a blotchy, uneven print or one that’s faint and barely there.
Finally, never forget the fabric itself. A 100% cotton t-shirt drinks up ink very differently from a 100% polyester sports top, and poly-cotton blends are their own unique puzzle. Some inks are made with special additives to fight "dye migration," which is when colour from a polyester shirt bleeds into the white ink during the curing process, leaving a pinkish stain. Always double-check that your ink is right for your material to guarantee that professional finish. Getting to grips with your equipment is half the battle, and you can learn more about finding the right t-shirt print machine in our detailed guide.
Mastering White Ink Application for Flawless Results
Picking the right white printing ink is a great start, but getting professional, durable results? That’s all down to your application and curing process. Think of it like baking a perfect cake—you can have the best ingredients in the world, but if your oven temperature is off or you don’t mix everything properly, the whole thing falls flat.
It’s the exact same principle with ink. White ink gets its brilliant opacity from heavy titanium dioxide pigments, which, unfortunately, love to settle over time. When the pigment separates from the binder, you get inconsistent prints and, even worse, clogged printer nozzles. That’s why regular agitation is non-negotiable. Many modern printers have built-in stirring or circulation systems to handle this, but giving the cartridges a good manual shake before use is a vital habit to get into.
This simple action keeps the pigment evenly suspended in the liquid, guaranteeing a smooth, consistent underbase every single time. And since that underbase is the canvas that makes your colours pop, it's one of the most important maintenance steps you can take.
Nailing the Curing Process
Once your design is printed, the final and most crucial step is curing. This is where the ink solidifies and bonds permanently to the fabric fibres. If you get this wrong, you’ll see your prints cracking, peeling, or fading after just a wash or two. Every ink has its own "sweet spot" for time and temperature.
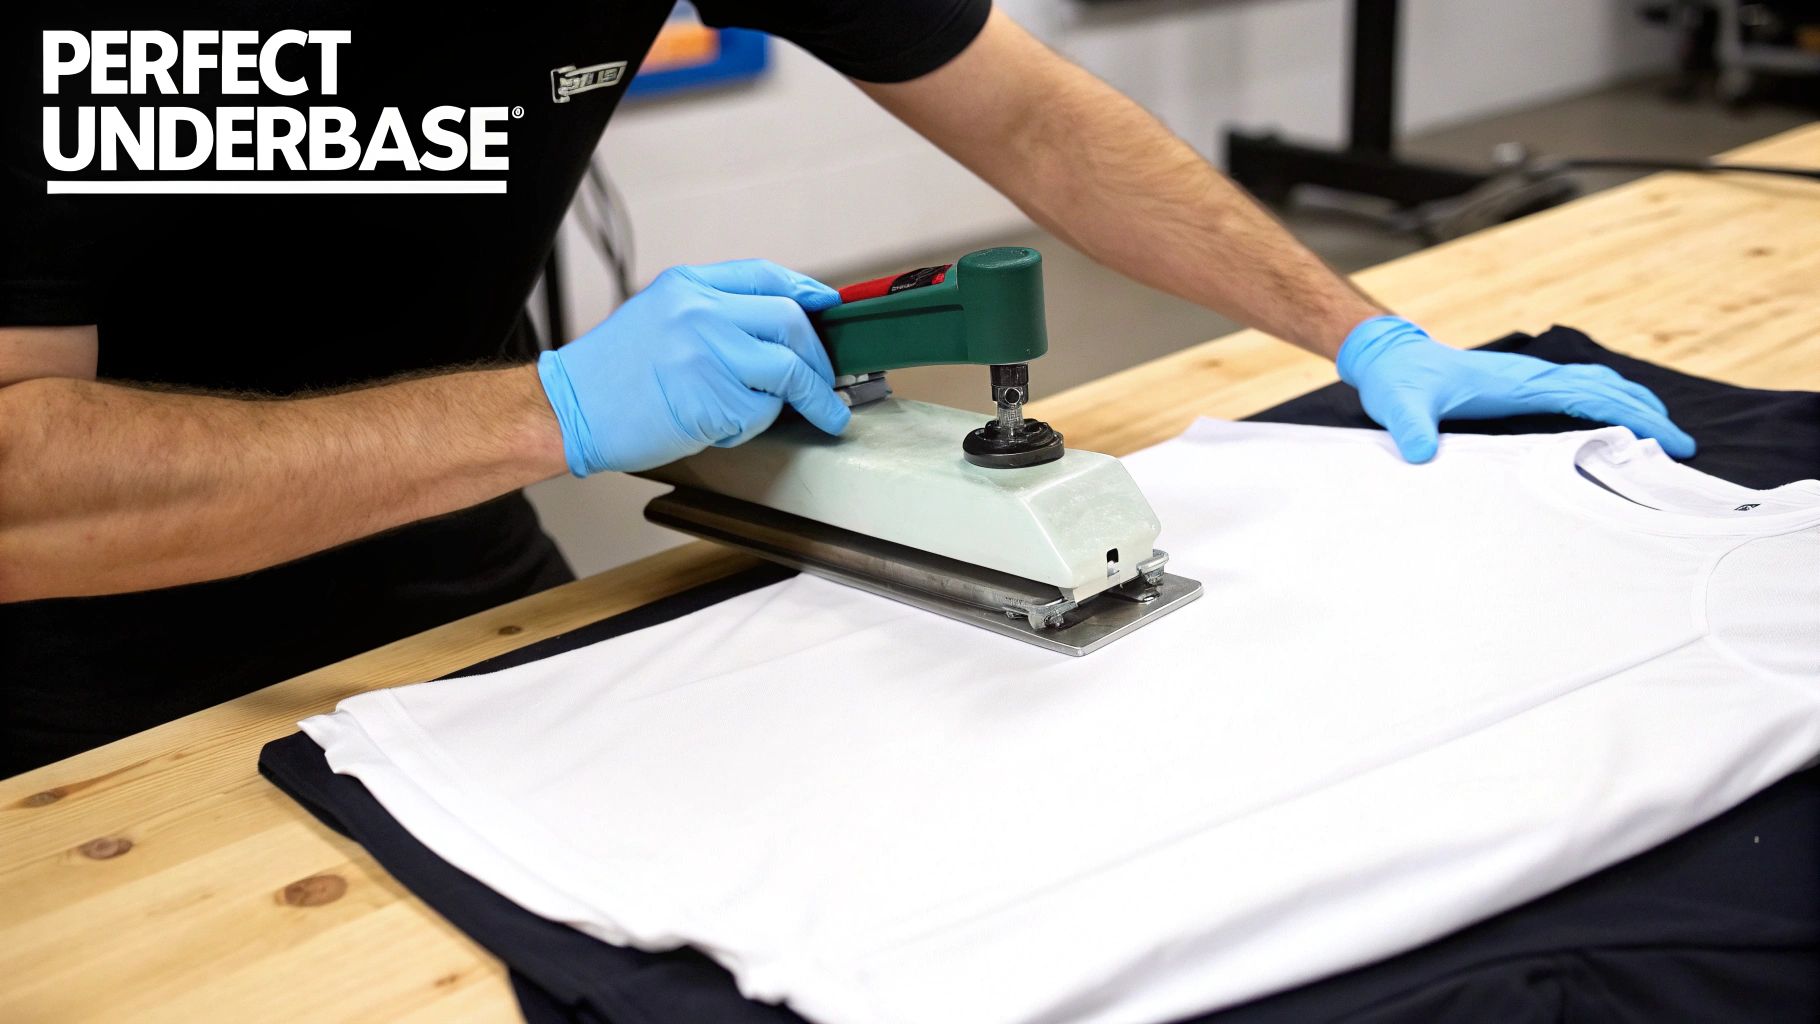
For DTF printing, the heat press is your best friend. You need to apply precise heat and pressure to melt the adhesive powder and cure the ink layers all at once. Getting these settings just right is absolutely critical for a long-lasting print. For a deep dive, you can check out our comprehensive heat press temperature guide for detailed recommendations on different fabrics.
UV-cured inks, on the other hand, take a completely different route. They don't use heat at all. Instead, they harden almost instantly when zapped with a specific wavelength of ultraviolet light from a powerful UV lamp.
Common Application Mistakes to Sidestep
Even with top-tier equipment, tiny mistakes can sink an otherwise perfect print. Knowing the common pitfalls will save you a world of frustration (not to mention time and money).
- Forgetting to Pre-Press: Always give your garment a quick press for a few seconds before applying the transfer. This simple step removes moisture and smooths out wrinkles, creating a perfectly flat, dry surface for the best possible adhesion.
- Getting the Pressure Wrong: Too much pressure can cause the ink to ooze out, blurring your fine details. Too little, and you’ll get a weak bond, which means the design will start peeling off in no time.
- "Hot Peeling" a "Cold Peel" Transfer: This is a classic rookie error. Some DTF films are designed to be "cold peel," meaning you must let them cool down completely before removing the film. Peel it while it's still hot and you'll pull the whole design off with it. Always, always check the instructions for your specific materials.
Paying attention to these small details—from shaking your white ink to double-checking your peel type—is what separates hobbyist results from professional-grade apparel that keeps customers coming back.
The push for high-quality custom gear is a major factor behind the growth of the UK printing inks market. It was valued at around USD 1.06 billion recently and is on track to hit USD 1.35 billion by 2035. This expansion is increasingly being driven by sustainable ink technologies as manufacturers adapt to meet stricter environmental standards. You can discover more insights into the UK printing inks market on marketresearchfuture.com.
Got White Ink Problems? Here’s How to Fix Them
Even the best printers can have a bad day, and white ink, with its thick, pigment-heavy formula, can be a bit of a diva. When things go wrong, don't just start guessing. A methodical approach will save you a world of frustration, not to mention wasted ink and film.
Let’s walk through the most common headaches and the practical, real-world solutions to get you back to printing crisp, brilliant designs.
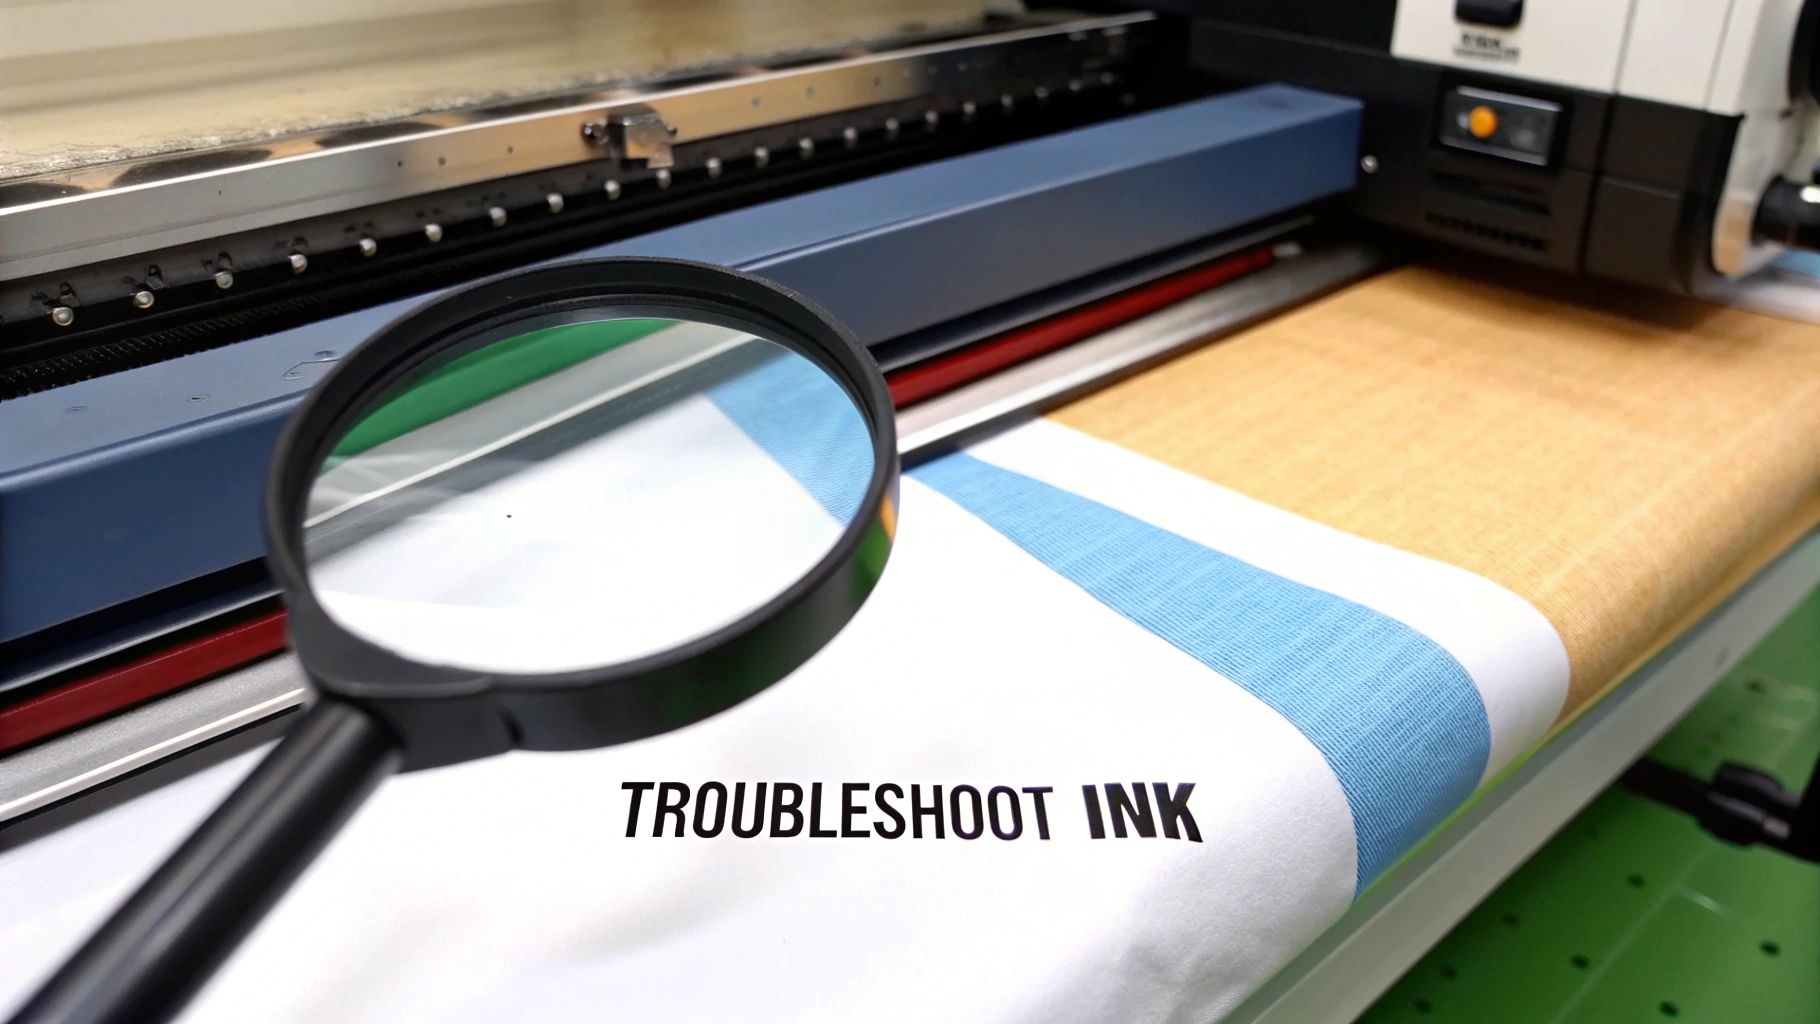
From faint prints that just don't pop, to those dreaded lines ruining a perfect transfer, most issues boil down to a handful of culprits. Once you know what to look for, you can diagnose the problem in minutes and get back to business.
Solving Poor Opacity or Faint Prints
Is your white underbase looking a bit see-through? Maybe it's coming out greyish or washed out instead of that solid, bright white you're after. This is probably the most frequent complaint we hear, but thankfully, it’s often a simple settings tweak, not a critical ink failure.
Before you start pulling things apart, check these three things first:
- Underbase Settings: Get into your RIP software and have a look at the white ink channel. You want to make sure it's set to 100%. In fact, many experienced printers push this a little further, finding that 100-120% delivers that perfect, solid foundation.
- Ink Agitation: How long has the ink been sitting? Those heavy titanium dioxide pigments that make white ink so opaque are prone to settling at the bottom. Give your ink cartridges a gentle shake or run your printer's built-in circulation or agitation cycle to get everything mixed up again.
- Print Resolution: This one’s a quick win. Printing at a higher resolution, like 1440 dpi instead of 720 dpi, forces the printer to lay down more ink in the same area. The result? A natural boost in opacity.
A weak underbase is almost always the first warning sign that your workflow needs a quick tune-up. Seriously, just running through your software settings, ink condition, and resolution will fix this problem more than 90% of the time.
Clearing Nozzle Clogs and Banding
Because white ink is so much thicker than the colours, it’s the number one cause of clogged nozzles. You'll know it when you see it – those ugly horizontal lines, or "banding," streaking across your prints. The moment you spot it, stop the print. There’s no point wasting more film and ink.
First things first, run your printer’s standard head cleaning cycle. If that doesn't clear it up, try it one more time. But hold off on running it more than three times back-to-back; sometimes that can just make the clog worse.
If a couple of cleaning cycles don't do the trick, print a "nozzle check" pattern. This will give you a map, showing you exactly which nozzles are blocked. Your next step might be a more powerful "head flush," or you might need to carefully use a cleaning swab with a manufacturer-approved solution to manually clear the blockage.
Ultimately, a well-maintained printer is your best defence. Regular cleaning prevents these clogs from ever starting. This is especially crucial for businesses that produce DTF transfers ready to press, where consistent, flawless quality is non-negotiable. Stay on top of your maintenance, and you'll ensure every single transfer that leaves your shop is perfect.
The Future of White Ink and Sustainable Printing
The world of printing never stands still, and white printing ink is right at the heart of its next chapter. As both consumers and brands demand more environmental responsibility, the industry is stepping up with remarkable innovations that blend top-notch performance with sustainability. This isn't just a fleeting trend; it's a fundamental rethink of how we approach print.
The biggest leap forward has been the rise of eco-friendly, water-based inks. For years, getting that brilliant, punchy opacity meant using formulations with a heavier environmental footprint. Now, new water-based white inks are delivering the solid, bright underbase needed for vibrant designs on dark fabrics, but with a dramatically reduced impact.
Smarter and Greener Formulations
This green evolution goes beyond just the base liquid. Researchers are actively looking for alternatives to the traditional titanium dioxide, hunting for new pigments that offer the same brightness without the ecological baggage. These emerging technologies point to a future where high-performance printing is completely in sync with sustainable practices.
The push towards sustainability is a powerful market force. Innovations in white printing ink aren't just about better chemistry; they're about meeting the real-world demand for products that are both visually stunning and environmentally sound.
The UK's print sector, recently valued at around £23 billion, is a perfect example of this shift. With commercial printing making up £9.3 billion of that, the demand for white printing ink is surging, especially driven by e-commerce packaging. As UK print businesses have grown by an average of 11.4% annually between 2018 and 2023, there's a clear move towards sustainable materials and carbon neutrality. You can learn more about these developments and the UK's evolving print industry on ibisworld.com.
To really get a handle on where things are headed, it helps to look at the bigger picture by identifying market trends for business growth. Ultimately, the future of white ink lies in this perfect synergy, where smart digital efficiency and ecological mindfulness come together to create better products for a better planet.
A Few Common Questions About White Ink
Diving into the world of white printing ink can feel a bit tricky at first. It’s a different beast to standard CMYK inks, so it’s only natural to have a few questions. We get asked these all the time, so let’s clear things up.
Why Is White Ink So Much Thicker Than Other Inks?
It all comes down to its secret ingredient: titanium dioxide. This is the pigment that gives white ink its incredible opacity, but the particles are much larger and denser than those found in coloured inks. The result is a heavier, more viscous liquid.
Think of it like the difference between single cream and double cream. That extra thickness is exactly what you need to lay down a solid, bright white base, especially on dark fabrics.
Can I Just Pop a White Ink Cartridge in My Home Printer?
In short, no. You absolutely cannot use white ink in a standard home or office inkjet printer. Those machines are built for a CMYK (Cyan, Magenta, Yellow, Black) setup and are designed to print on white paper, where white is simply the absence of ink.
More importantly, they don't have the specialised printheads or internal systems—like circulation or agitation mechanisms—needed to handle the thick, heavy consistency of white ink.
Attempting to use white ink in a standard printer is a recipe for disaster. It will cause severe clogs and could permanently damage your machine. You need a dedicated printer built for the job, like a DTF, DTG, or UV model.
What Makes White Ink More Expensive?
There are a couple of good reasons for the higher price tag. First, the main raw material, high-grade titanium dioxide, is more costly to process into a pigment pure enough for printing.
On top of that, the formulation itself is more complex. The ink has to be engineered to keep those heavy pigments perfectly suspended so they flow smoothly without settling. Because it's a specialty product, it’s also made in smaller batches compared to standard CMYK inks, which adds to the final cost.
Here at Psyque, we know that a brilliant white base is the key to making our designs pop with vibrant colour and last for years. You can see the difference for yourself by exploring our collections at https://psyque.co.uk.